This article describes how to manually delete spikes from your DTM. Slice Editor interacts with Surface Edit Over view. This article will explain different ways of additional manual cleaning, assuming filtering has been done, the data set is almost clean and is almost good to go for final delivery.
On this page:
Before you start, please take note of the following: Soundings rejected in Slice Editor, are being marked invalid in the QPD (Processed data file) that corresponds with the raw sonar file. Raw sonar files themselves are not affected by edits done in Slice Editor. The Qimera Dynamic Surface reflects the edits.
We have implemented an option to change default left mouse button behavior based on workshop feedback with former Qloud users. The default left mouse button will remain the same in you need to hold down the Shift key to adjust the view in the Scene when you are in another mode such as polygon selection. The new optional mode leaves the left mouse button always in navigation mode and you hold down shift to activate the secondary mode, such as to draw a polygon. Many Qloud users have found this second mode more intuitive in that you can draw a selection and then it remains where you drew it when you attempt to adjust the 3D view. This setting is available in the 'General' tab of the Qimera Preferences.
Step-by-step guide
Of course there are different ways of getting to an end result that would be acceptable. Below we will explain 3 methods. There are possibly more good methods. Iif you feel like sharing them with us, please e-mail to support@qps.nl
Method 1 Using Free Slice Select or Fixed Slice Select on areas of interest based on grid SDs
This method is an efficient way of cleaning large surveys
Ensure to have all required processing applied, like SVP, heights, blocking settings, filtering et cetera. Also see Qimera Processing Settings DialogSlice editor is an area based editing tool, capable of slicing and allowing to check overlaps between files and to check how overlapping lines correlate. Slice editing is point editing and it's basically meant to be the final step in the data processing and cleaning work flow before exporting to final products
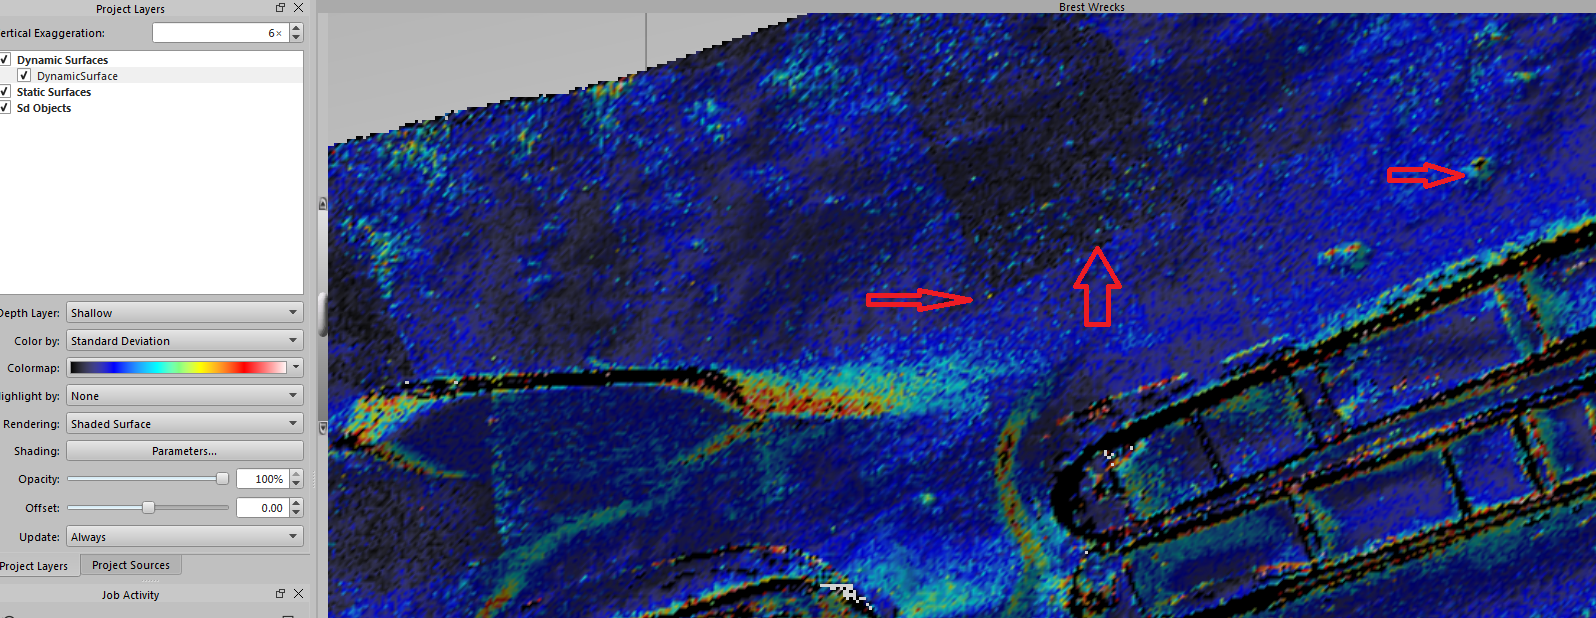
Ensure to have the Dynamic Surface built. Choose to when to update the Dynamic Surface: Always, After Processing, or Manual. For this typical use we suggest to set it to " Always". Set the Dynamic Surface Shallow Surface depth layer attribute to Standard Deviation. Check the color map range to see if the majority of the soundings is within the color map range, else you may need to edit the color map range. For more information on color map settings: Qimera Colormap Editor Dialog and Qimera Colormap Range Adjustment Dialog
Look for areas of interest, by means of looking for high sd values that can't be explained by natural artifacts, see screenshot below.
On 4D scene toolbar choose Free Slice Select or use magic hotkey combination Shift + C hold your left mouse and draw the selection over an area of interest on 2D view in 4D scene. You can also choose to use Fixed Slice Select (hotkey C) . In the fixed slice select method, the smaller inner selection is locked to the larger outside selection box. The free slice select lets you rotate the smaller inner selection box independently. Notice how the selection is made for you and how the Slice Editor window is populated with soundings including the spikes that you want removed. Also see short instruction video here below:
Set the Dynamic Surface layer to "Shallow"
Use s and w keys on the keyboard to move the slice box up and down within the area selected.
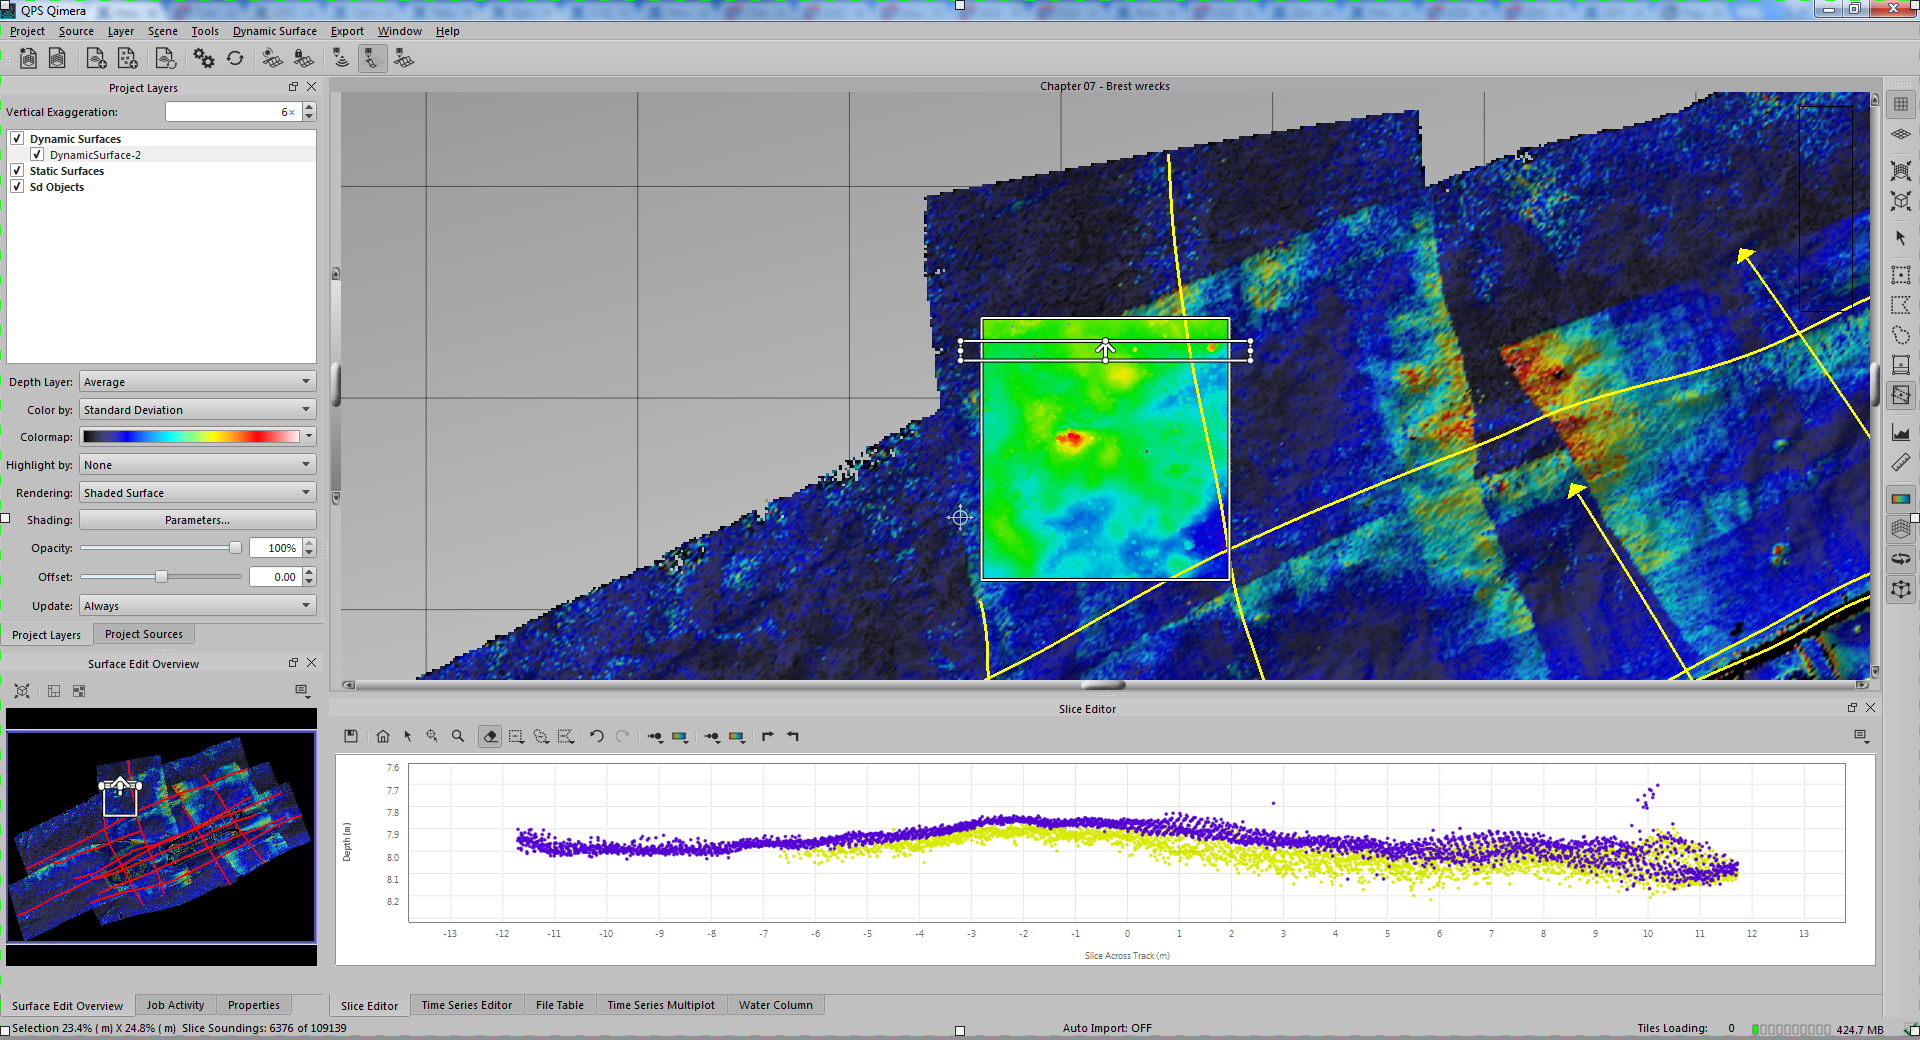
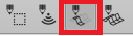
Now on 4D scene, on 2D view, hold your left mouse and draw the selection over an area of interest and hit the "2" key on your keyboard or click on Launch Slice Editor button on the main toolbar. Notice how the selection is made for you and how the Slice Editor window is populated with soundings including the spikes that you want removed.
Also notice the Surface Edit Overview window is now also enabled (bottom left window). The 3 windows that are key to point editing are 1) 4D scene 2) Surface Edit Overview and 3) Slice Editor with or without having 3D view enabled
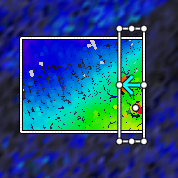
The selected slice can be rotated to your preference by using the rotation widget that is positioned right on top of the light blue arrow inside the slice selection box. Or use hotkey "q" to rotate counter clockwise or use "e" to rotate clockwise. The inner slice box height can be changed by using + or - key on the keyboard. For more hotkey combinations for selections look in the "Configure Shortcuts" from the Project drop down menu. You may also want to take a look here for instructions on how to change the default shortcuts: Qimera Configure Shortcuts Dialog
In Slice Editor Interface set the color map for the Plot to your preferences, allowing for QC-ing the soundings in the overlaps. For example use "color by line" by holding the left mouse key on the Color Plot By button and select " color by line" from the drop down menu. This is just an example, please also check out the other color coding options.
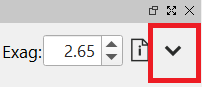
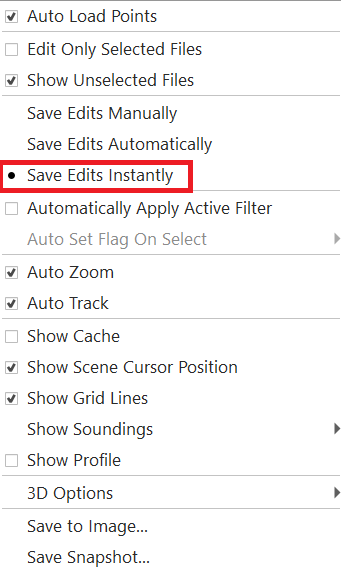
On the top right in Slice Editor dock, you will find a settings button Just click on the down arrow (carrot) key and then choose to "save edits instantly", as demonstrated in the following screenshot.
In Slice Editor check for outliers. Use the eraser tool or the Reject Inside/Outside rectangle, Inside/Outside Lasso or Inside/outside polygon tools to manually delete points. Use key combination Ctrl+R to show or hide rejected soundings.
When the edits are instantly saved, rejected points may be un-rejected by using the "Accept selection" key . If you want to undo last action, just use the undo button. (The undo is only possible, when you have selected to save the edits manually.
Next move the slice forward or backward by using the s and w keys on your keyboard, repeating the QC and the dot killing.
Save the edits using the save button. If you set the Dynamic Surface to update " Always" your dynamic surface will now automatically update with the edits. If the Dynamic Surface set is to "never" update, then you can continue the point editing in Slice Editor and save the edits. You can also make new selections, edit points and save. Once you've finished the point cleaning you can save all the edits at once by setting the Dynamic Surface to update " Always" .
Once finished the point editing, you can make a new selection for editing based on above descriptions.
Check the results on the area selected for the slice editing, using the desired point color coding for the scene. You could also QC the dynamic surface, using the SD attribute.
If required, in Surface Edit Overview window check for visited/edited areas
If you don't want the Dynamic Surface to update after each editing done in Slice Editor: just set the Dynamic Surface to update " Manual". When you finished the slice editing, set the Dynamic Surface Update back to "Always" and the Dynamic surface will update with edits made in Slice Editor.
Method 2 Using partitions when in Fixed Slice Select mode
This method is probably less efficient when working with large surveys to process, but when using this method of systematically stepping through the soundings, it's almost impossible to overlook any outliers in the data.
On 4D toolbar, click on Fixed Slice select , Free Slice Select or Rectangle Select .
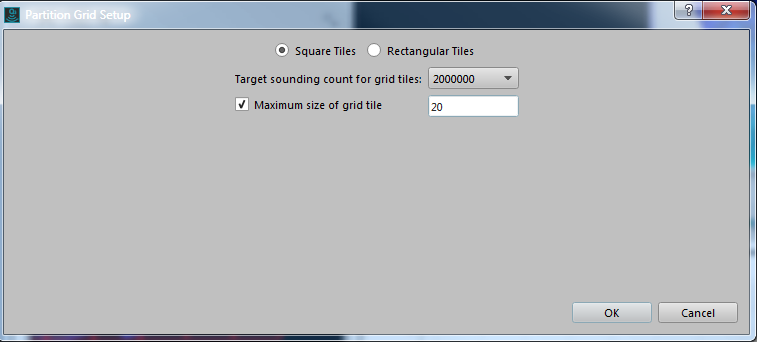
In Surface Edit Overview, Generate Partitions. This is where you define the size of the partitions, based on the number of selected soundings.
In Surface Edit Overview window, ensure to have partitions enabled, by clicking on Show Partitions button
Left mouse click on one of the partitions of interest (see step 3 explained in method 1 above) or just select the upper left partition for a start and work through partitions in a preferred order.
Notice how the partition reflects the selected slice and notice how Slice Editor is populated with soundings and notice the slice selection made on 4D scene.
use w of s keys on your keyboard to start slicing.
Repeat steps 7- 18 of method 1, as explained above.
Method 3 Linked line method, Start slicing by "marching along the line"
On 4D scene toolbar select the Scroll Select button or use Shift + L keyboard combination; this draws a scroll ref line and a scroll selection box perpendicular to this line on 4D scene
Use key combination Ctrl+ left mouse key to link the selection to the navigation
Press " 2" on your keyboard or press Launch 2D slice editor key on the main toolbar
Re-size the box and re-position by moving it over the line using w and s keyboard keys and notice how Slice Editor window is populated with soundings
Repeat steps 8-14 of method 1, as explained above.
Once you've finished marching along the line with Slice Editor, then just Ctrl+left click again to link the Slice box to the next line and repeat the steps as per described above. Also see short instruction video here below.
QC your data by using the DS color attributes and the Slice Editor " Color By" selections. There are different approaches of cleaning data. First method described in this article explains an efficient way of multibeam data cleaning of large surveys by checking for high SD's in the Dynamic Surface. Second method would be less efficient when working with large surveys to process, but when using this method of systematically stepping through the soundings, it's almost impossible to overlook any outliers in the data. The third method is more or less just slicing through the DTM, with the overlapping tracks available to QC your data.