
This how-to briefly explains how to work with Tracked Object Manager in Fledermaus 8 alongside the Vessel Manager program.
On this page:
Introduction
Vessel Manager allows for a user to use real-time navigation data to track objects, such as surface vessels or remotely operated vehicles, within a Fledermaus scene. There are many options for configuring the transmittance between the outgoing data and the vessel or object within Fledermaus.
Step-by-Step
Step 1: Set up data I/O
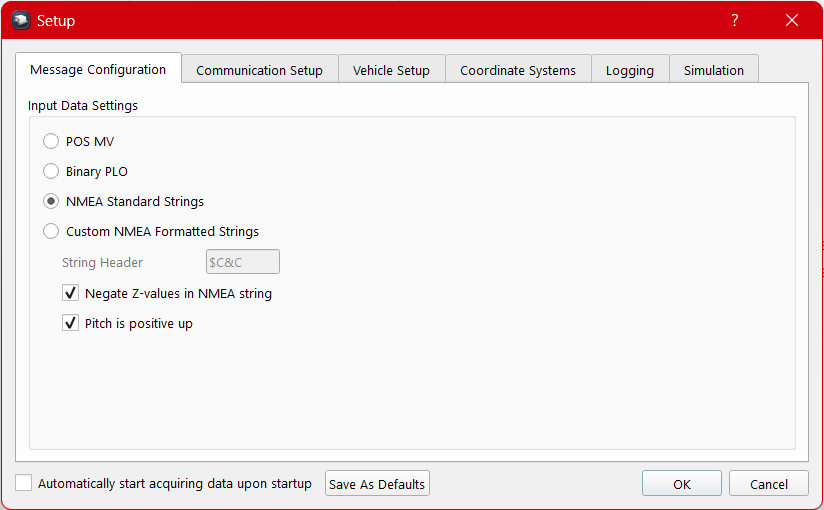
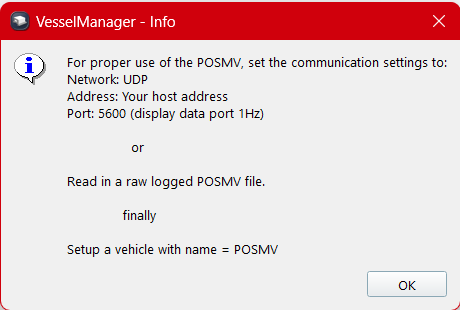
First, open the vessel manager application, which can be found in the following location: C:\Program Files\QPS\Fledermaus\8.7.2\bin. The navigation data can be input in many formats. See Utilities > Setup/Preferences to select which message configuration is applicable to your setup. Options include POS MV, Binary PLO, NMEA Standard, and Custom NMEA Formatted.
Step 2: Communication Setup
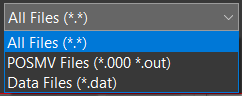
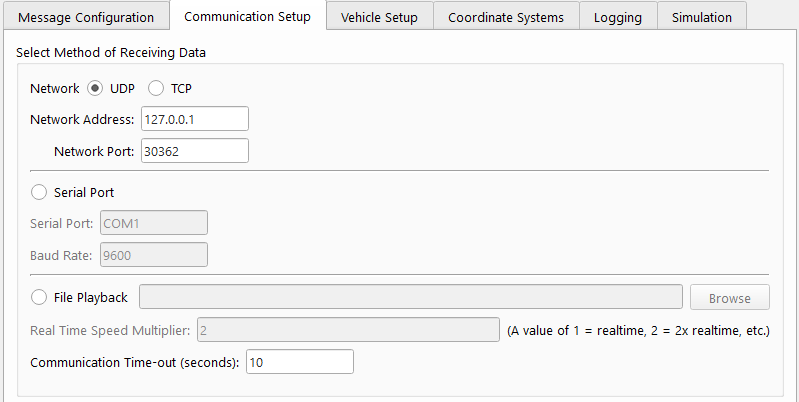
Next, you will select your method of receiving data. These options include via Network (UDP or TCP connection), Serial, or File Playback. For UDP/TCP connections the network IP address and port in which the data string(s) are arriving on will need to be defined. For a serial connection, the port and baud rate of the system should be entered. File playback allows for any recorded navigation data to be played back in real-time.
Step 3: Vehicle Setup
The third tab in Vessel Manager is for vehicle setup, where vehicles can be activated and assigned a numerical ID based on the vessel name identified by the first two letters of the NMEA strings. This object ID will later be referenced in Fledermaus and assigned to whichever models you have imported.
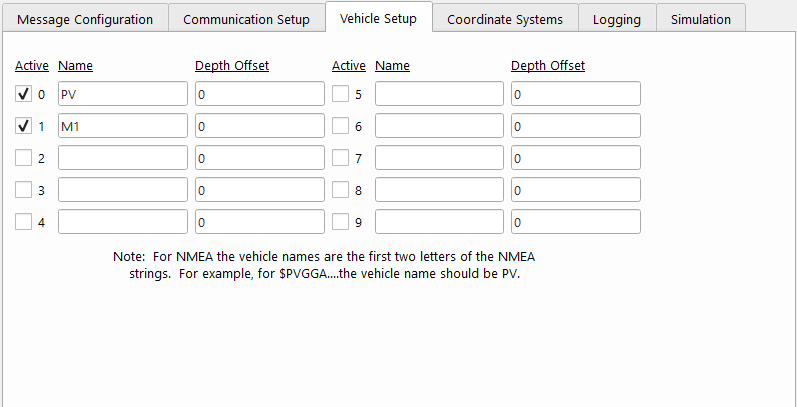
A depth offset can also be applied to any object in the Vehicle Setup tab.
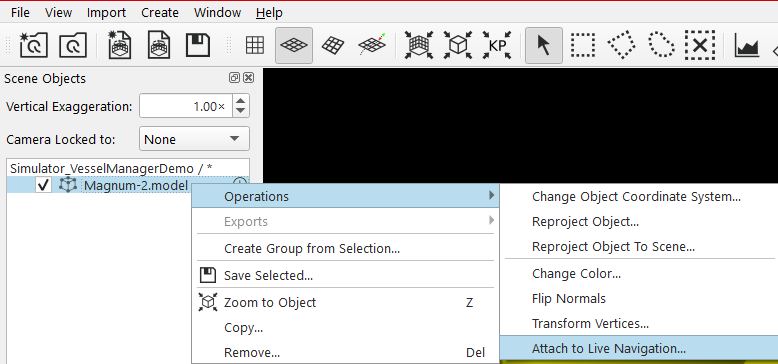
Step 4: Object ID/Assignment in Fledermaus
Open the project in Fledermaus and assign each Object ID to it’s representative object as defined in Step 3. To do so select the object > Operations > Attach to Live Navigation…
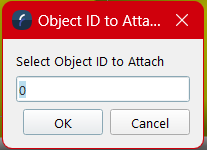
Next, select ‘Tracked Object Manager’ in the lower right corner of the UI.
The following dialog will pop up:
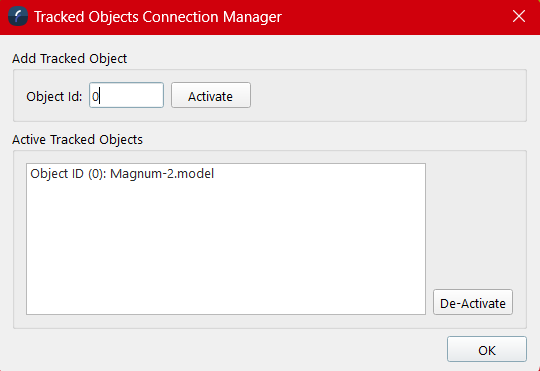
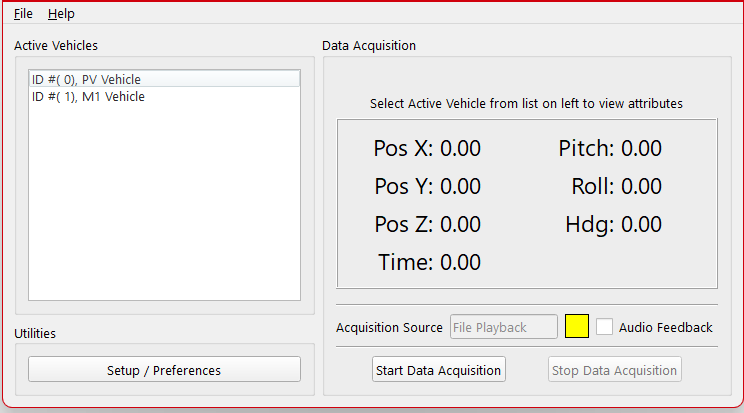
Step 5: Start Data Acquisition
Finally, select ‘Start Data Acquisition’ in Vessel Manager. This will establish the connection between the data input and output. Selecting each ID in the Active Vehicles box will provide the data attributes on the right side including XYZ, Pitch, Roll, Heading, and Time (if available).
Additional Information
Demo Video: