
Fledermaus 4D Scene
Fledermaus 4D Scene
The Fledermaus Scene is the view port to integrated visualization of loaded data or project(s). It is primarily a display space. It is primarily a display space but does contain a number of controls and interaction functions. In addition to the three exploration modes. The central visualization window widget of the application and thus cannot be floated or hidden. The cursor modes used within the 4D Scene corresponds to the ones selection method chosen in the Fledermaus Scene and Custom Toolbar. In any other cursor mode, you can navigate by using the Shift key as a modifier while clicking.
Data Exploration Modes
Data exploration modes for navigating in the scene is dependent on the viewing mode. These modes are the Plan View and Turntable View and 3D Flight mode. Plan View and Turntable View are mouse-controlled widgets based on a centered zoom and rotate data manipulation technique. Each of the exploration modes has strengths and weaknesses. The 3D Flight mode provides for smooth navigation across both large and small datasets while the widgets provide a fast and effective center, zoom and spin interface that quickly focuses attention on the area of interest.
Plan View
While in Plan View, simply Left-Click and drag to pan the scene. Moving the mouse-wheel will zoom in or out of the scene. You can also pan by using the right and lower scroll widget. Use the left scroll widget to zoom.
Turntable View
While in Turntable View, simply Left-Click and drag in the horizontal direction to rotate the scene around the current center point. Left-Click and drag in the vertical direction to tilt the scene. Center-Click on a point in the scene to change the current point of rotation. You can also use right scroll bar to move the scene up or down, the bottom scroll bar to move the scene left or right, and the left scroll bar to zoom in and out of the scene. While in this mode, you can also interact with the Navigation Widget to navigate within the scene.
3D Flight View
This mode of exploration provides a powerful means to navigate around the 3D data space with the use of a 3D input device, such as the BAT, or Space Navigator. A supported 3D input device must be connected and turned on before starting this mode. If using the BAT, press and hold down the trigger button on the 3D input device to begin flying. While the button is held down, hand movements of the device are mapped in a natural fashion to movements within the 4D scene.
For example, to move forward in the scene simply push your hand forward while holding down the trigger. To move to the right you move your hand to the right. Rotations are accomplished in a similar manner. To turn left you twist your hand to the left, to turn up twist your hand upwards and so on and so forth. The speed of movement in the 3D scene is mapped non-linearly from the hand movements of the input device. Slow hand motions provide detailed and fine adjustments while fast movements accelerate the exploration speed allowing you to quickly move around the entire scene.
The rectangular box, with its corresponding tails, is called the predictor. It aids in navigation and helps prevent getting lost in the virtual world. As you fly around the 3D data set, the predictor shows where you will be a short time in the future. The tails of the predictor provide a cue to velocity and a brief history of movements. Thus it can be easily seen if you are going forward, backwards, or turning, along with how fast you are currently moving (the longer the tail the faster).
Cable/Pipe View
This view mode is similar to the turntable view, but the focal point is locked to the path of a dynamic cable/pipe object. Left-clicking and dragging the arrows that appear on the widget navigation interface allows you to move the focal point along the cable/pipe path. Alternatively you can use the W and S keys to move forwards and backwards respectively.
If your scene has multiple cable/pipe objects and you want to change which one is followed, use the "Tracked Cablepipe" combo box located above the Scene Objects Dock to select the one you want to follow.
Note that this view cannot be used if your scene does not contain a cable/pipe object!
Widget Navigation Interface
The alternate exploration mode is a mouse based widget navigation (pick and zoom) interface that uses on screen widgets and direct interaction with the data space. The main point to remember with this interface is that all rotations and zoom occur about the center of the screen and picking on a new location will move that point in the scene to the center of the display.
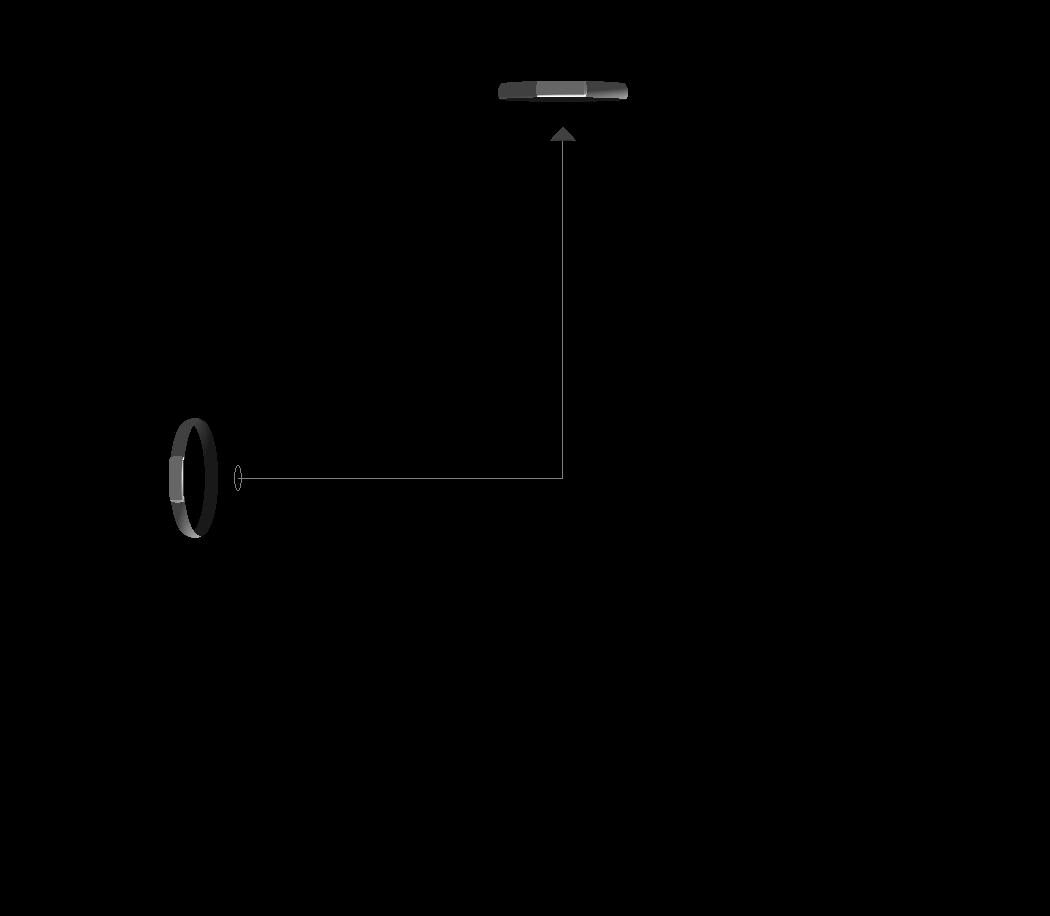
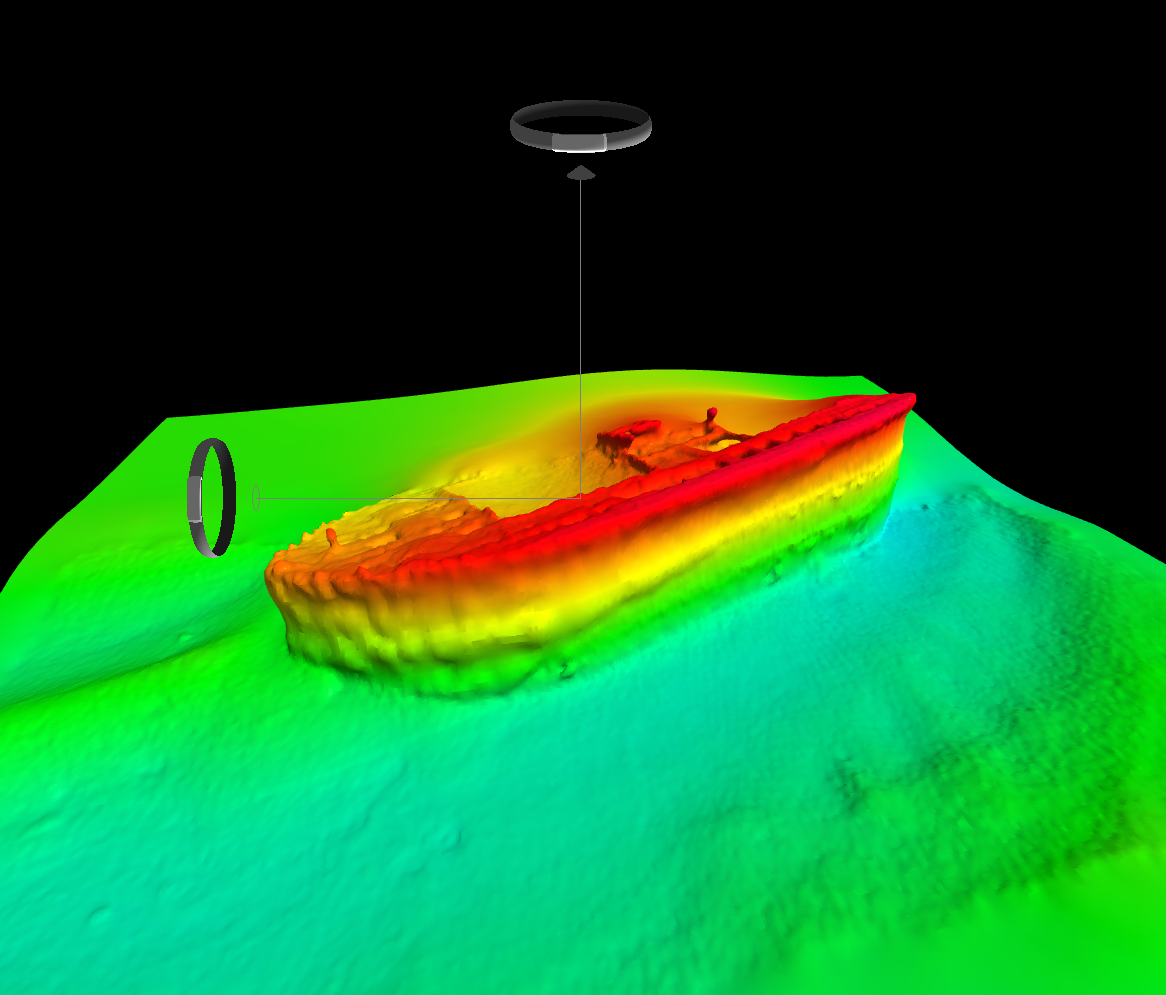
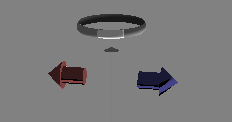
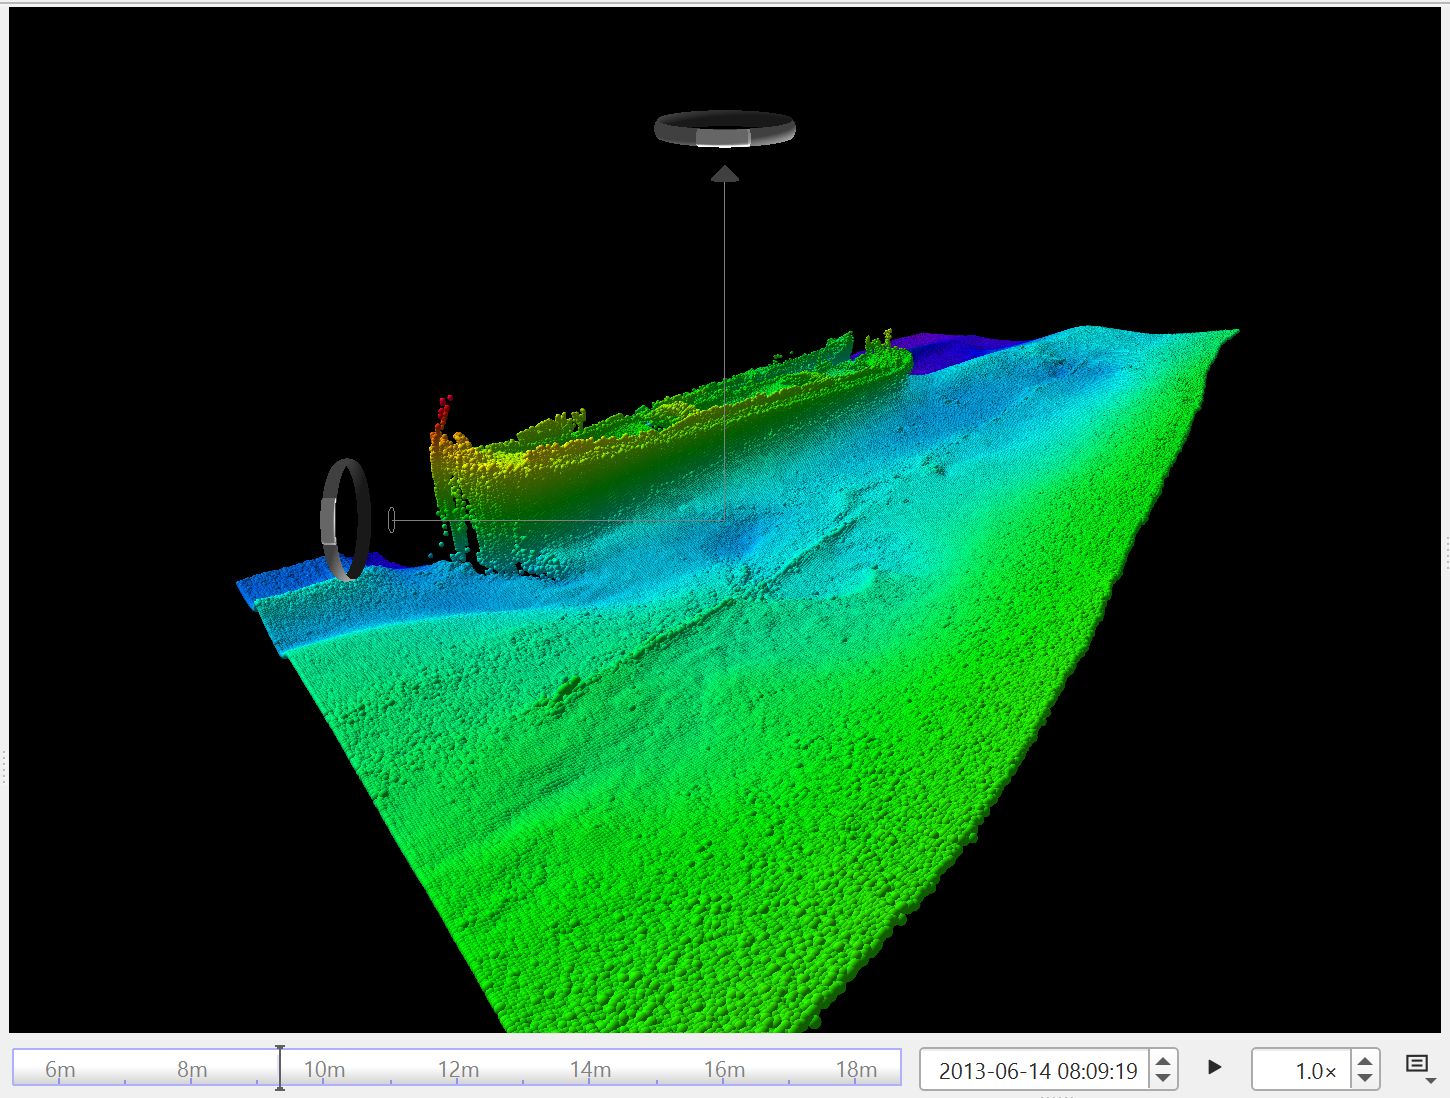
Navigation Widget
The Navigation Widget can be used in Turntable View only and allows for mouse-click based navigation of the scene. Left-Click and drag on the top crown to rotate the scene about the vertical axis centered at the current point of rotation. Left-Click and drag on the left crown to rotate the scene about the horizontal axis perpendicular to the view direction. Left-Click and drag on the top arrow to increase or decrease the vertical exaggeration of the scene. The value of vertical exaggeration will be shown in the Exag field near the top of the scene objects window.
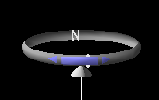
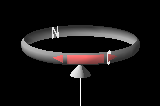
The images above shows how the widget looks when rotating under user control. Note that the "N" on the rotation widgets indicates which direction is north.
When using the cable/pipe view mode, arrows will appear on the navigation widget which allow you to traverse the cable/pipe path by left-clicking and dragging them.
Object Visibility
Visibility of a particular scene object is controlled by the checkbox in either the Project Sources window or Project Layers window. If the object is checked, it will be visible. If not, it will be invisible.
Object Selection
While in Explore Mode, clicking on an object in the scene will select that object if it is selectable.
Time Bar
Time Bar
The Time Bar will display for time supported object types, it allows to interactively manipulate the current time displayed in the 4D Scene.
Drag & Drop
Data can be loaded into Fledermaus by drag and dropping files or a directory directly into the Main Visualization Window. This allows the loading of one or more SD objects or one scene file, as well as QGF QPS files.
4D Scene Route Planner Context Menu
If you right click on the scene while the Route Planning Tool is active, a context menu will appear with the following options on the route.
Create Pipe From Route
This menu option will create a dynamic pipe object from a route created using the route planning tool. The pipe will also be added to the scene.
Create Route To Lines
This menu option will export a route created using the route planning tool to a .lines file.
Export Route To ASCII
This menu option will export a route created using the route planning tool to an ASCII-formatted .txt file.
Export Route To PLF
This menu option will export a route created using the route planning tool to a .plf file.
Return to Fledermaus Interface
Return toFledermaus Reference Manual