This document describes the possible workflows when using Qinsy and Fledermaus for watercolumn data processing.
Table of contents:
Work Flow

Step-by-step guide
Before Acquisition
-
When creating your template database for Qinsy you need to ensure that you have the correct drivers and data packets recorded
-
You will need to ensure that you are recording both the Raw Bathymetry and Water Column Usage by selecting them as Enabled. This will make your recorded databases larger, however it is unavoidable if you wish to process your backscatter or watercolumn data in Fledermaus.
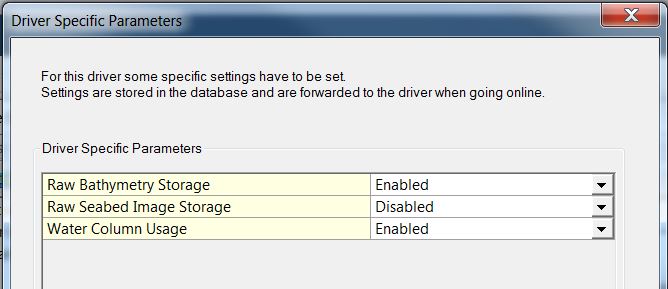
The above Image is for the Kongsberg EM series single and dual head drivers or the R2Sonic 2000 series
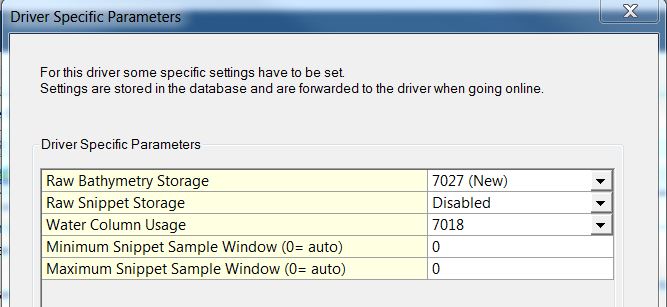
The above image represents the set up for the Reson Seabat 7K setup
This DOES NOT mean that your water column data is going to be recorded, by default this option is switched off online however, without this setup the option to record water column data will not be there at all. Please ensure you read the Knowledge Base Article on Recording Water Column before proceeding with recording data.
-
For more information on the Set Up of your template database please see the Drivers Manual
-
To progress from this point to process your data in Fledermaus you will require *.qpd and Recorded DB files which can be either recorded Online or in Replay. For more information on recording data online please see here... Qinsy Online
-
For more information on the Replay of data please see here... Qinsy Replay
Processing Data in Qinsy Survey Manager
-
Before bringing your data into Fledermaus it will need to be corrected, so for example if you needed to apply an additional geoid model or SBET height these would need to have been done before going into Fledermaus.
For more information please see Import Geoid Model, Import Track File or Qinsy Survey Manager articles
Processing Data in Fledermaus
-
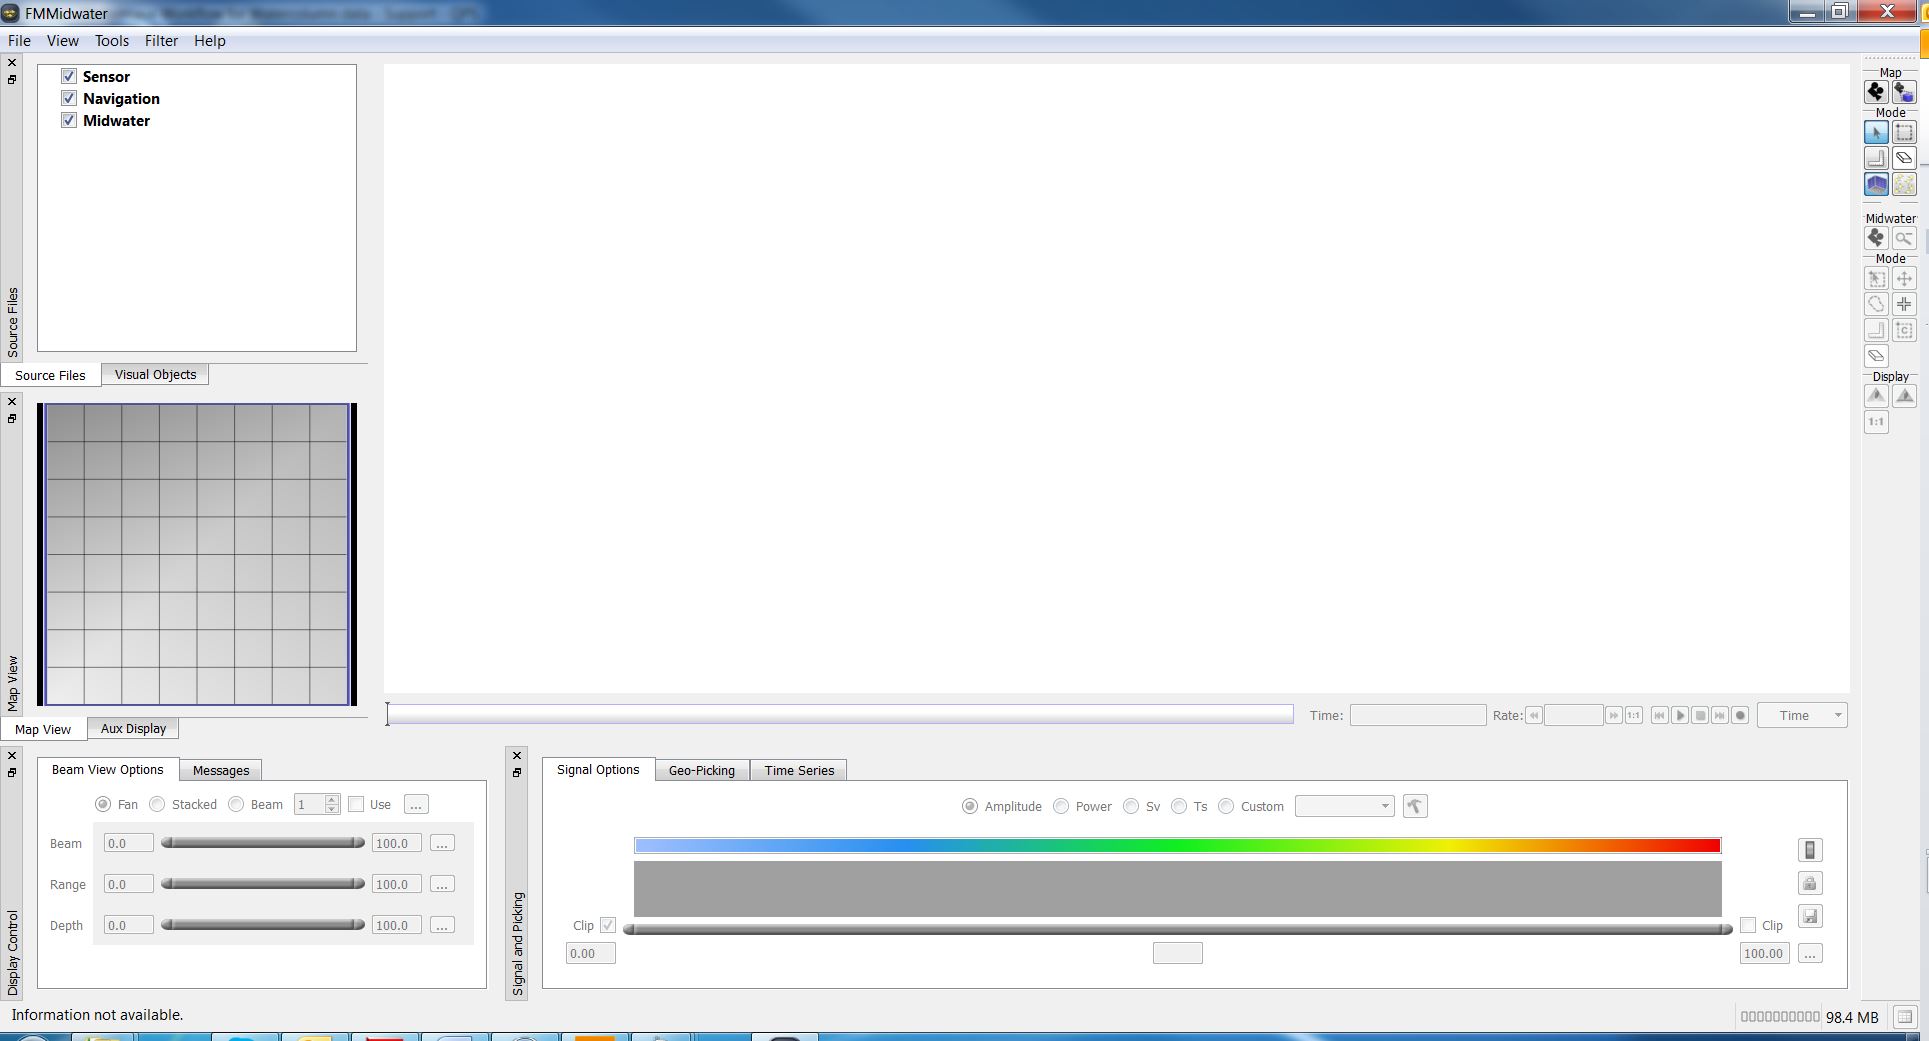
Launch FM Midwater, either through the desktop icon

or through the Programs Menu > Fledermaus > FMMidwater
-
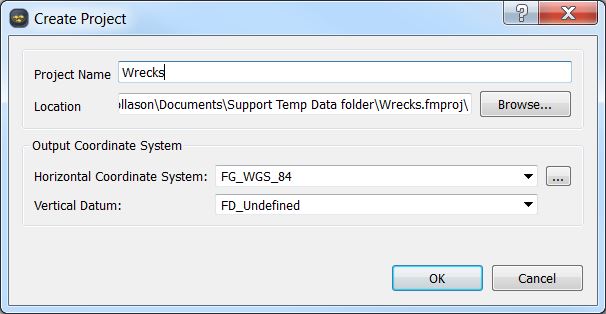
Create a new Project through the File> Create Project Option. FM Midwater projects need to have a geographical projection to work in, the data can be re-projected on export to another projection system.
-
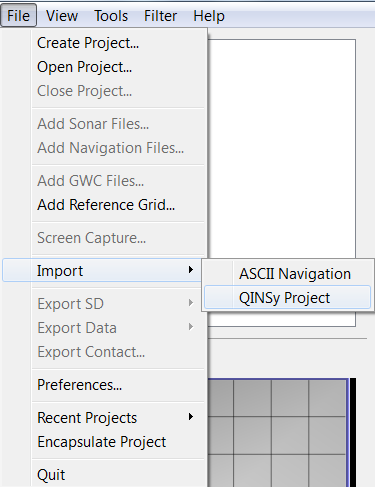
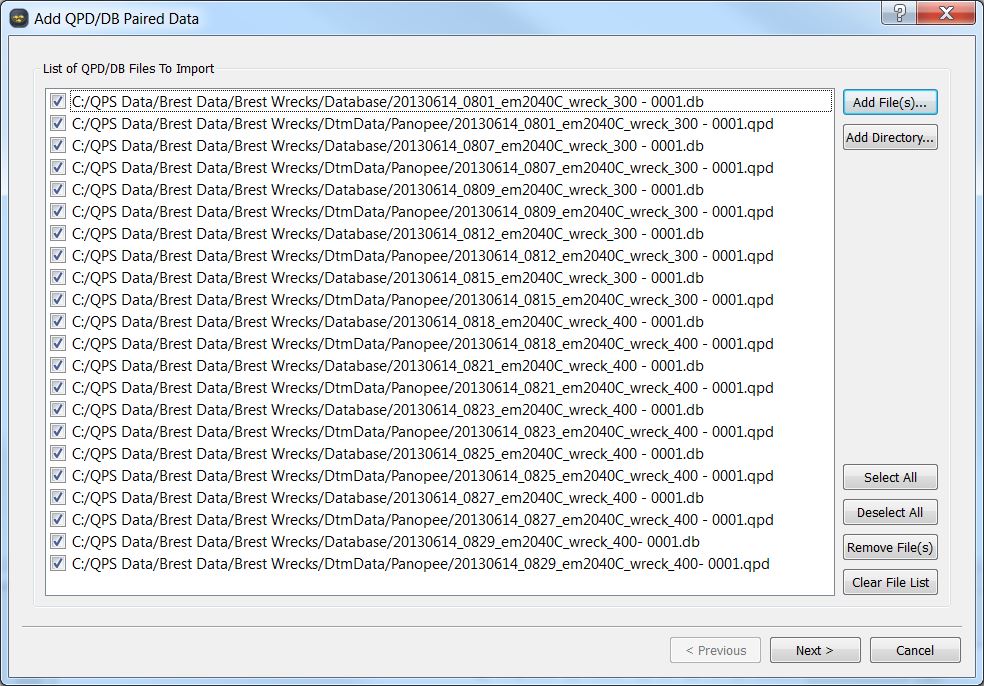
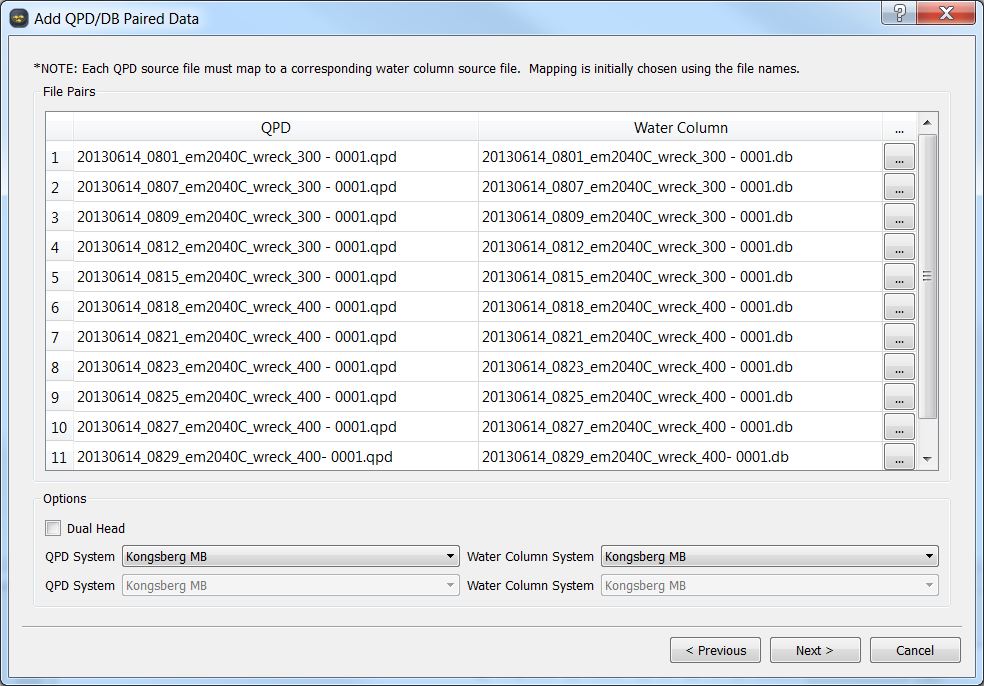
Using the File> Import Qinsy Project option add your source data to your project. You will need to select the entire project folder.
-
Once the files have been added FM Midwater will automatically pair them up. Set if the files are dual headed or not. FMGT will not automatically tick the dual head.
-
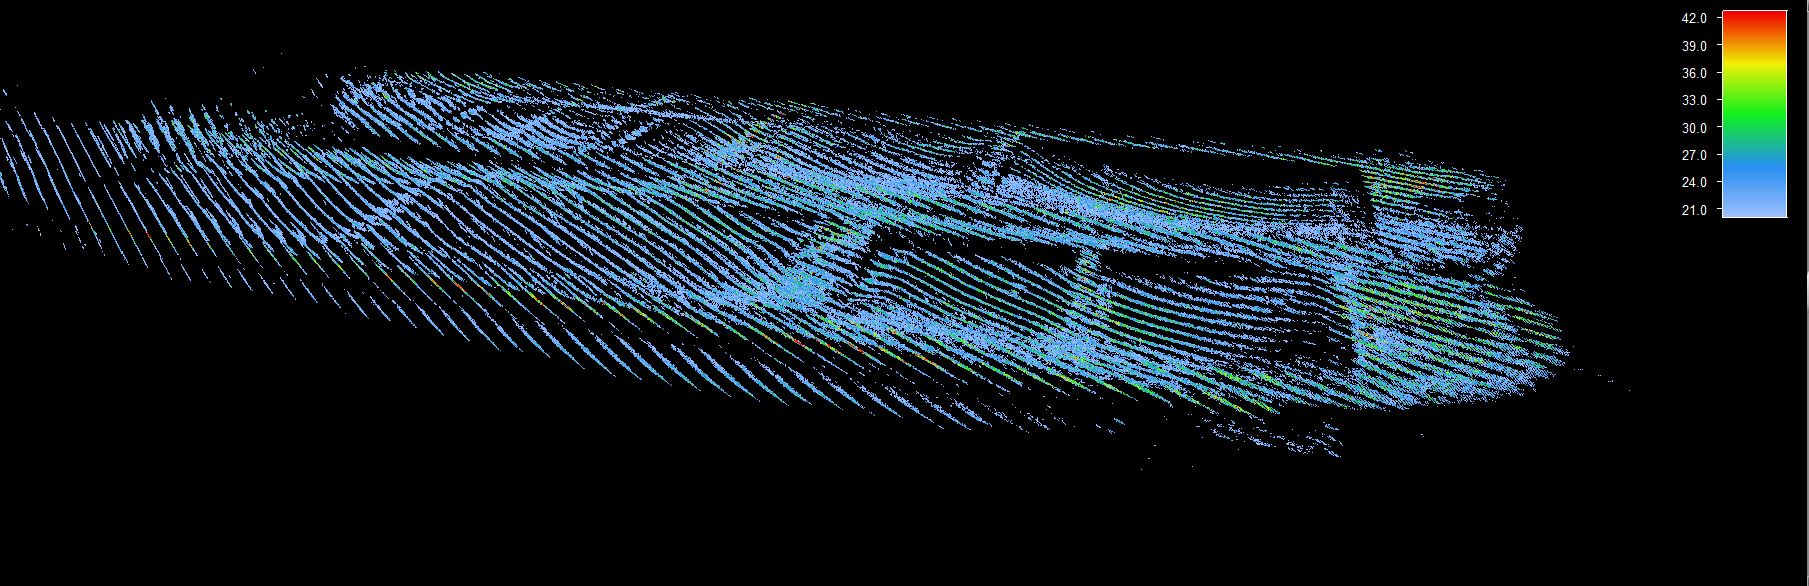
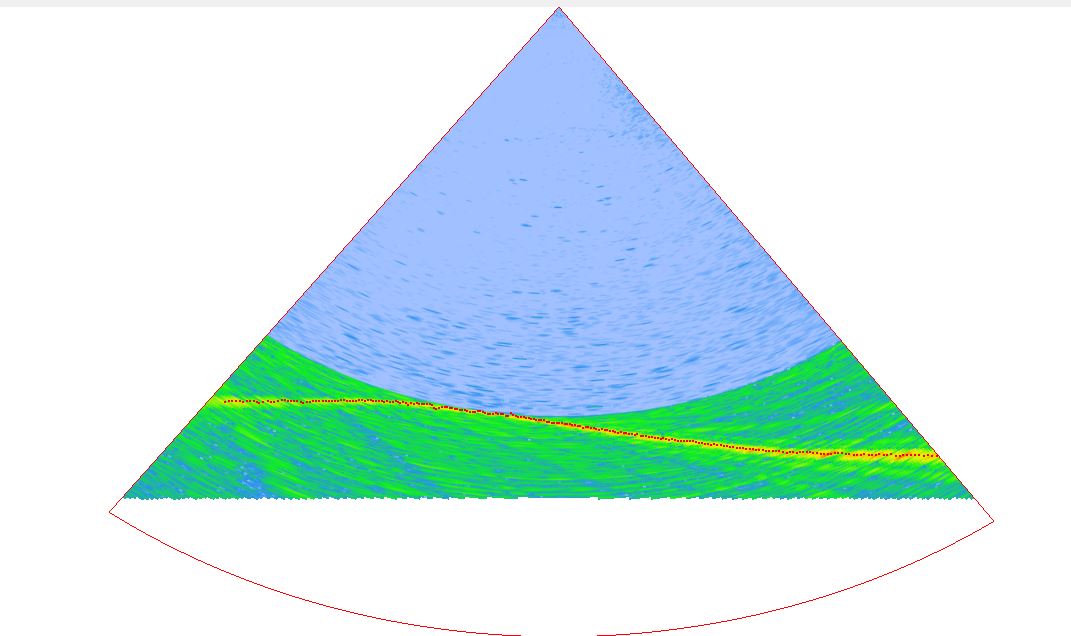
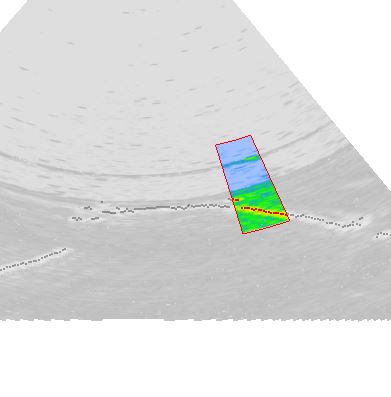
Fledermaus will scan through the files and give you a fan view of your data.
-
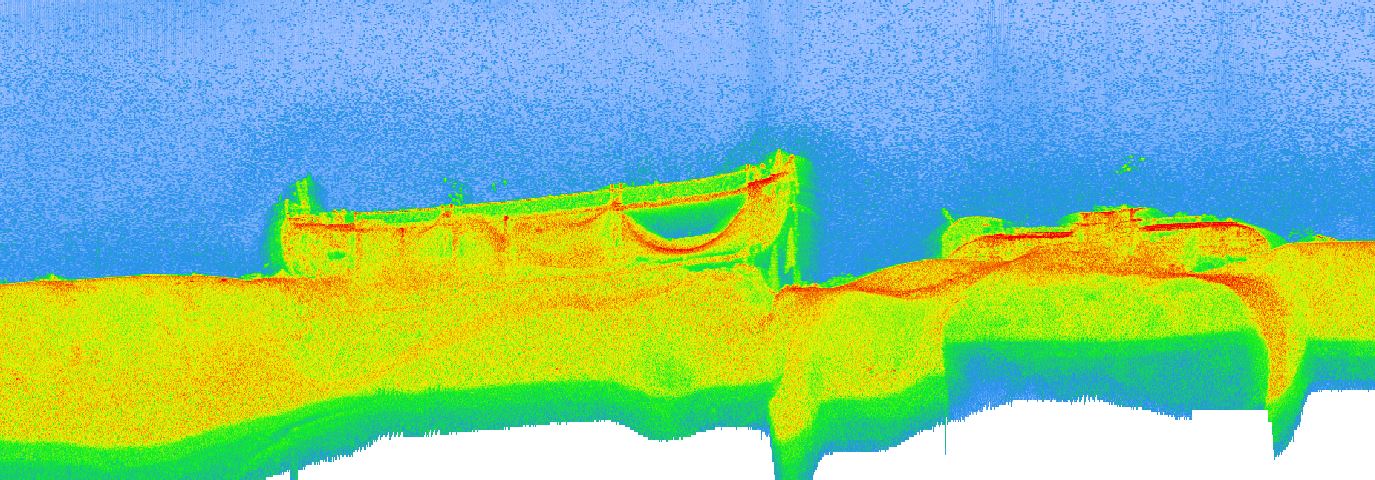
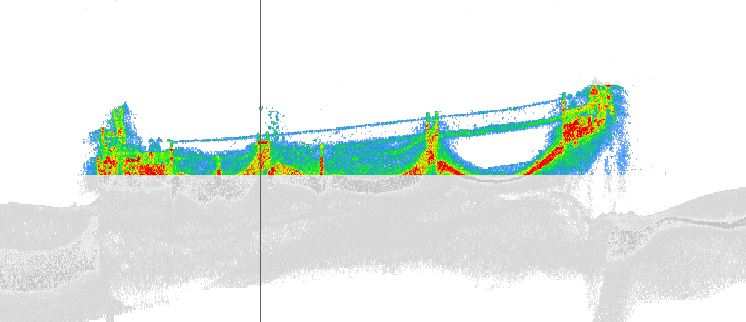
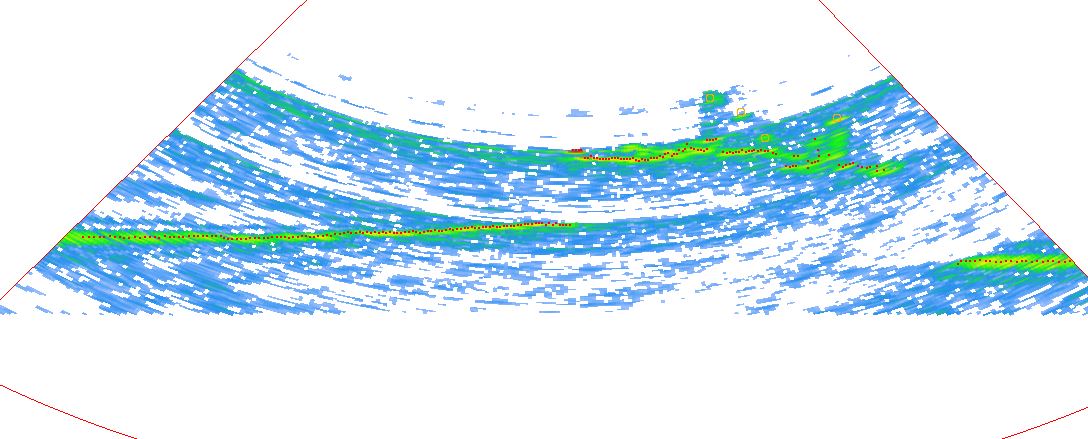
The quickest way to ascertain if you have any water column features is to switch to the Stacked view.

-
From there you can move the time bar to the correct point and return to the fan view to start filtering.

-
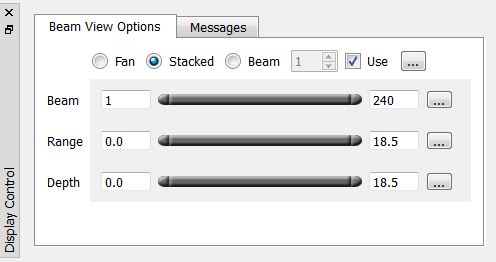
Using the Beam filter reduce the number of beams for the feature (if possible).
-
Using the Range filter reduce the depth so you are only working with a small area.
-
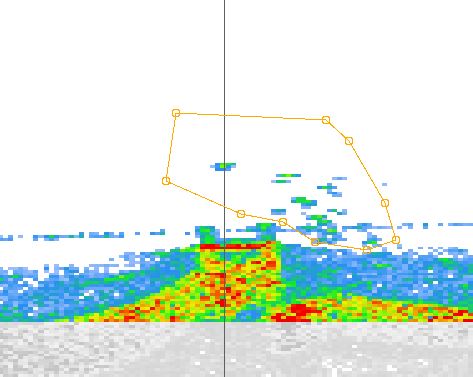
Return to the stacked view and using the Amplitude filter reduce the background noise until there is only the feature then, using the lasso tool

make a selection around your feature.
-
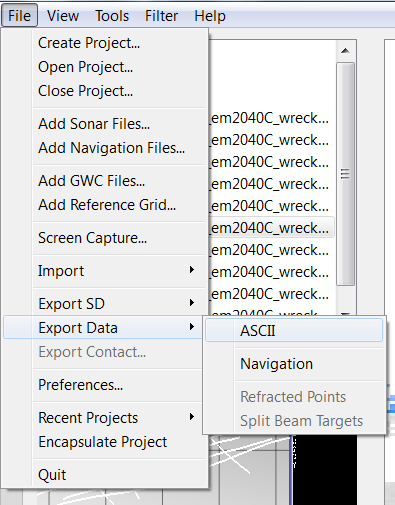
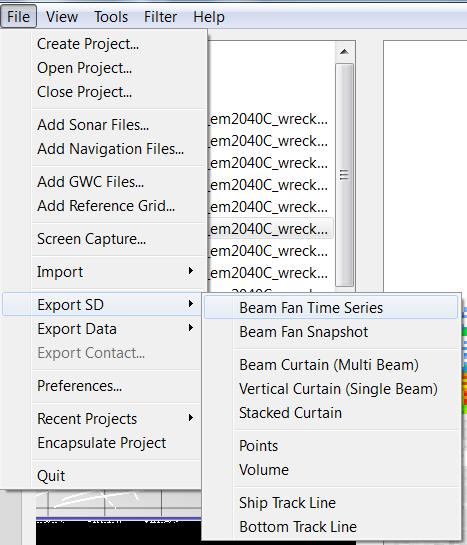
You can now export the feature. Using the File> Export menu you have the option to export either the ASCII points (which can then be included in a PFM) or a range of SD features which can then be opened in Fledermaus.
-
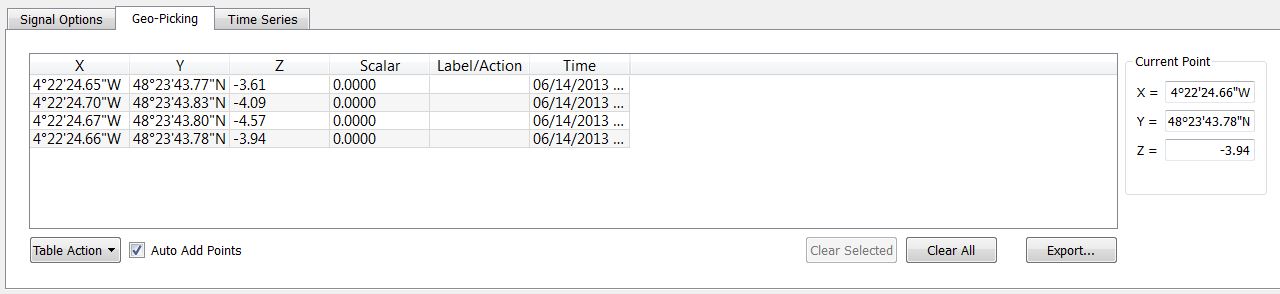
You can also export points for certain features. Using the geopicking tool

select a series of points in the fan view.
-
From here you can then view your selected points in the Geo-picking window before editing and exporting them using the tools available. These exported points can then be brought into Fledermaus with the rest of your exported data.
-
Launch Fledermaus using the Icon

or through the Program files window.
-
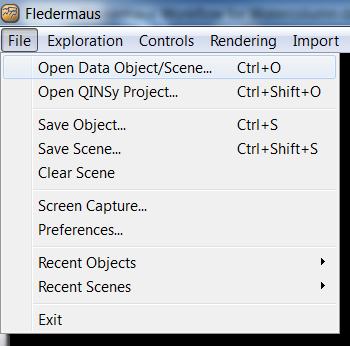
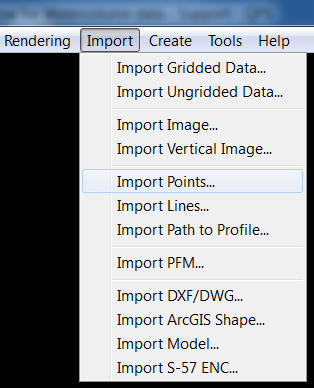
You can then load your files using the File>Open Data Object/Scene option for the SD files or Import> Import points for any Ascii points you have exported. These can be combined in a scene with the bathymetry and any other data that you have.