How-to Import Processed Point Files
This How-to briefly explains how to import different types of processed points into Qimera.
Introduction
Many different Processed Point files can be added to a Qimera project and used to make surfaces for cleaning and filtering the points.
Importing Processed Point Files
Step-by-Step
Step 1: Open Add Processed Point Files Dialog
There are three ways to open the Add Processed Point Files Dialog (see Figure 1).
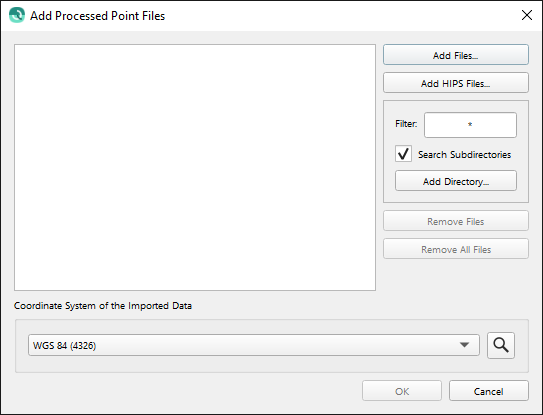
Figure 1. The Add Processed Point Files Dialog Box.
By selecting the "Add Processed Point Files" button in the main toolbar (see Figure 2a).

Figure 2a. Add Processed Point Files button.
By Selecting "Add Processed Point Files" under Source (see Figure 2b).
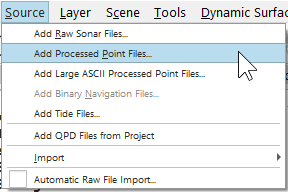
Figure 2b. Add Processed Point Files under Source.
By right clicking "Processed Point Files" in the Project Sources Dock and selecting "Add Point Files" (see Figure 2c).

Figure 2c. Add Processed Point Files under Project Sources.
Step 2: Adding Files in the Add Processed Point Files Dialog
Click "Add Files" in the Add Processed Point Files dialog box (see Figure 1), to open the Add Source Files dialog box (see Figure 3), which typically opens to the last project open in Qimera or open in the dialog. Choose the type of point file that will be used, navigate and select the processed point files wanted. There are multiple types of files that are considered processed point files like .las ASCII files and QPDs, adding each one is different.
See Qimera Supported Import Data Formats for more information.
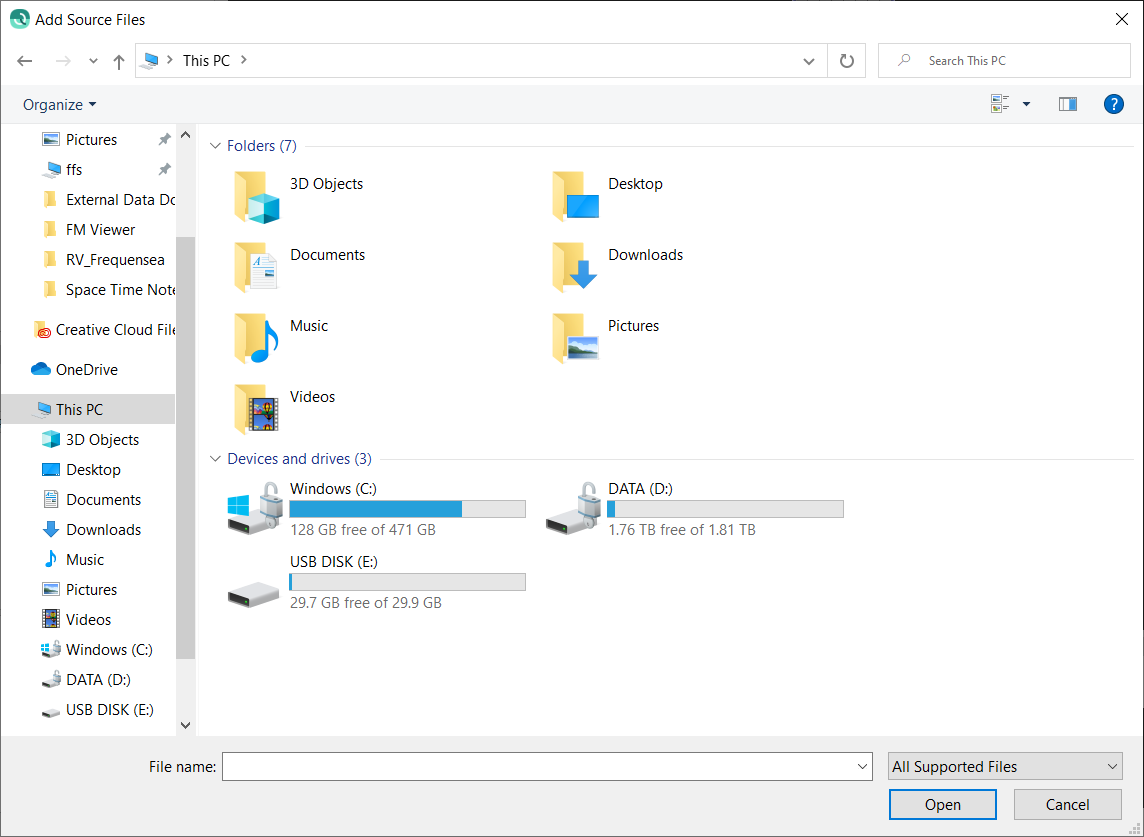
Figure 3. Add Source Files Dialog.
QPDs are the easiest processed point files to add as they are already in the QPS point file format. To add QPDs select the files wanted and select "Open".
To add .las ASCII files navigate and select on the files wanted, select "Open". This will bring up the Custom ASCII File Configuration Dialog (see Figure 4). Change the settings to correctly read the file.
See How-to Custom ASCII File Import for more information.
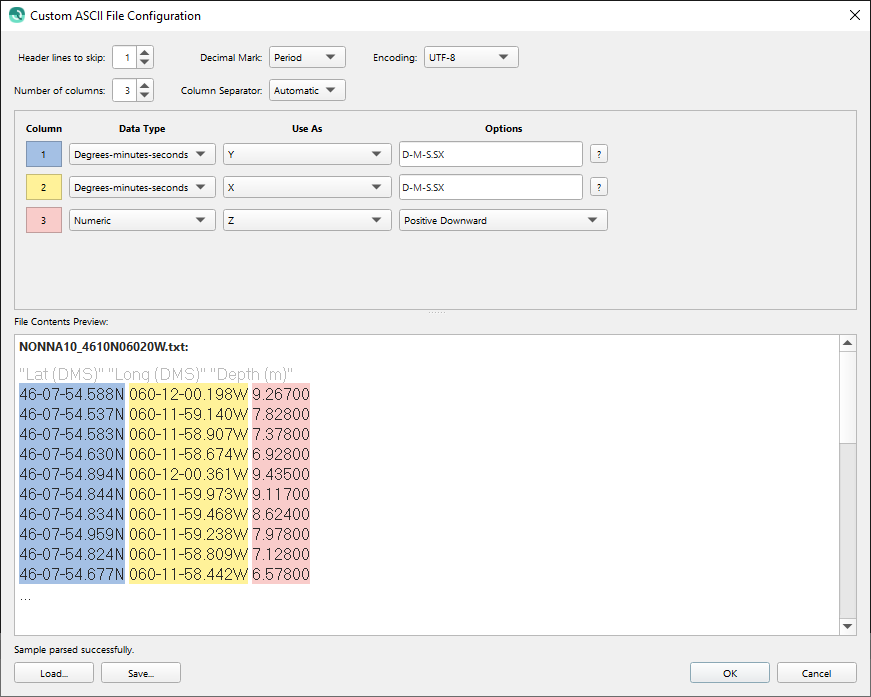
Figure 4. Custom ASCII File Format.
Step 3: Coordinate System and Importing Files
Once the processed point files are selected choose the Coordinate System of the file from the drop down menu or use the search button (see Figure 5), then select "Ok" to import the processed point files into your Qimera Project.

Figure 5. Choose the Coordinate System of Imported Data and import.
Once the Processed Points are imported to the Qimera Project, each file is scanned for metadata and converted to QPDs. You can see the progress of the scan in the Job Activity window (see Figure 6a), and after each file is scanned it will be enabled in Project Sources. You can now see the loaded center track line in the 4D scene (see Figure 6b), and can use the points to create either a dynamic or static surface. If you created a dynamic surface it is ready for either cleaning or filtering.
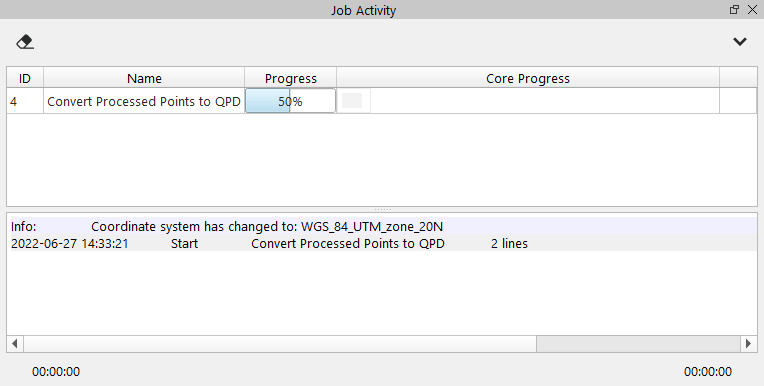
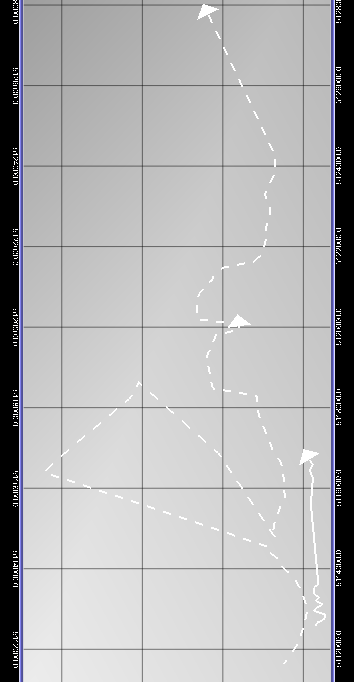
Figures 6a and b. The Job Activity progress of scanning the point files, and the loaded files in the 4D scene.
Make sure the correct coordinate system of the point files is specified. Qimera will make an educated guess on the data coordinate system, but the data can be imported with a different coordinate system than the project.
Processed Point File Data Interaction
When point file data has been imported into the project, it is added under "Processed Point Files" in the Project Sources dock (see Figure 7).
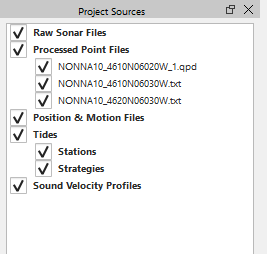
Figure 7. Location of Processed Point Files ion Qimera.
To see the properties and metadata for any Process Point File (see Figure 8), click on the file in the Project Sources tree and then click on the Properties window.
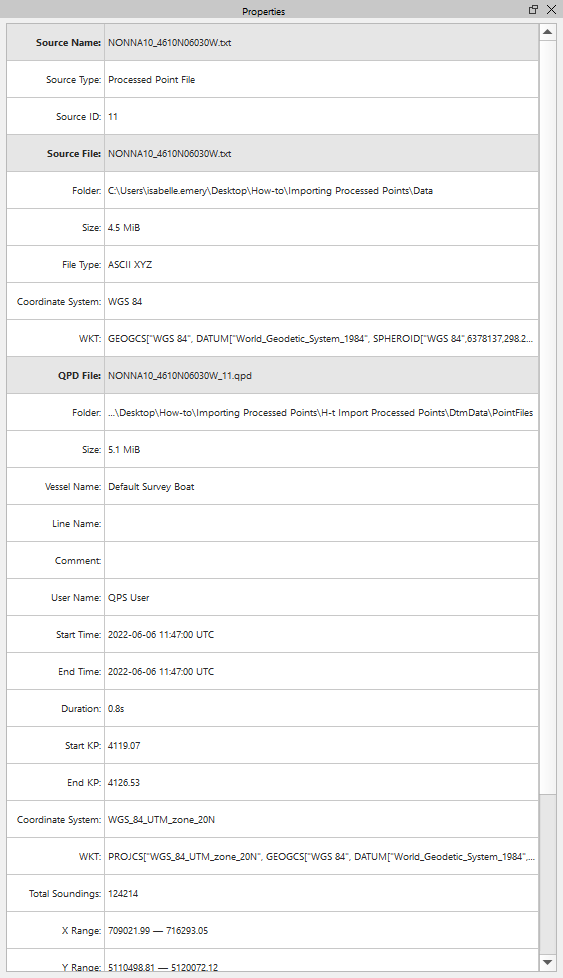
Figure 8. Properties of Processed Point Files.
Selecting any file in the Project Source tree will highlight the file's center track line in the 4D scene and vice versa (see Figure 9). Multiple lines can be selected from either the Project Sources tree or the Work area using the Ctrl key or the Shift key.
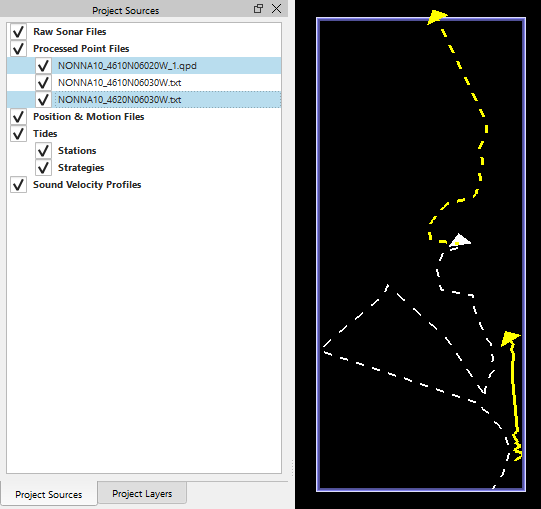
Figure 9. Selected center lines.
Right clicking on a Processed Point File in the Project Sources dock and selecting "Edit File Configuration..." (see Figure 10a) will open the Custom ASCII Configuration dialog box (see Figure 4). Changing anything within the Custom ASCII Configuration dialog box to a processed point file, that has an associated QPD file, will cause the QPD file to automatically be regenerated. Before the QPD is regenerated, a configuration warning will pop-up (see Figure 10b) because any edits made to the QPD file before changing the configuration will be lost.
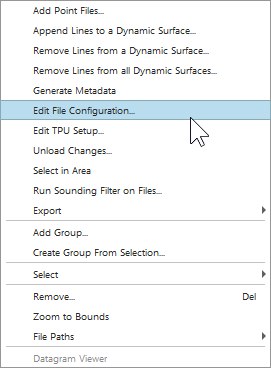
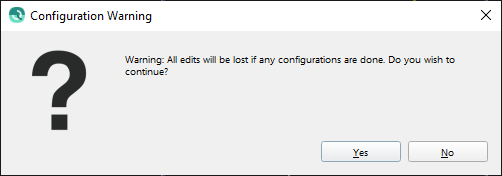
Figures 10a and b. Edit File Configuration for Processed Point Files, and configuration warning.
Right clicking on a Processed Point File in the Project Sources dock and selecting "Edit TPU Setup..." (see Figure 11a) will open the TPU Calculation dialog box (see Figure 11b). This is used to calculate the Horizontal and Vertical TPU values for each sounding in the file. This setup is only necessary when building a Dynamic Surface with CUBE, and can be changed at a later time.
See Qimera Processed Point File TPU Calculation Dialogfor more information on the source of TPU.
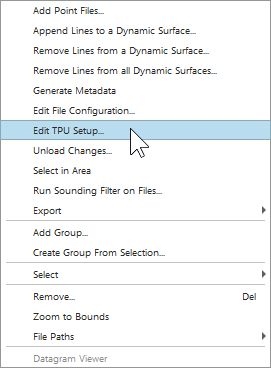
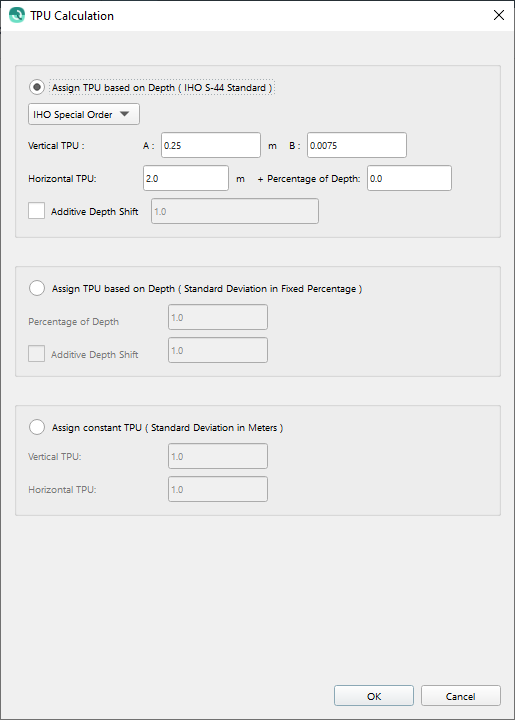
Figures 11a and b. Opening and the TPU Calculation dialog box.
In the case where an ROV collected the data, the depth value does not reflect the actual depth relative to the ROV at collection time.
For cases such as this an additive depth shift can be added. This option is under Assign TPU based on Depth (IHO S-44 Standard).
Processed Point File Operations
Qimera supports the following operations for Processed Point files:
Build Static Surface
Build Dynamic Surface
Export Processed Points
Unload Edits to original processed point file
With the exception of Unloading, all these operation can be done with Raw Data as well. When Raw Data is imported into Qimera, it creates QPD files (points files). So documenting how these operations work is not needed here.
Either the processed point file or the created QPD files will be used when creating surfaces or exporting point files in Qimera. The processed point file will be used when creating a static surface from files or exporting the processed point files loaded in without making a dynamic surface first. The created QPDs will be created and used when creating a Dynamic surface, and then also used when creating a static surface or exporting processed point files after the dynamic surface has been created. The QPD file created for each processed point file will be stored under /DtmData/PointFiles/.
All edits made to the dynamic surface will be saved to the QPD files, these edits can be applied to the original processed point files by using the unload tool in Qimera. This tool is found under Dynamic Surface Tools in the toolbar or by right clicking on the file and selecting "Unload Changes..." (see Figure 12).
See Qimera Supported Import Data Formats for the types of files that can be unloaded to.
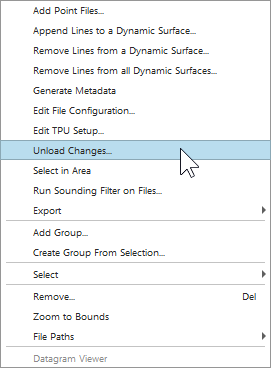
Figure 12. Unload Changes tool from right clicking on point files.
