
This guide covers how to activate and install a softlock license server using command line.
On this page:
LICENSE Server
QPS-License-Server is the application that distributes floating license "leases" for QPS applications. The server runs on your local network.
Softlock License Servers are only supported in Qimera, Fledermaus, FMGT, and FMMidwater.
Softlock License Servers are not supported in Qinsy yet.
Supported Windows versions:
-
Windows 8
-
Windows 10
-
Windows Server 2019
-
Windows Server 2016
The following version can work, but could also experience issues. Preference is to use the versions listed above:
-
Windows 7
-
Windows Server 2012
Online Setup
The online activation steps should be followed when a machine has access to the internet.
Activating the Server
Before you can use the Server it must be activated.
1) Download the Server Package QPS-License-Server-X.X.X-win64.zip
2) Unzip Server Package
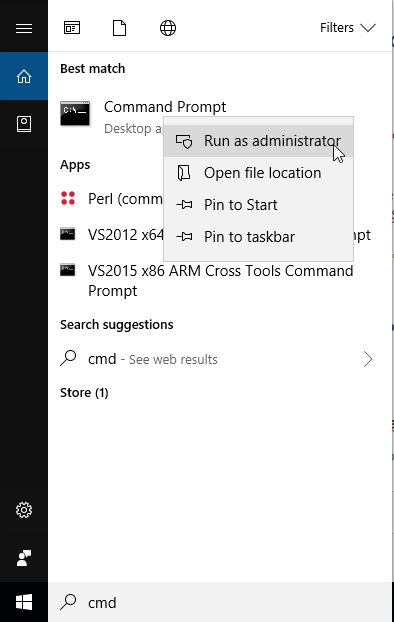
3) Open command prompt as administrator
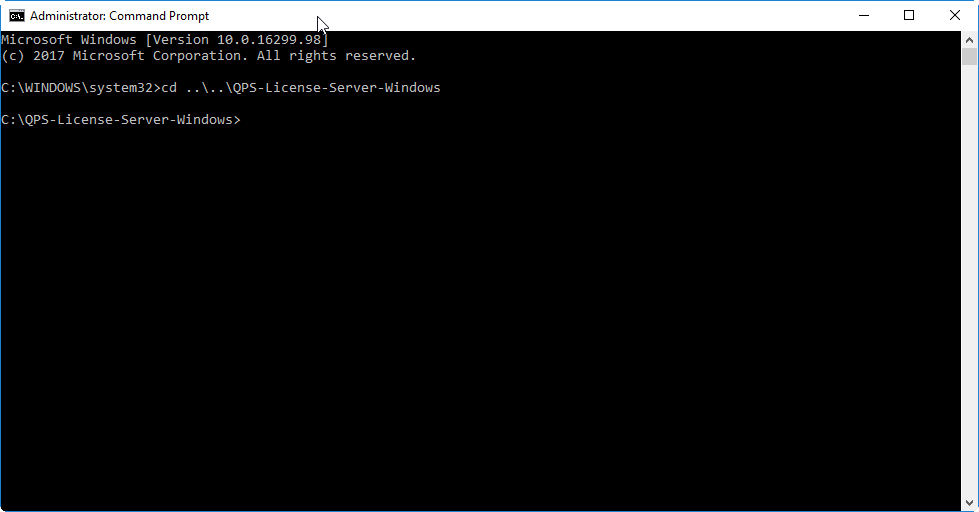
4) cd into where the unzipped server package is located
cd ..\..\QPS-License-Server-Windows
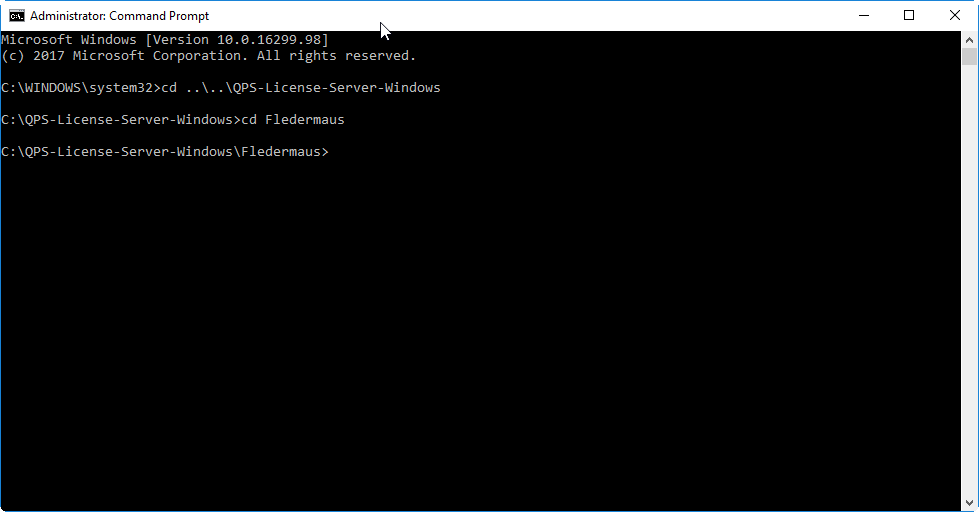
5) cd into the folder for the product that you want to activate
cd Fledermaus
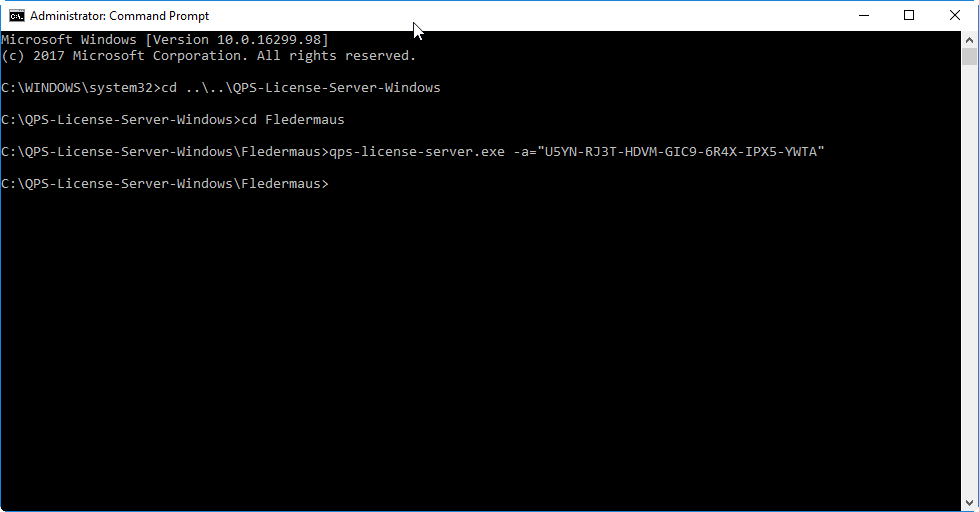
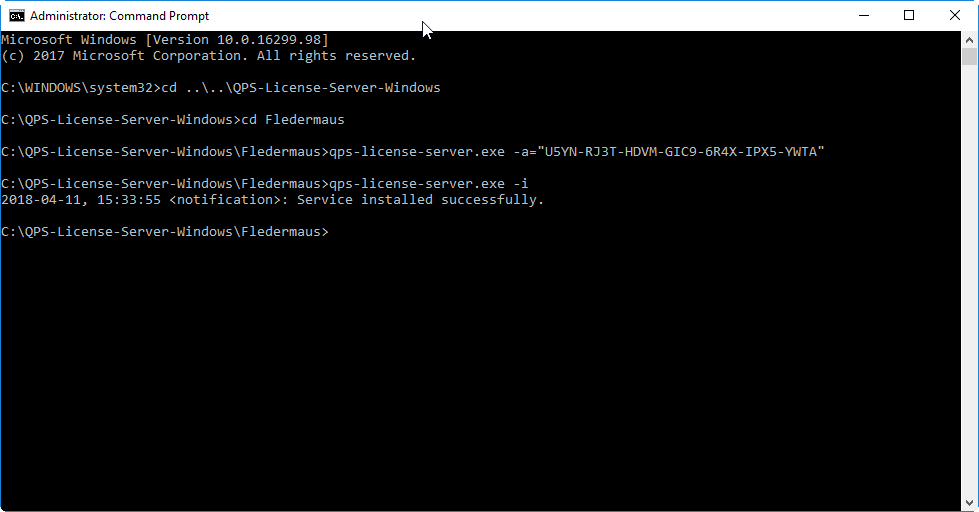
6) To activate the QPS License Server online, simply pass the product key provided to you, like this:
QPS-License-Server.exe -a="ABCD-EFGH-IJKL-MNOP-QRST-UVWX"
7) Repeat steps 5) and 6) for every product you wish to activate.
Installing the Server
1) You can use a simple commandline switch "-i" to setup your Server.
This does two things:
-
It installs the QPS License Server instance as a Windows Service set to start with the computer and run silently in the background.
-
It starts the QPS License Server immediately.
QPS-License-Server.exe -i
2) Repeat this step for every product you wish to install.
Uninstalling the Server
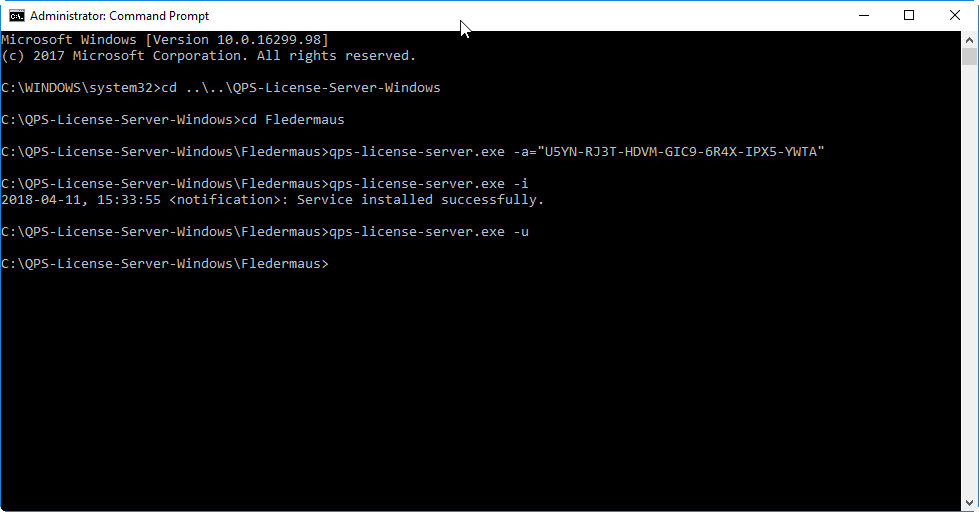
To uninstall the Server simply use the "-u" commandline switch:
This does two things:
-
It stops the Server immediately
-
It removes the Server instance from the Windows Services
QPS-License-Server.exe -u
Deactivating the Server
If you want to move the Server from one computer to another computer you will have to deactivate from the first computer before you can activate on the second computer.
To deactivate the Server instance you must use the "-deact" commandline switch:
QPS-License-Server.exe -deact
As soon as the -deact option is run, the license is deactivated locally and can no longer be turned back on without using the -a option used during an online activation.
Re-activate the Server
If you've already activated and you want to re-activate the server, then you don't need to pass a new product key.
You can call the Server with the "-a" commandline argument:
QPS-License-Server.exe -a
Running the Server from Command Line
If you would rather just run the Server from the commandline, rather than installing it, you can do that using the "-x" command switch:
QPS-License-Server.exe -x
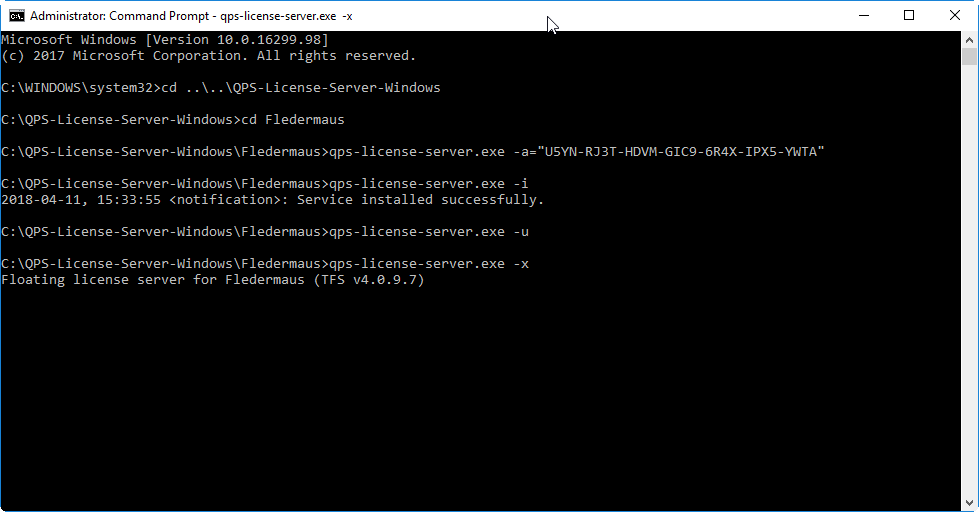
In this example, the Server instance will run from the commandline.
Upgrading the Server Instance
Upgrading the Server instance is simple:
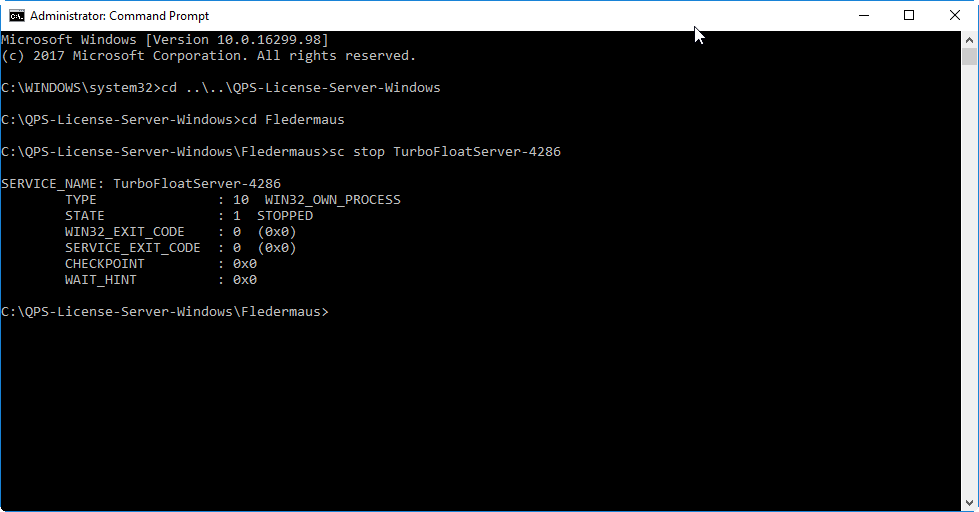
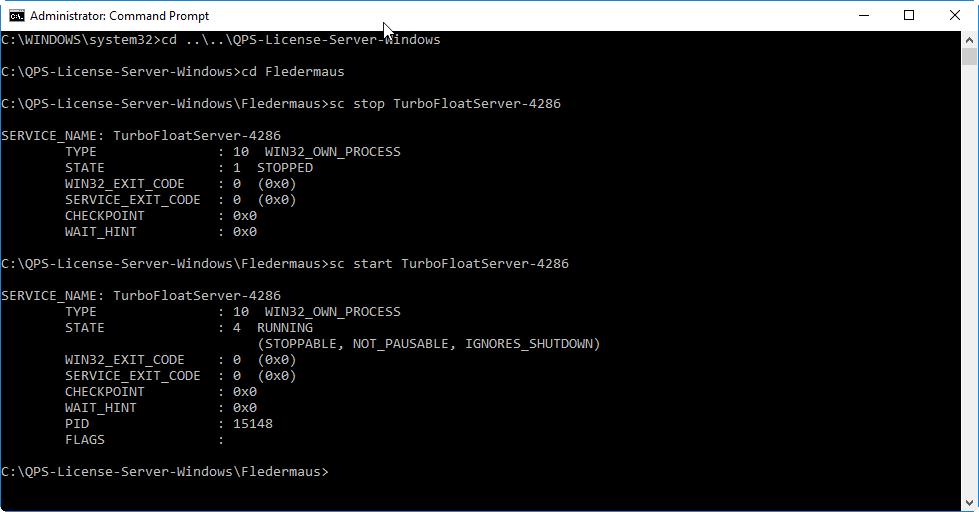
To start / stop the Server Windows Service instance you must use the "service name" of "TurboFloatServer-[VERSIONID]".
The "[VERSIONID]" value is the id of the version where the product key is from. You can get the version ID by examining the URL in your browser.
For instance, from the URL https://wyday.com/limelm/version/100/ you can see the version ID is 100. (Note: The Version ID is not the Version GUID).
So if your version id is "100" then the service name for your Server instance is "TurboFloatServer-100" on Windows.
1) Stop the running of the old instance of the Server.
sc stop TurboFloatServer-100
2) Replace the old QPS-License-Server.exe (or whatever you've renamed it as) with the new versions.
3) Start the Server instance again
sc start TurboFloatServer-100
Offline Setup
The offline activation process should be used when a machine does not have access to the internet.
A file must be retrieved from the machine and sent to QPS to initialize the license, and a response file from QPS must be loaded by the server.
Transferring the file can be done by internal network to another machine or by USB key. Activation is otherwise similar to online activation.
Activating the Server
Before you can use the Server it must be activated.
1) Download the Server Package QPS-License-Server-X.X.X-win64.zip
2) Unzip Server Package
3) Open command prompt as administrator
4) cd into where the unzipped server package is located
cd ..\..\QPS-License-Server-Windows
5) cd into the folder for the product you want to activate
cd Fledermaus
6)
a) Activate and create the offline request file. It is suggested to use the name of the product in the filename, particularly if one is activating more than one product server.
For example, to activate Fledermaus:
.QPS-License-Server.exe -a="ABCD-EFGH-IJKL-MNOP-QRST-UVWX-YYZZ" -areq="C:\Location\To\Save\Fledermaus-ActivationRequest.xml"
At this point, the file Fledermaus-ActivationRequest.xml or equivalent must be sent to QPS.
Once the contact at QPS has sent back a response file, e.g. Fledermaus-ActivationResponse.xml, the activation may be completed by applying the response file.
b) Apply the response file from QPS as follows:
QPS-License-Server.exe -a -aresp="C:\Location\To\Load\Fledermaus-ActivationResponse.xml"
The activation should now be completed.
7) Repeat steps 5) and 6) for every product you wish to activate.
Installing the Server
It installs the QPS License Server instance as a Windows Service set to start with the computer and run silently in the background.
This does two things:
-
It installs the QPS License Server instance as a Windows Service set to start with the computer and run silently in the background.
-
It starts the QPS License Server immediately
QPS-License-Server.exe -i
2) Repeat this step for every product you wish to install.
Uninstalling the Server
To uninstall the Server simply use the "-u" commandline switch:
This does two things:
-
It stops the Server immediately.
-
It removes the Server instance from the Windows Services.
QPS-License-Server.exe -u
Deactivating the Server
If the server does not have access to the Internet, offline deactivation steps must be followed as outlined below. Note that the file generated must be sent to QPS at your point of contact.
1) Deactivate and create the offline request file. It is suggested to use the name of the product in the filename, particularly if one is deactivating more than one product server, similar to that done during an offline activation.
For example, to deactivate Fledermaus:
QPS-License-Server.exe -deact="C:\Location\To\Fledermaus-deactivation.xml"
2) At this point, the file Fledermaus-deactivation.xml or equivalent must be sent to QPS. Once QPS receives and processes the file, it will then be possible to activate the server on another machine, using either online or offline activation at your choice. Until the deactivation file is processed, it will not be possible to activate another license server.
Repeat steps 1) and 2) for every product you wish to deactivate.
As soon as the -deact option is run and the file is processed by QPS, the license is deactivated and can no longer be turned back on without using the -a -aresp option used during an offline activation.
Updating Existing Offline Server License
When it is time to renew an existing offline server license, the following procedure can be used to generate an activation request file and to apply the response file. In the following example, the Fledermaus product is being updated . For other products, replace Fledermaus with the name of the product to be updated. It is also possible to stop and start the service directly, either with the sc command or in the Windows Services panel, instead of using the -u and -i options, respectively. The server must already be activated and running to apply this procedure. This procedure will save downtime while waiting for the activation response. The server will continue to run with the existing license until the corresponding ActivationResponse.xml file can be applied.
.\qps-license-server.exe -u .\qps-License-Server.exe -a -areq="C:\Location\To\Save\Fledermaus-ActivationRequest.xml" .\qps-license-server.exe -i # ---- Wait for response ----- .\qps-license-server.exe -u .\qps-license-server.exe -a -aresp="C:\Location\To\Load\Fledermaus-ActivationResponse.xml" .\qps-license-server.exe -i
Companion files "TurboActivate.dat" or "TurboFloatServer-config.xml"
When the Server is activating it needs to load both the "TurboActivate.dat" and "TurboFloatServer-config.xml" files.
By default, the server package for each product will contain these files.
See also the section in the manual for License Manager to set custom ports.
Delay Start
If you want to install the Server, but don't want it to start immediately, then use the "-delaystart" commandline switch:
QPS-License-Server.exe -i -delaystart
This installs the Server instance but it doesn't start the service. The service will be started on the next restart of the computer.
This can be used when performing both an online and offline activation.
Firewall
If you have any firewall software running then you'll have to set it to allow incoming connections to the Server instance. If you installed the service using the -i option, and are using the Windows Firewall, it will be automatically configured for the license server.
This step usually only applies to an online setup, however even with an offline setup, the server may need to have the firewall rules adjusted for clients to connect.
However, in circumstances when the Firewall needs to be configured manually, please follow the guide below:
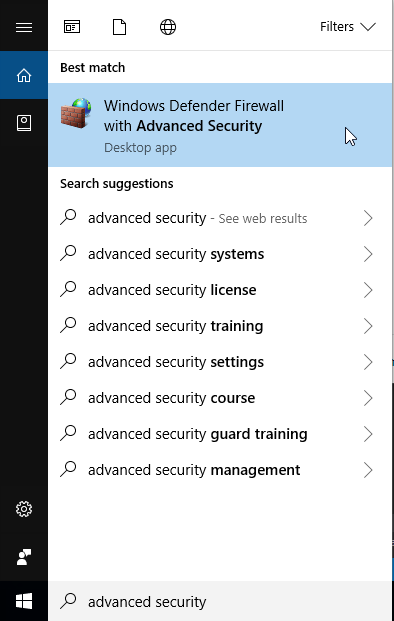
1) Open Windows Firewall with advanced security
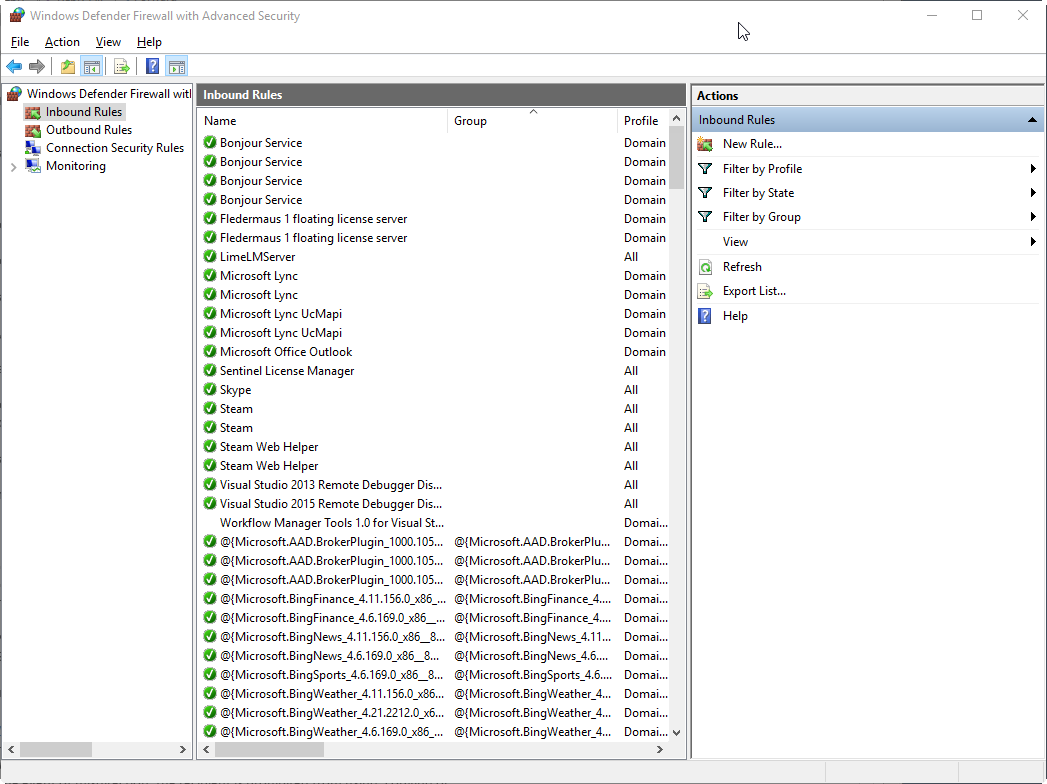
2) Add Inbound Rule
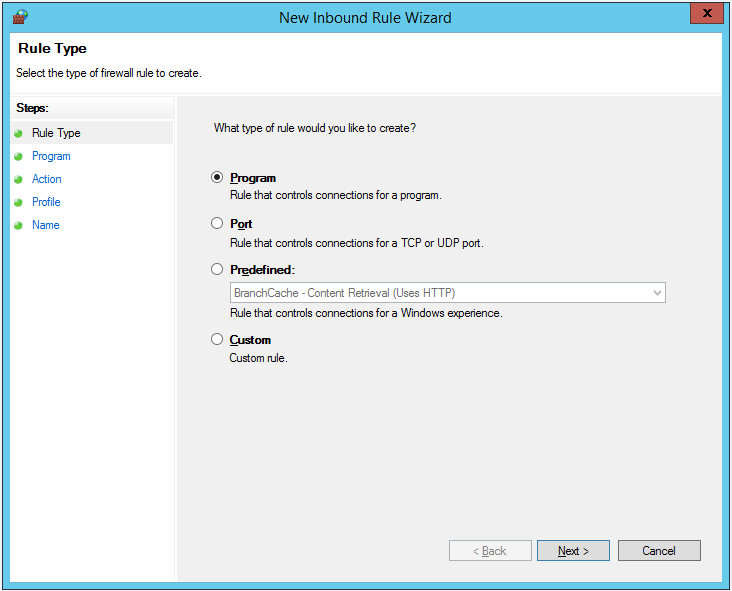
3) Choose Program
4) Click Next
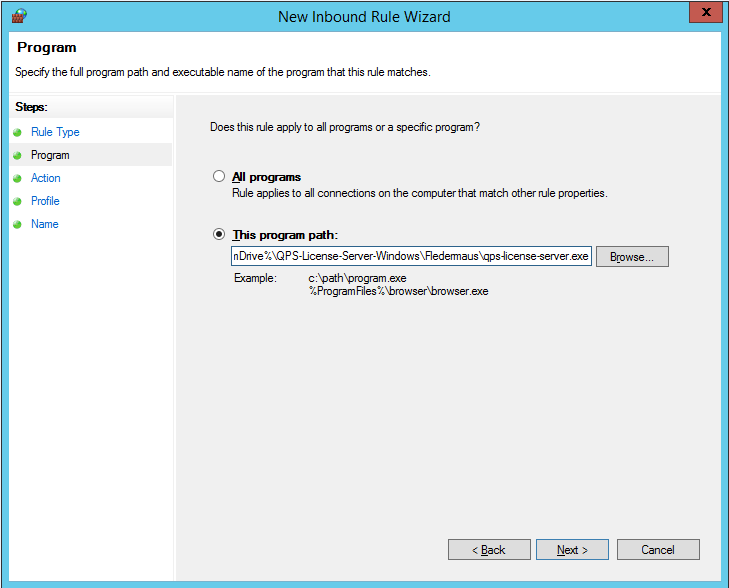
5) Select the program path
6) Click Next
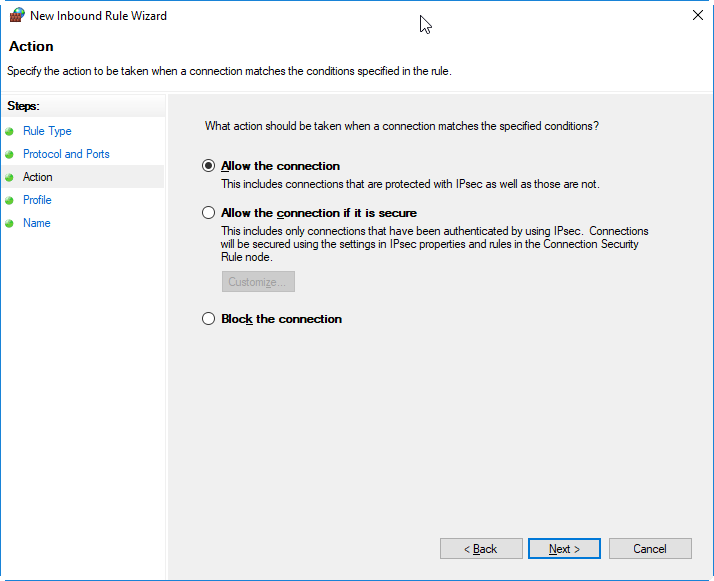
7) Click Next
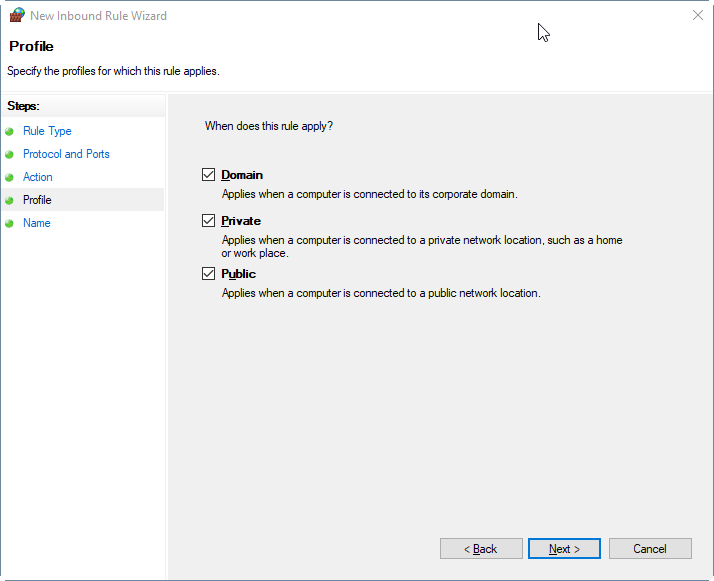
8) Click Next
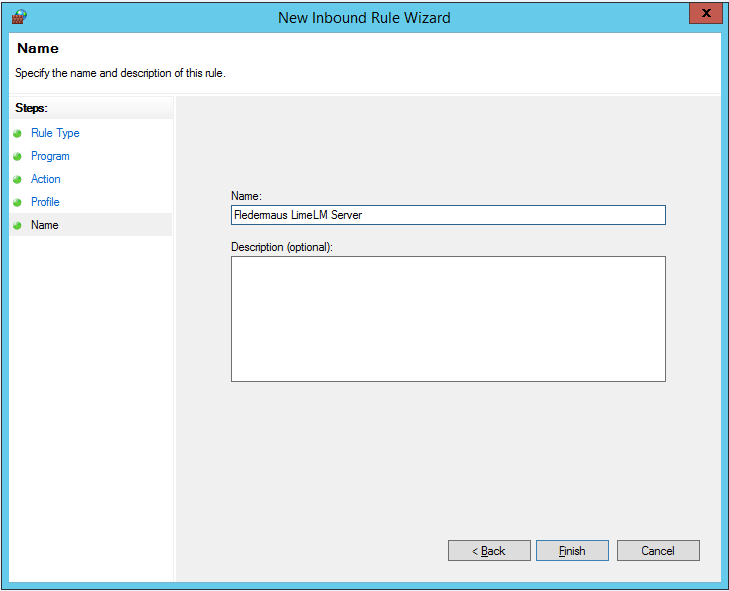
9) Enter Name
10) Click Finish
The end result should be a set of TCP and UDP Inbound rules, for each of the products, similar to the screenshots below:
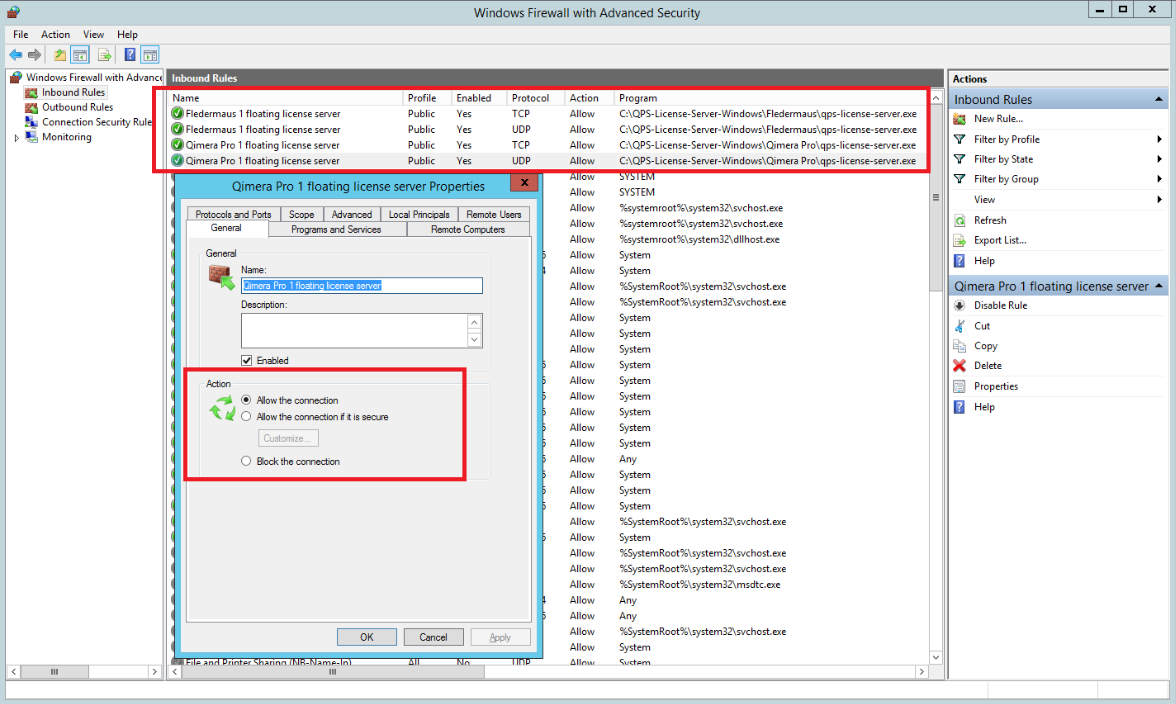

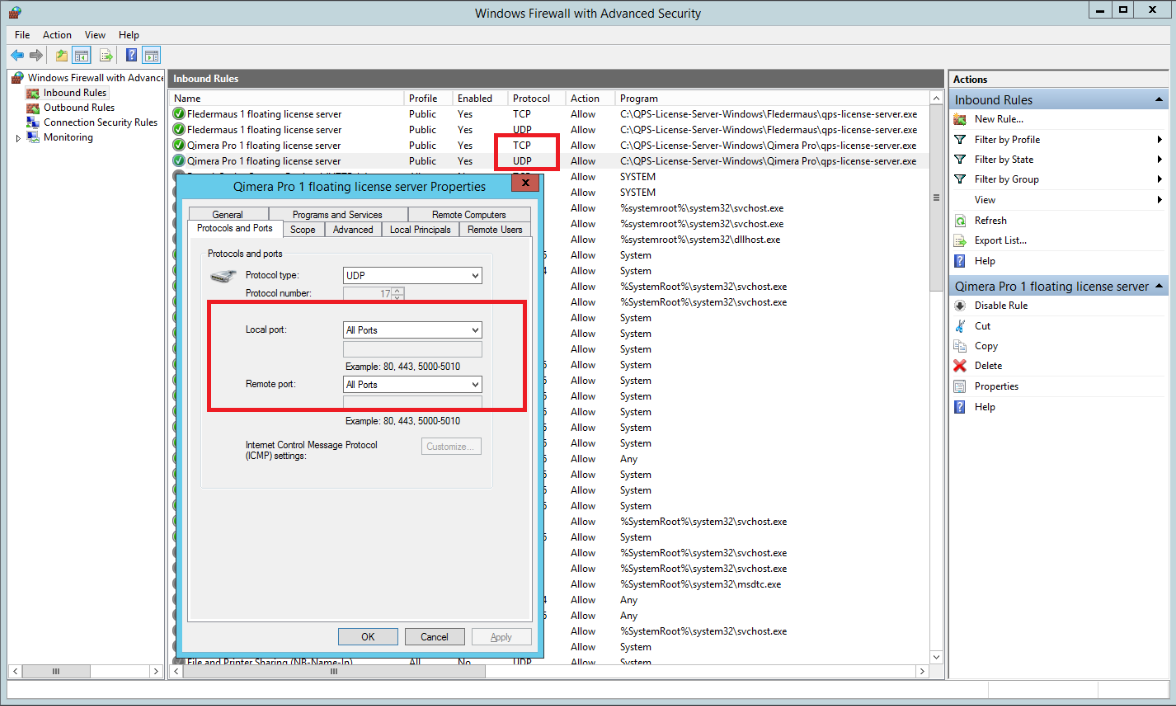
If you are using a different Firewall program, the steps should be similar. If you wish to specify a port range, the server instance will connect using ports 24000-24037.