How-to - Mosaic Edits
This How-to briefly explains how to create edits to a mosaic.
Introduction
This How-to will walk you through the import of a Static Surface from Qimera to limit the extent of a mosaic and use the Edit Segment tool in FMGT to remove sections of a mosaic.
Method 1: Reference Surface
The First Method is to use a reference surface exported form Qimera. More information is available at How-to FMGT - Add a Reference Grid to Improve Backscatter Corrections and FMGT How-to - Reference Grid.
Method 2: Edit Segment Tool
The second method uses the FMGT Toolbar Edit Segment tool (shortcut key E)
Step-by-Step
Step 1: Create a Mosaic
Create a mosaic at the resolution wanted for the final mosaic.
Step 2: Select an Area with the Edit Segment Tool
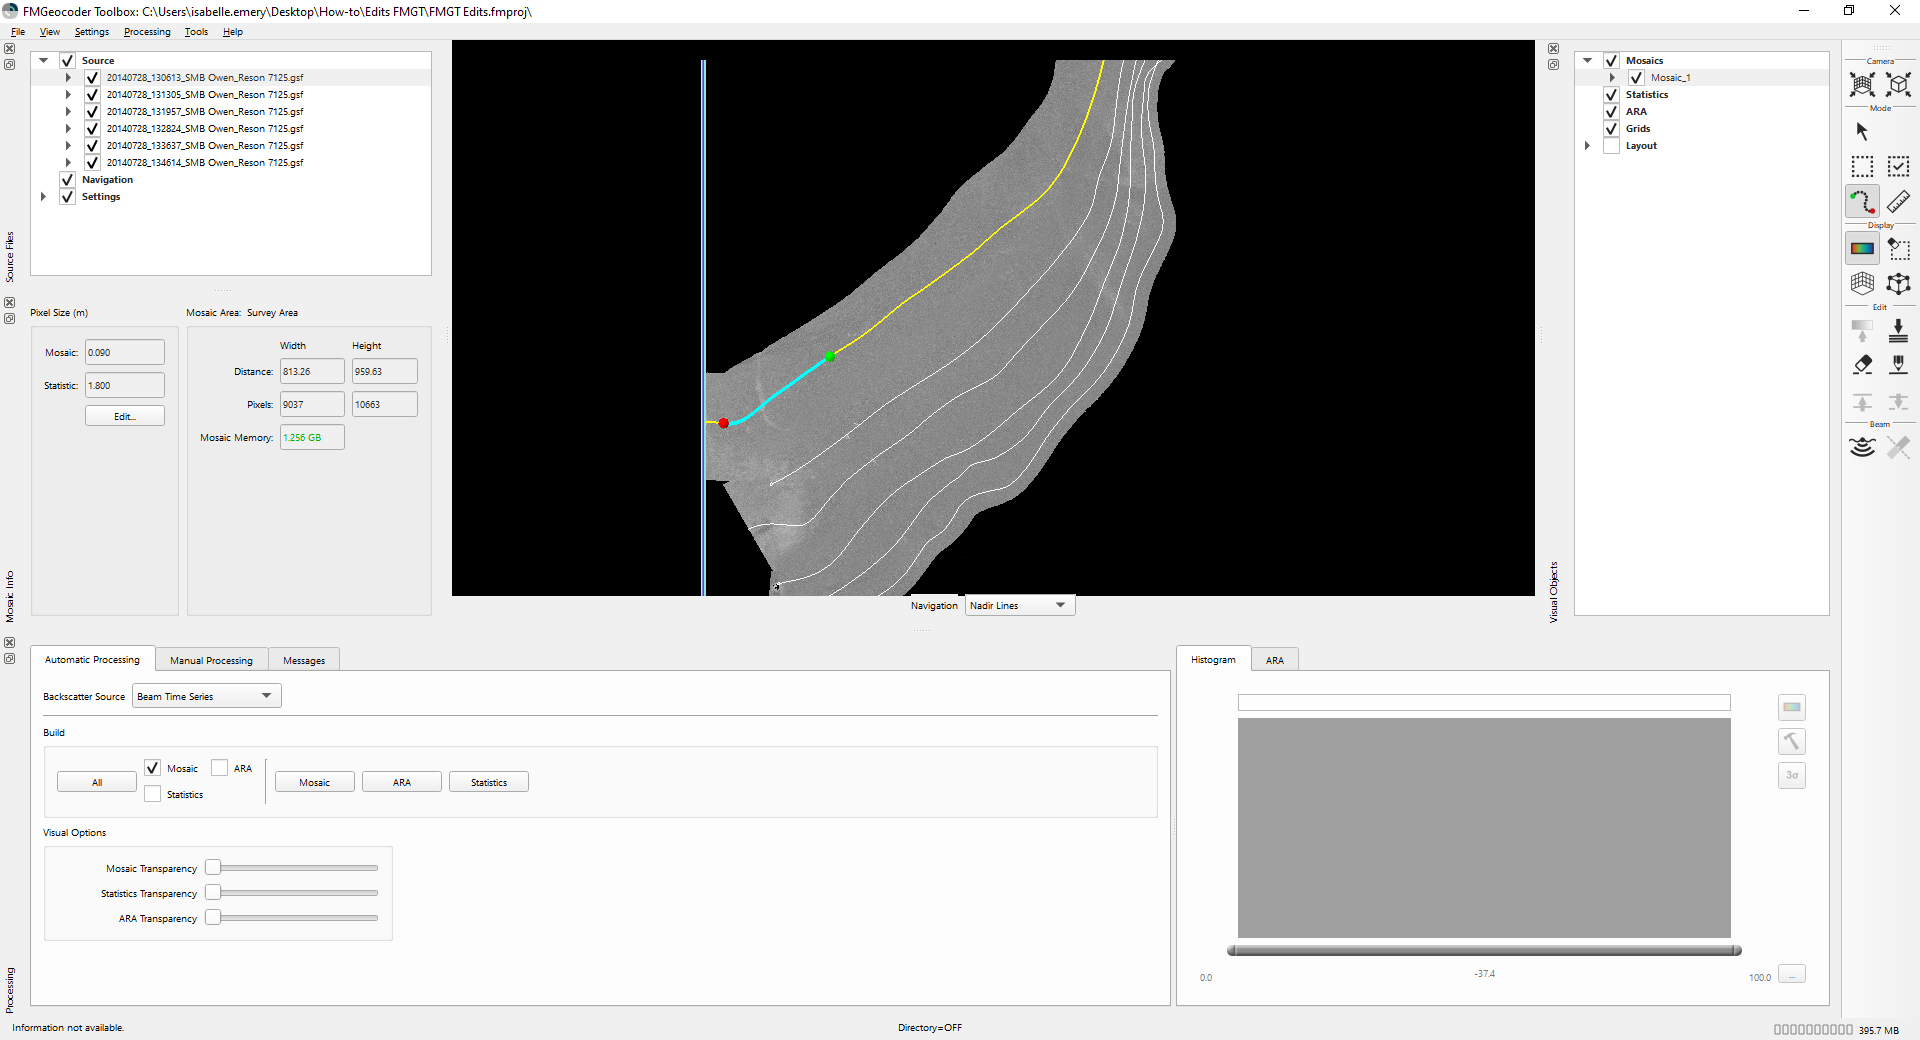
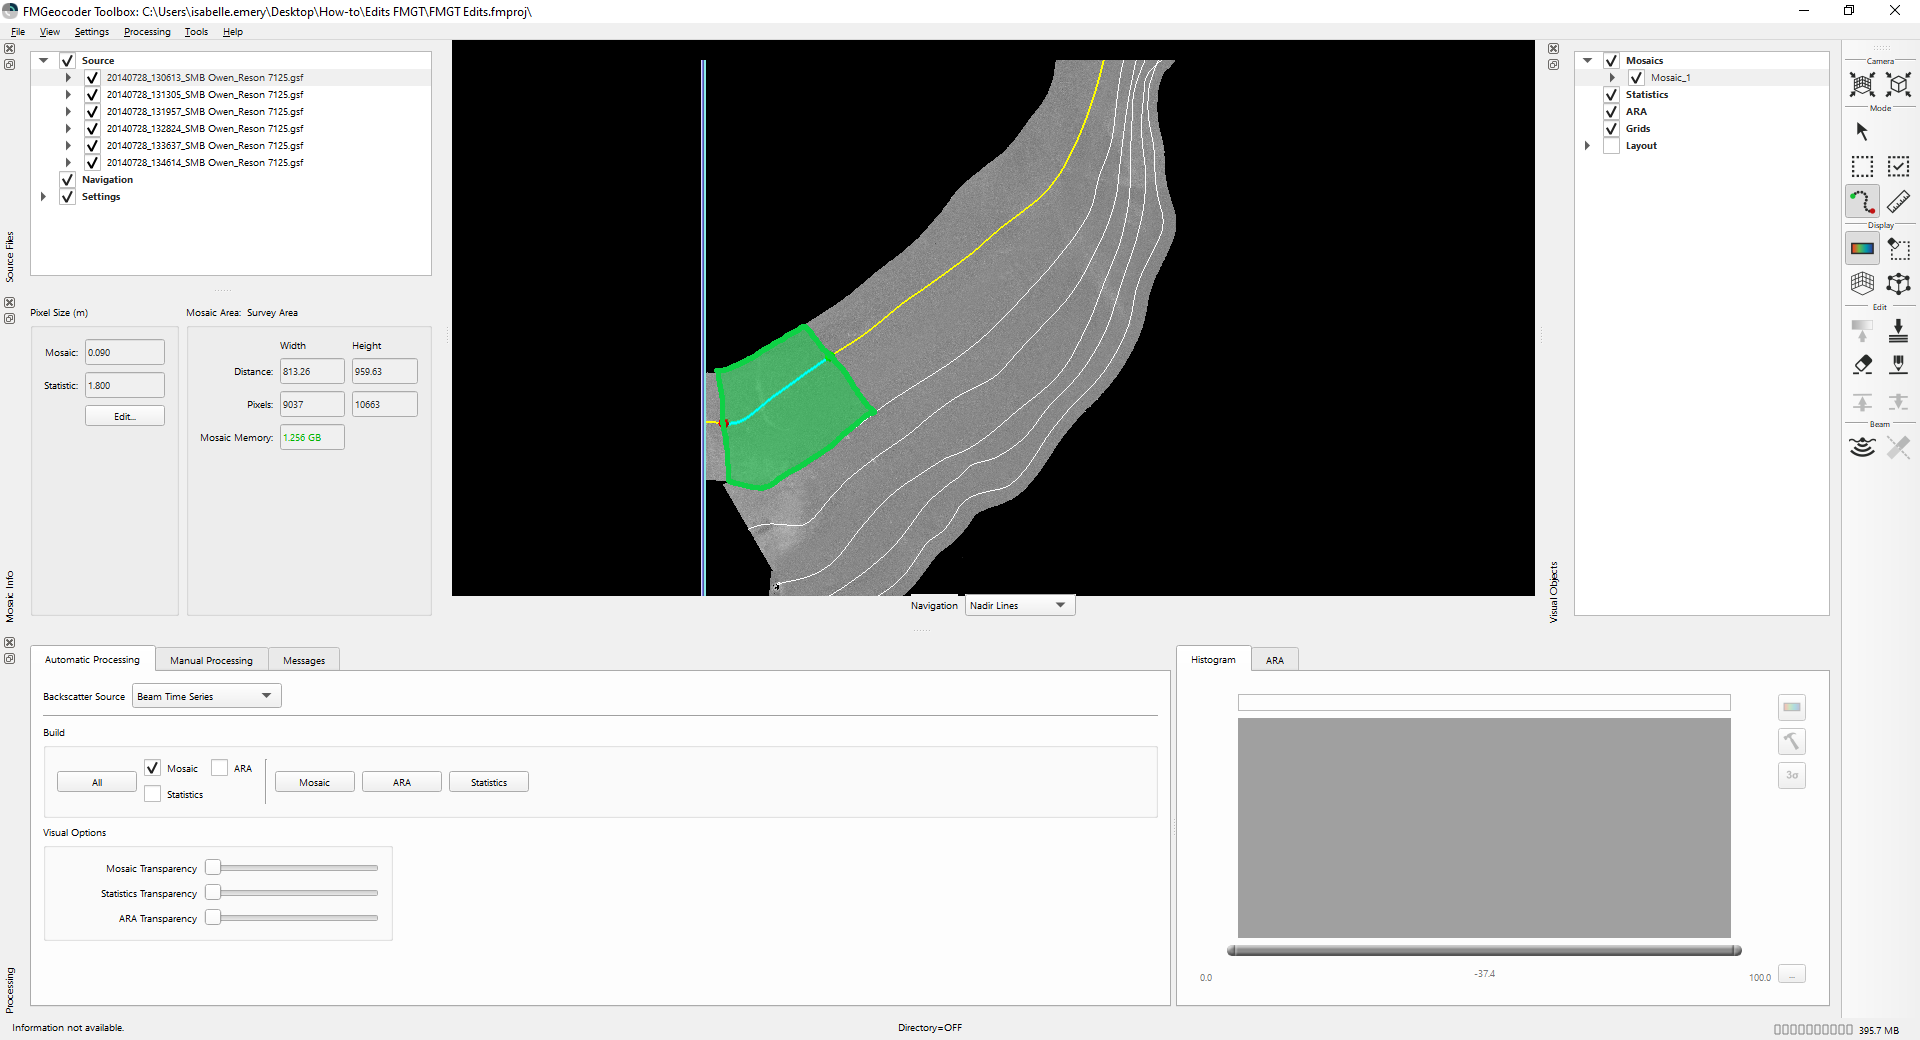
Select the Edit Segment tool under Mode in the toolbar (see Figure 5a) and select an area on the mosaic by clicking with the left mouse to start the segment, and the right mouse to end the segment (see Figure 5b).

Figure 5a and b. The Edit Segment tool and the selected area of the mosaic
Step 3: Cut Out or Add in selection with the Edit Segment Tool
Select the Cut Segment icon (see Figure 6a) to cut the selected area (see Figure 7) and the Add Segment icon (see Figure 6b) to add the selected area to the mosaic.
Figure 6a and b. The Cut segment icon (Eraser) and the add segment icon (Pencil).

Figure 7. The selected area of the mosaic from the edit selection tool.
Mosaic Tips
Use the Edit Segment tools on the final mosaic. If creating a new higher resolution mosaic all the edits will be lost as FMGT has the reprocess the data. However, if you make a new lower resolution mosaic, no reprocessing is required and the edits you made will remain.
