How-to - Import Gridded Data
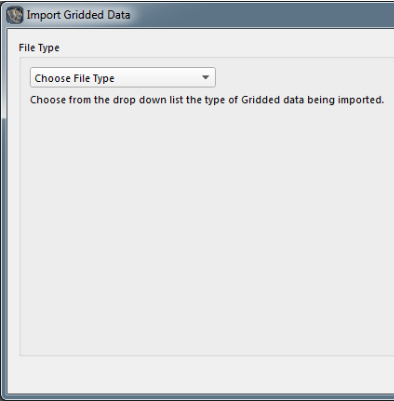
How to Start
Add Gridded Data... option of the File menu in the Main Menu bar.
What it Does
This dialog imports gridded data and creates a gridded visual surface in your project.
General Description
This dialog supports many different formats with a configurable wizard appropriate to the format. Please see Data Formats for each supported format. Depending on the format selected you may see a number of the following import dialogs during the process.
ASCII Gridded Data Page
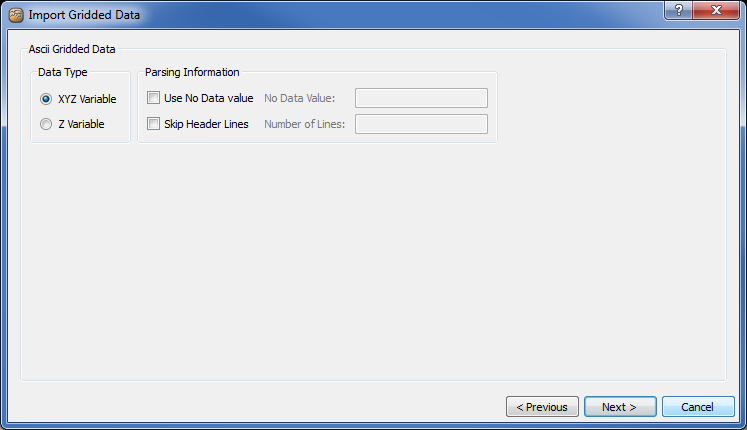
This page is used for gridded ASCII data that can contains either XYZ or Z values. The data in this file should start at the lower left corner moving up to the upper right corner, row by row (ie. South to North, West to East ordering). Fields in the ASCII file may be separated by spaces or tabs, not commas. All lines in the ASCII file starting with the character ‘#’ are treated as comments. Normally information required to properly interpret the file, namely the number of rows and columns of the data, must be entered in the textfields provided; however, the converter attempts to automatically scan any comments at the beginning of the text file and extract the required information if available. If the ASCII file contains the lines “#NROWS = xxx” and “#NCOLS = xxx” then the dimensions can be read directly from the file by pressing Scan for Information. The converter is also smart enough to automatically recognize ascii export grid files produced from the ArcView software package.
You may wish to change the following optional settings:
A special Z value can be specified as a flag for missing data. If a Z value in the input file matches this special value then the associated data point will be flagged as missing in the output file. To use this option check the Use Special Value box and enter this special value in the textfield provided.
To ignore a set number of lines at the beginning of the ASCII file, check the Skip Header Lines option and enter the number of lines to skip in the accompanying text field. This option is useful because some ASCII files may contain header information at the beginning of the file that the converter cannot understand.
To check for missing data points in XYZ files check the Handle Missing Grid Points box. As FMGT scans the data it checks to make sure that each data point occurs. Any missing points are flagged as such in the output file. By default this option is not selected and it is assumed that the data file has all the required data points. To properly identify missing points, FMGT must be informed of the data cell size using the accompanying textfield.
ASCII Gridded Data Z Page
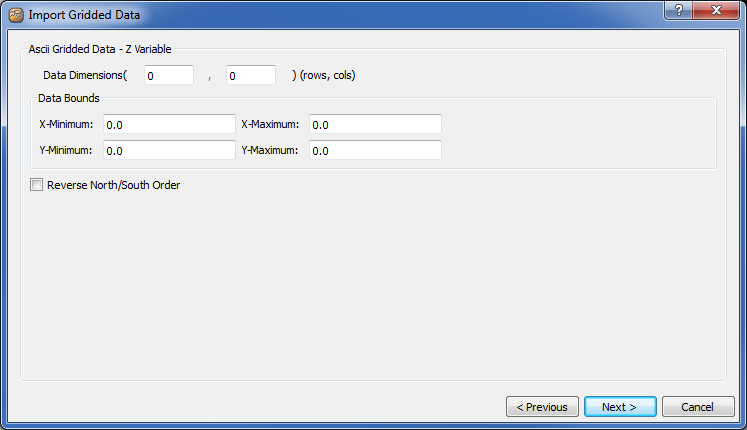
This page is used for gridded ASCII data. It allows you to control Z range and X/Y bounds of the grid. You can choose to reverse the ordering of the data rows in files containing only Z values. If your data is from north to south, this option allows you to read it in properly. To reverse the read order check the Reverse North/South Order box.
ASCII Gridded Data XYZ Data Variable Page
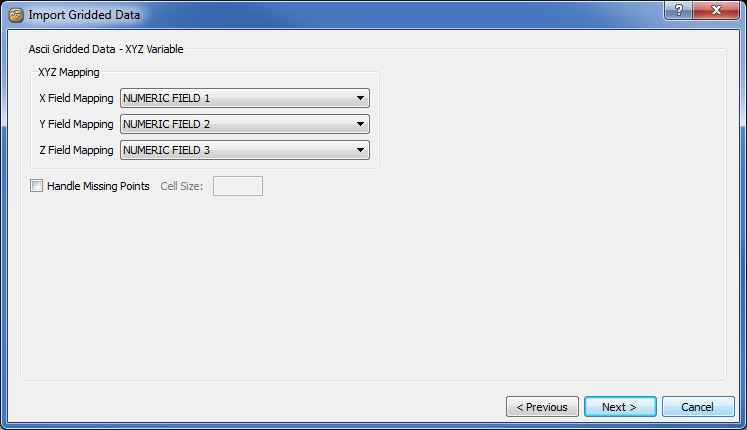
This page is used for gridded ASCII data that contains XY coordinates paired with any number of other variables to be visualized (e.g. temperature, pressure). Choose from the X, Y, Z field mapping from the list of dropdown fields. You can choose to reverse the ordering of the data rows in files containing only Z values. If your data is from north to south, this option allows you to read it in properly. To reverse the read order check the Reverse North/South Order box.
QPS Grid Page
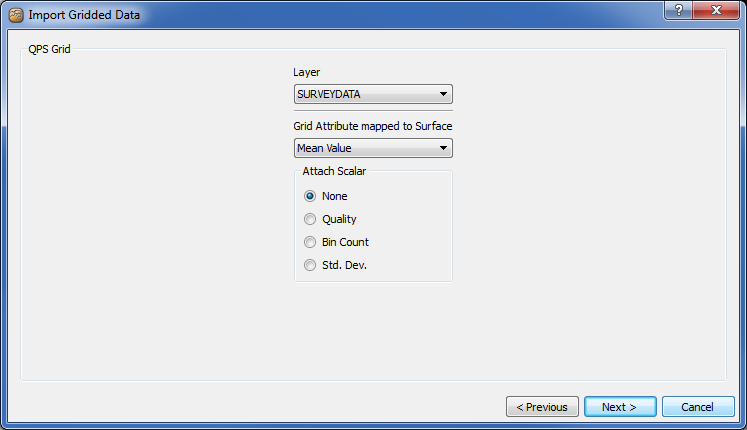
This page is used to import QPS grid files. You need to select which surface in the grid as well as the attribute to import as your Z value. You can also have the option of attaching a scalar along with the Z data.
GRASS GIS DTM Grid Page
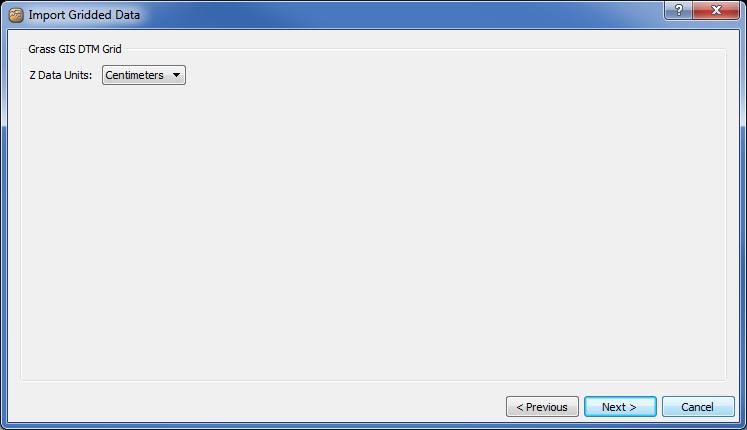
This page is used for GRASS files. GRASS is a commonly used GIS file format. Currently only version 4 files are supported. To import a GRASS file, select it from the GRASS project cell directory. When importing GRASS files, you can specify whether the Z data units are in centimeters, decimeters, or meters using the pop-up menu under File Type Specific Options.
Raw Binary Grid Page
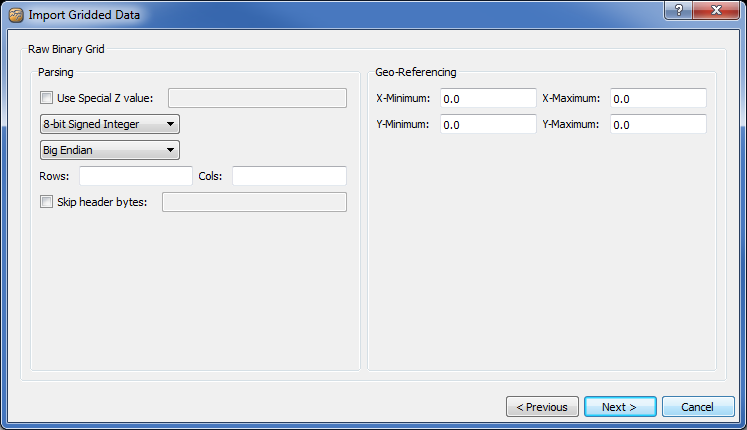
This page is used for raw binary grids. The raw binary importer can read generic binary files in a variety of formats. Select which data format the file is in from the pop-up menu in the File Type Specific Options box: 8, 16, or 32 signed or unsigned integers, or 32 or 64 bit floating point numbers. Select whether the data is in big or little endian format from the endian popup menu. When a number is stored on a computer, it is broken into a number of 8-bit bytes and endian refers to the order that the bytes are stored in memory or on a disk. Little endian systems, such as the PC, store the least significant bytes first, but big endian systems, such as Sun or SGI, store the most significant bytes first. If the wrong endian is specified for importing, FMGT will convert the data but the results will not be correct. Before the data is imported, you must specify the dimensions of the data in the Rows and Cols textfields. Two additional options also exist for the raw binary importer. To skip a certain number of header bytes from the beginning of the file, click on the Skip header bytes box and enter a value. A value to indicate there is no data at a certain position is entered by clicking the Use Special Z Value check box and specifying a value.
USGS DEM Page
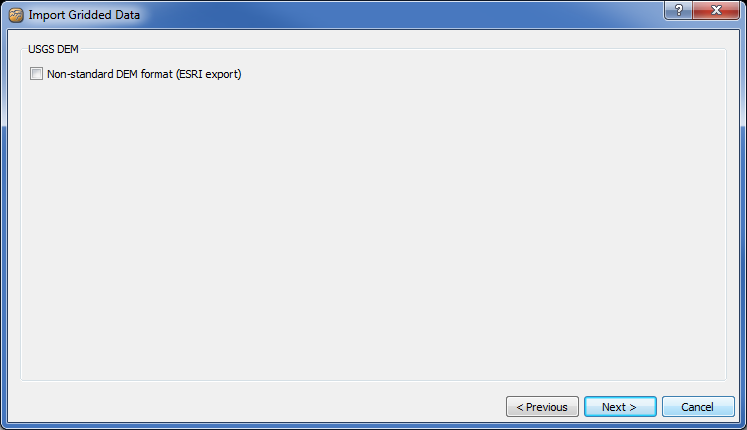
This page is used for US Geological Survey (USGS) Digital Elevation Model (DEM). The only option is for grids that have been exported from ESRI applications.
Input Coordinate Syatem Page
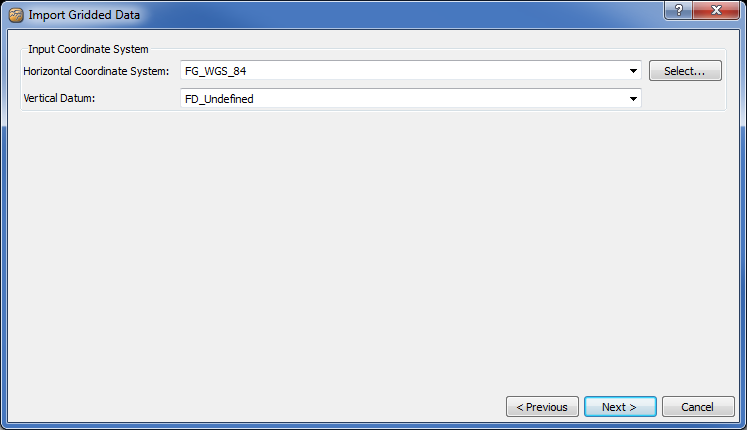
This page is used by all grid import types. This is the coordinate system of the gridded data. See the section on Selecting Coordinate Systems for more information.
Grid Information Bounds Page
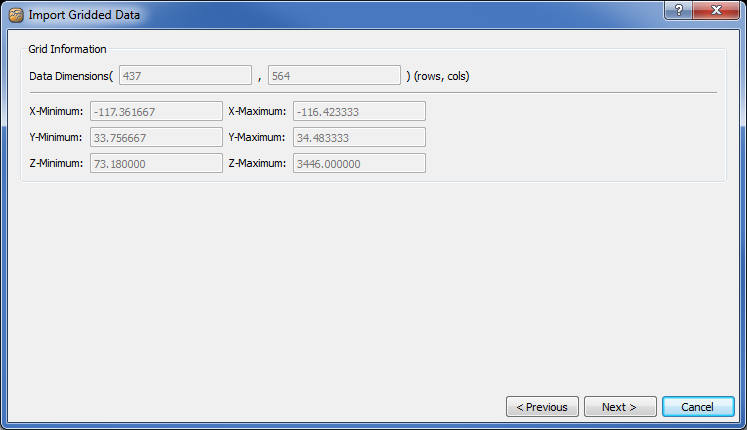
This page is used by all grid import types. This page shows what FMGT believes are the decoded bounds of the grid data.
Z Range Information
This page is used during floating point GeoTIFF import. It can set a NULL value for the Z. When this value is encountered, FMGT treats the cell as having no data.
Z Option and Output Coordinate Page
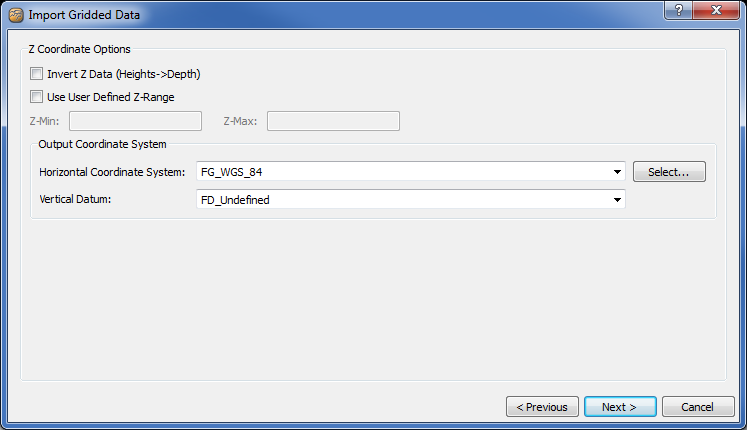
This page is used by all grid import types. This is the output coordinate system of the gridded data. Select your project coordinate system or FMGT will re-project the grid into the project coordinate system. See the section on Selecting Coordinate Systems for more information. You can also use this page to invert the Z values are limit the Z values to a user defined range.
Output SD Options Page
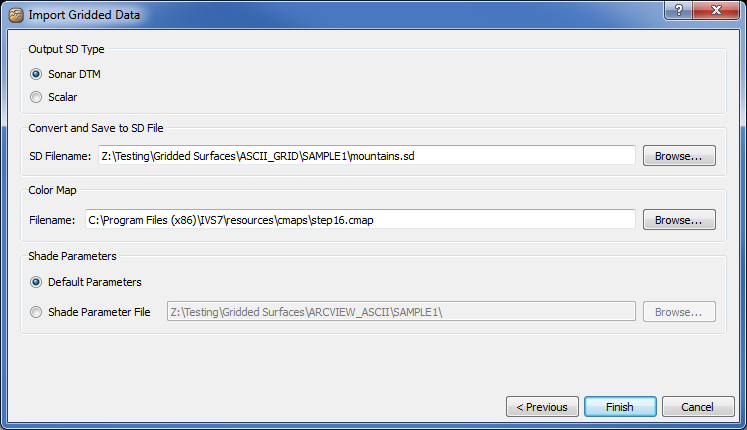
This page is used by all grid import types. You can select to produce a QPS DTM SD object or a QPS Scalar SD object. You define the output filename as well as the default color map. When importing a Sonar DTM, you can also select the shading parameter options.
