
Slice-Based Editing
Using the 3D Editor in slice mode
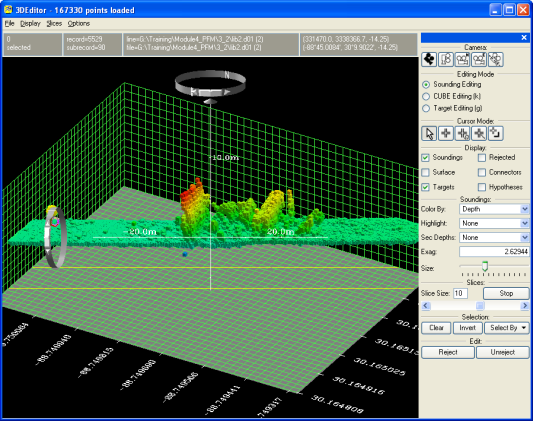
Slice-Based Editing allows loading a large number of soundings into the 3D Editor and then viewing cross sections of the data in a systematic way to inspect all of the data points. Enter slice-based editing mode by clicking the Slices > Start Slice menu option, or the Start button in the Slices section of the Control Bar. The 3D Editor will show a cross-section of the data containing a certain percentage of the whole range of the data. Yellow lines will be drawn on the base plane to indicate the bounds of the slice (see figure 3D Editor Utilities Control Panel). Note that the orientation of the slices is chosen based on the current view direction when slice-mode is started.
Change the percentage of data to be shown by entering a value in the Slice Size field in the Control Bar and pressing Enter (the default is 5 percent). To view the next slice in the data, click the Slices > Next Slice menu option, press F10, or click the right arrow on the scroll bar that appears in the Slices section of the Control Bar. To go back to the previous slice, click Slices > Previous Slice, press F9, or click the left arrow on the slices scroll bar. Note that the central thumb in the slices scroll bar can be dragged to any position to move the slice through the whole range of data.
End slice-ending mode by clicking Slices > End Slice, or press the Stop button in the Slices section. Note that slice-mode also works with a polygon selection and with Cube hypotheses.