How-to FMMidwater - Feature Detection in FMMidwater
The Feature Detection plugin in the FMMidwater (FMMW) module uses a set of algorithms to extract points of interest from water column data. In the Fledermaus 7.4.1 release use of this tool is limited to Kongsberg data; the feature detection plugin refracts points for cluster analysis on export, and refraction in FMMidwater is only fully implemented for Kongsberg solutions. A flat bottom assumption and proper refraction for other systems will be added in subsequent releases, which will allow use of this tool on any water column format support by FMMidwater. This howto will be updated to reflect those change.
Data used in this howto courtesy of the University of New Hampshire Center for Coastal and Ocean Mapping / Joint Hydrographic Center and NOAA Office of Exploration and Research.
The Feature Detection plugin was updated in Fledermaus Version 7.5.0; this howto reflects those updates. Earlier versions of FMMidwater (7.4.1 - 7.4.x) will only have the Normalization and Despeckle filters and flexibility of the filter use is limited. The plugin can currently only be used for Kongsberg data (ALL, WCD). This plugin is automatically included with the software download; no additional installation steps are necessary.
1. Open or create an FMMidwater project
Open your FMMidwater project, or create a new project. If you haven't done so already, use File > Add Sonar Files to add the file containing water-column data; use File > Add Navigation to add the navigation information if it is separate from the water column information.
2. Convert to Generic Water Column format
Convert the data file(s) to GWC (Generic Water Column) format by going to Tools > Convert Sonar Data. Note that if you choose to down-sample the data on conversion, you will have less points for your analysis. Generally, most systems do not need to be down-sampled.
If you have multiple files loaded and converted, select the GWC file you are interested in viewing first. The GWC files are listed under the Midwater Node in the Source Files window.
Examine the data in Stacked View to get an overview of the line and what is present in the water column.
3. Load the Feature Detection Tool
Go to the Tools menu and select QPS>Feature Detection
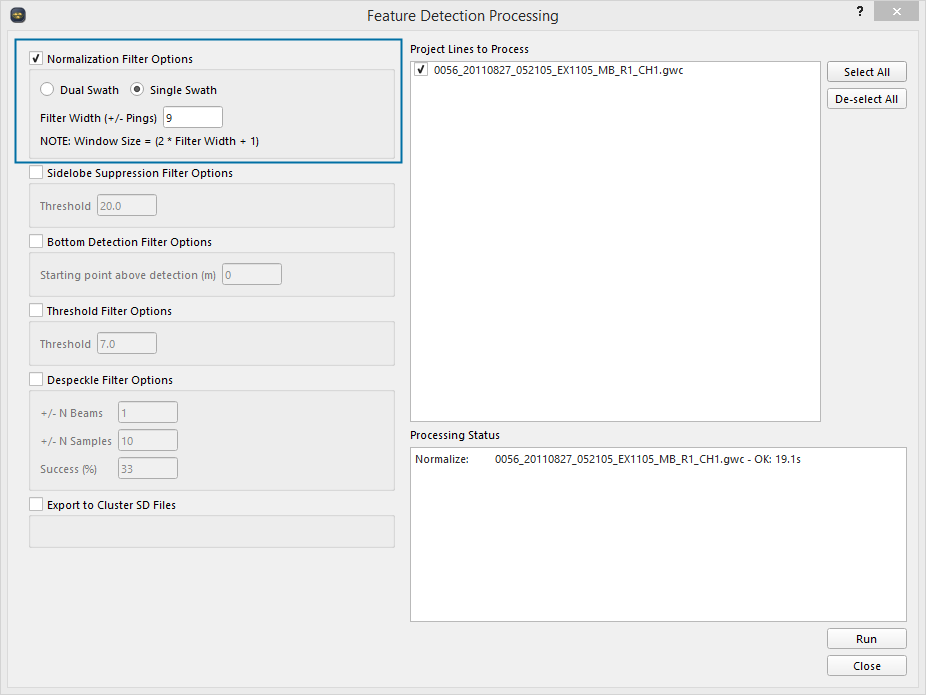
The feature detection window will then launch,

The new interface gives you a series of steps that you can turn on and off to create a mask for your data. Start by just normalizing your data, the default filter width of 9 normally works well to pick up data.
Once you have run the normalization filter close the feature detection window.
4. Use the despeckle view
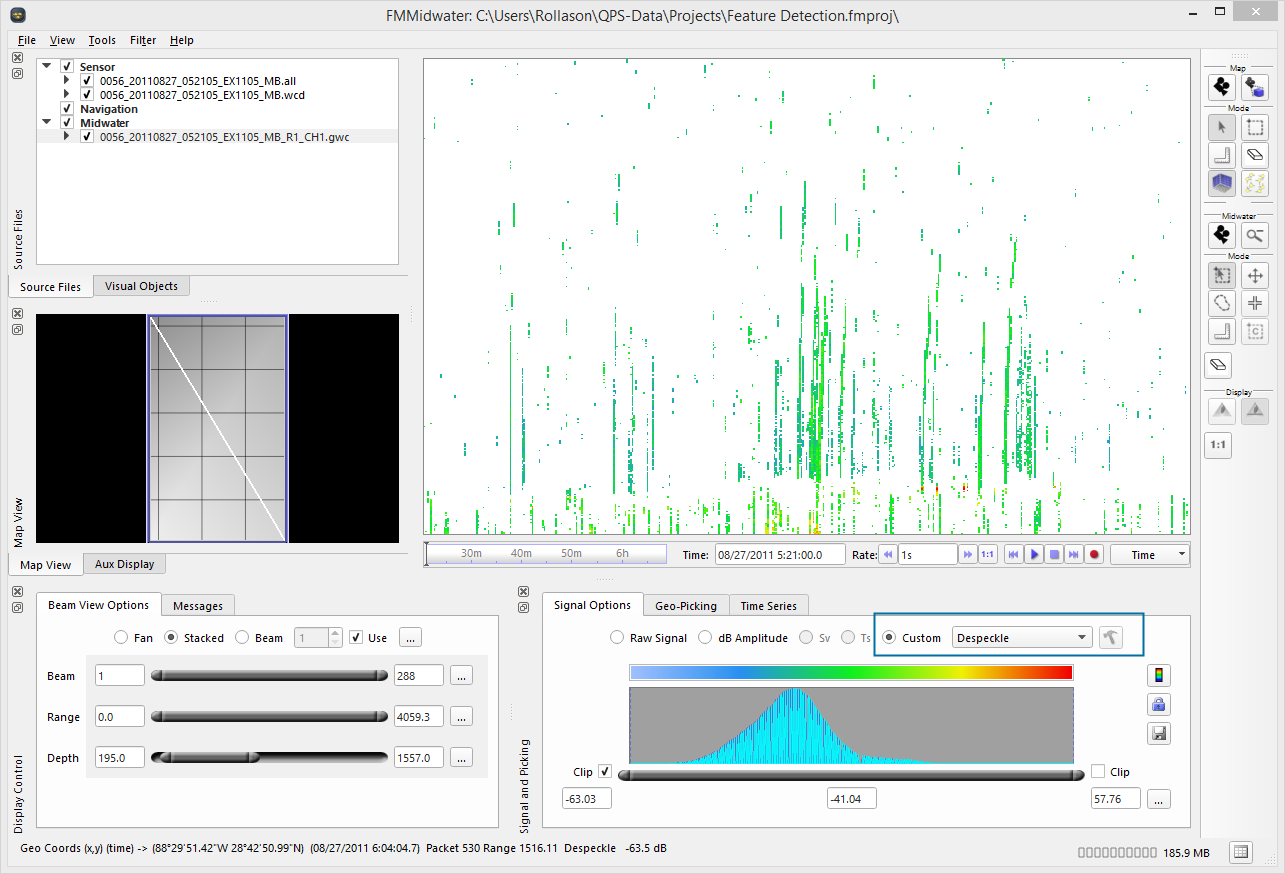
Back in the main FM Midwater view, in the Signal options tab (lower right of the application window), select the Custom option. Use the drop-down menu to select the despeckle option

If you go to the Fan view you can change the despeckle options until you see the seeps clearly without too much background noise. You can repeat this with the sidelobe filter which is also available in the drop-down menu shown above. 
You now have a good idea of which settings work for your file.
5. Re-run feature detection
Now reload the Feature Detection window and apply the values. Click Run. 
If you have multiple files you can apply the settings to all of the files at the same time however, be aware it may not work with the same settings if the signal is weaker or stronger than the file you looked at to begin with.
To see how your filter has worked go to the custom filters and select Apply Mask, this is how your data will appear if you export. 
6. Export your results
If you are happy with your points you can tick the final box in the Feature Detection Processing window which will export your points ready to load into Fledermaus.

Related articles
FMMidwater Plugins (Reference Manual Plugin information)
