How-to Screen Capture
This How-to article briefly introduces the Screen Captures Tool in Fledermaus, and how to get the best resolution for the screen capture.
On this page:
Introduction
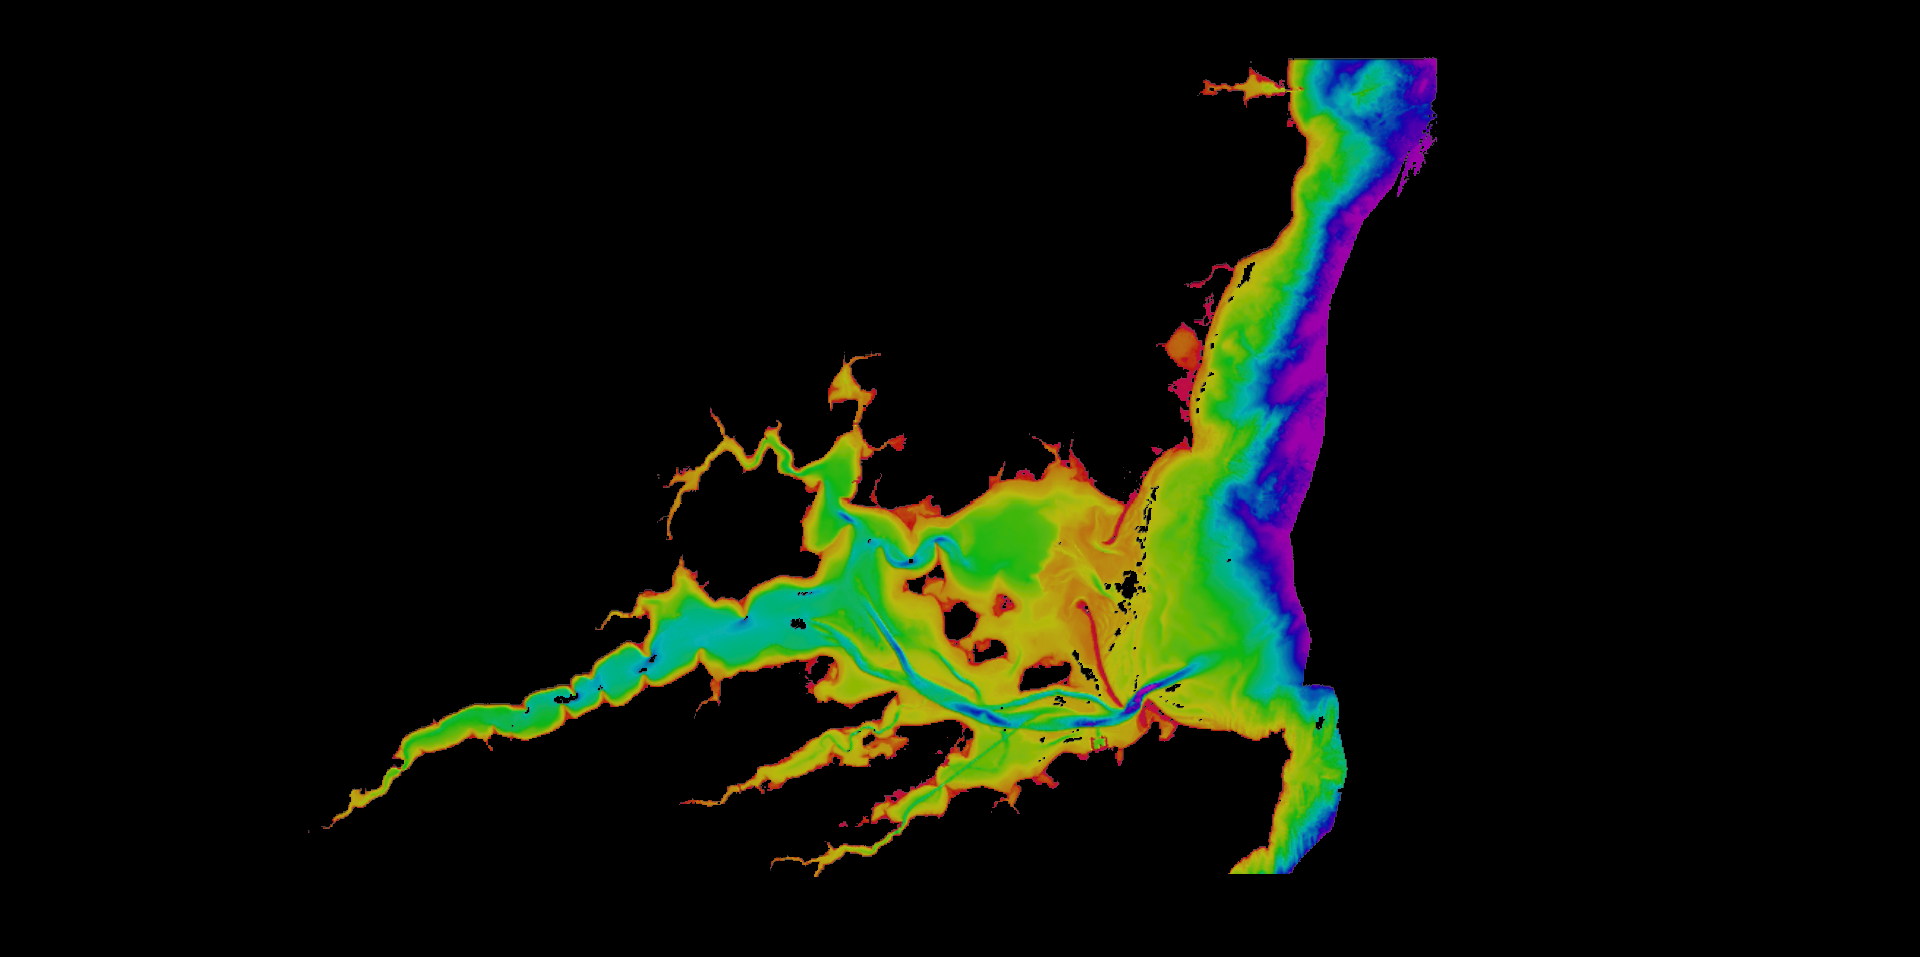
Screen Captures (see Figure 1) are useful to quickly share a view of the data or to compare with clean data.
The Bathymetry Data used in this How-to article is from the Fisheries and Oceans Canada Non-Navigational Bathymetry Data, in the Murray Harbour and Murray River area of P.E.I., Canada.

Figure 1. An example Screen Capture taken in Figure 4..
Step-by-Step
Step 1: Starting the Screen Capture Dialog Box
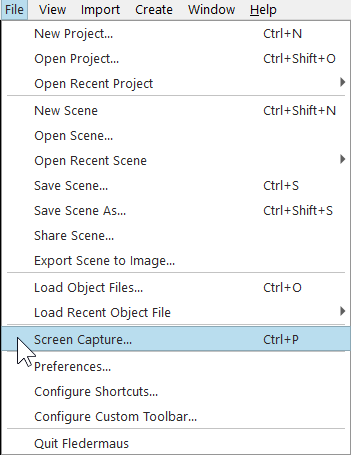
Open the Screen Capture dialog box by selecting "Screen Capture..." under "File" in the menu bar (see Figure 2).

Figure 2. How to start the Screen Capture tool.
Step 2: Screen Capture Tool Dialog Box

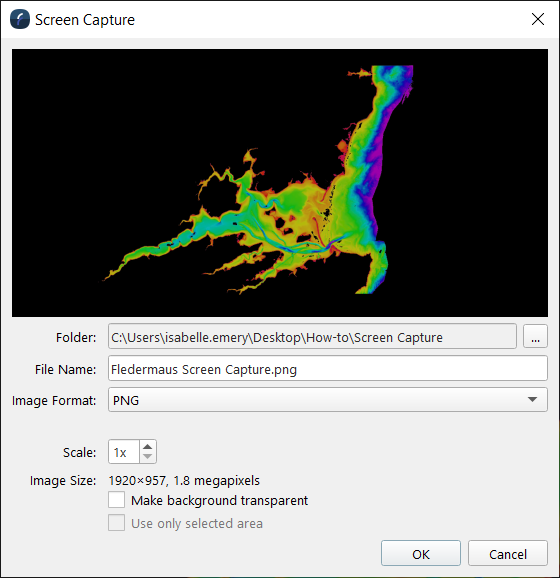
Figure 3. The Screen Capture Tool Dialog Box.
The Screen Capture Dialog Box (see Figure 3) allows you to choose where the screen capture is saved under by selecting the "..." button and choosing the desired folder.
You can also type a new name in the "File Name" box and choose the image format in the "Image Format" dropdown menu.
The Scale can also be changed in the "Scale" box.
The "Image Size" states the resolution size of the scene.
There are check boxes to decided if you want the background invisible or to only use a selected area.
Higher Resolution
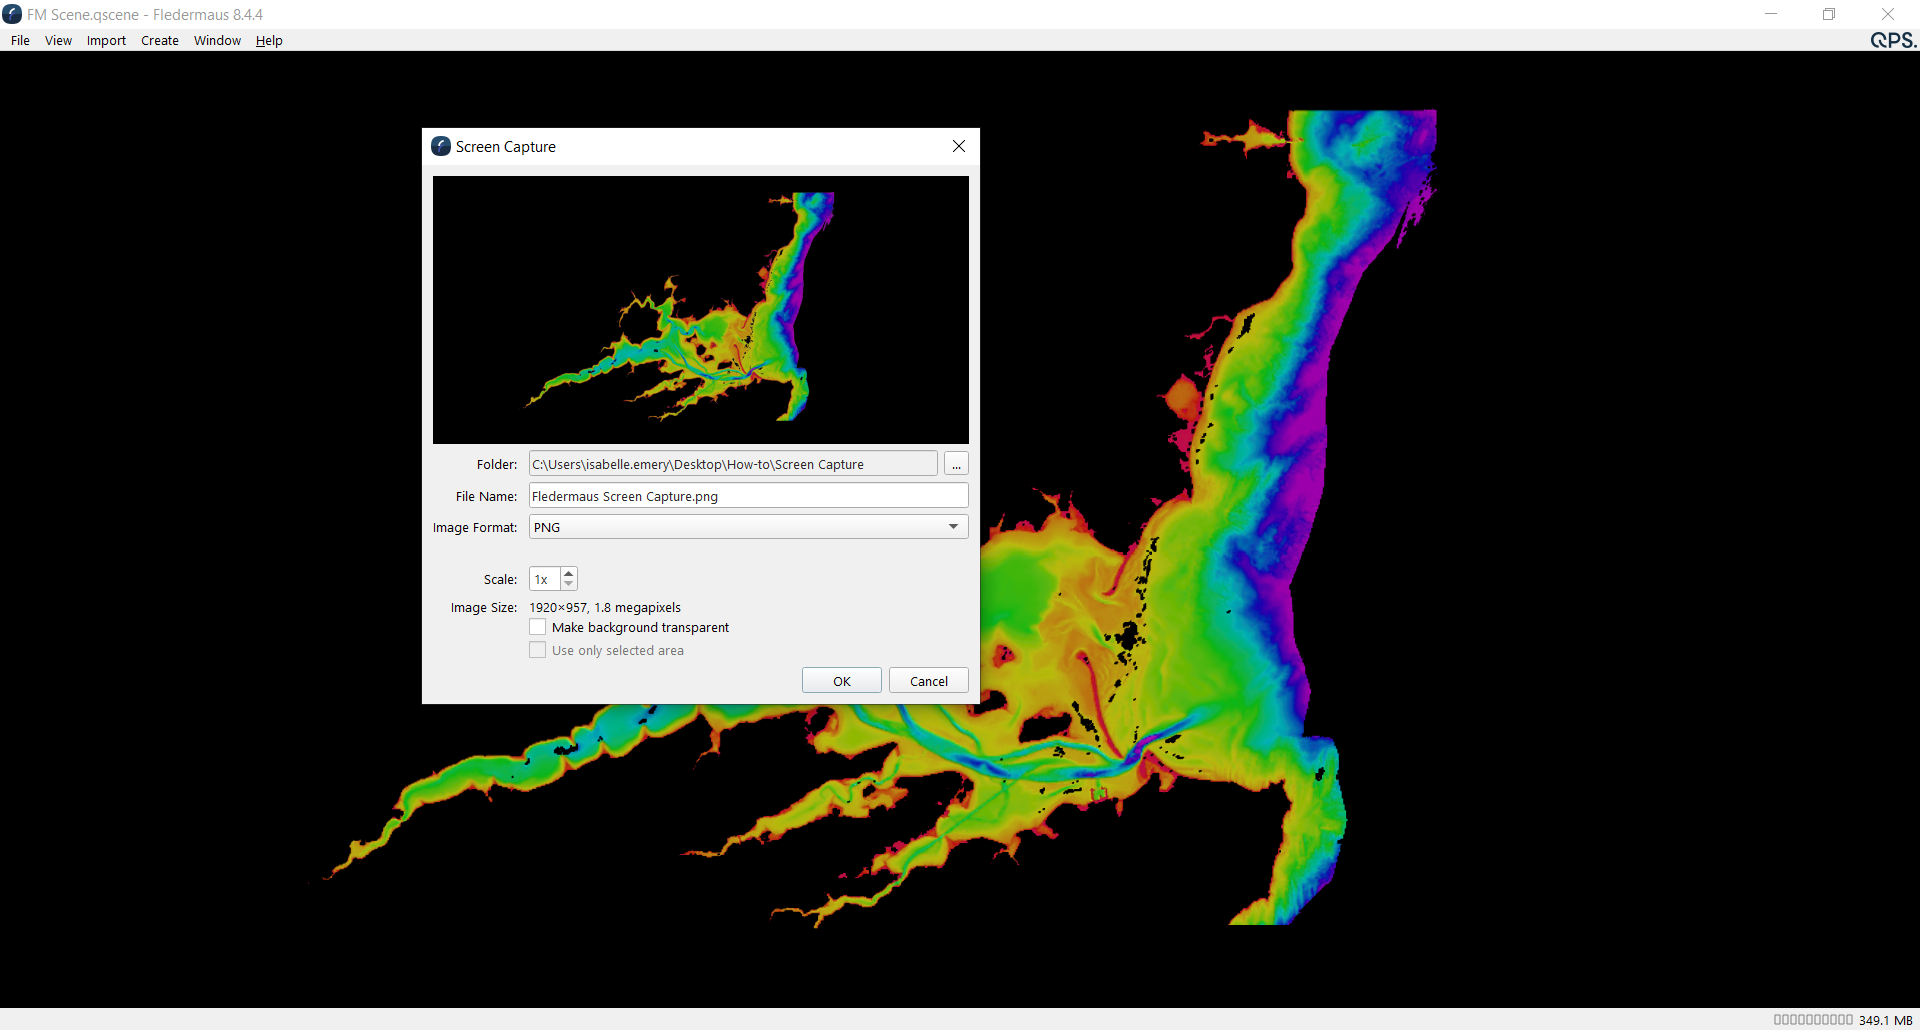
To get higher resolution on your screen capture (see Figure 4) there are a few tips:
Have the Height:Width Ratio of you Qimera window at 1:2
Use a higher resolution Monitor
Scale factor should be close to 1 to minimize distortion
The less zoomed on the surface, the less distortion on the final screen capture
The surface should be created with the smallest cell size possible
Take away all the docks to make the view port is as large as possible

Figure 4. An example of the best way to set up a Screen Capture.
