
This how-to briefly explains how to work with Fledermaus Viewer.
On this page:
Introduction
Fledermaus Viewer is an application that is installed alongside Fledermaus, which is very useful for sharing data, deliverables and presentations with customers. This application does not require a license to run, thus allowing free access to a limited range of Fledermaus' viewing capabilities with the same look and feel as the full Fledermaus install. Capabilities available in the Viewer include opening scenes, loading object files, exploring those files in 4D, and playing presentations.
For the example scene shown below, Bathymetry Data used is from the Fisheries and Oceans Canada Non-Navigational Bathymetry Data, and the Geo-images used are from the New Brunswick GeoNB Data Catalog, the area used was the Mactaquac dam Headpond, N.B., Canada.
Step-by-Step
Step 1: Install Fledermaus Viewer
Fledermaus Viewer (see Figure 1) is installed automatically with Fledermaus but can also be downloaded individually from the QPS Website.
Once the viewer is installed, open the application.
Step 2: Load QPS data
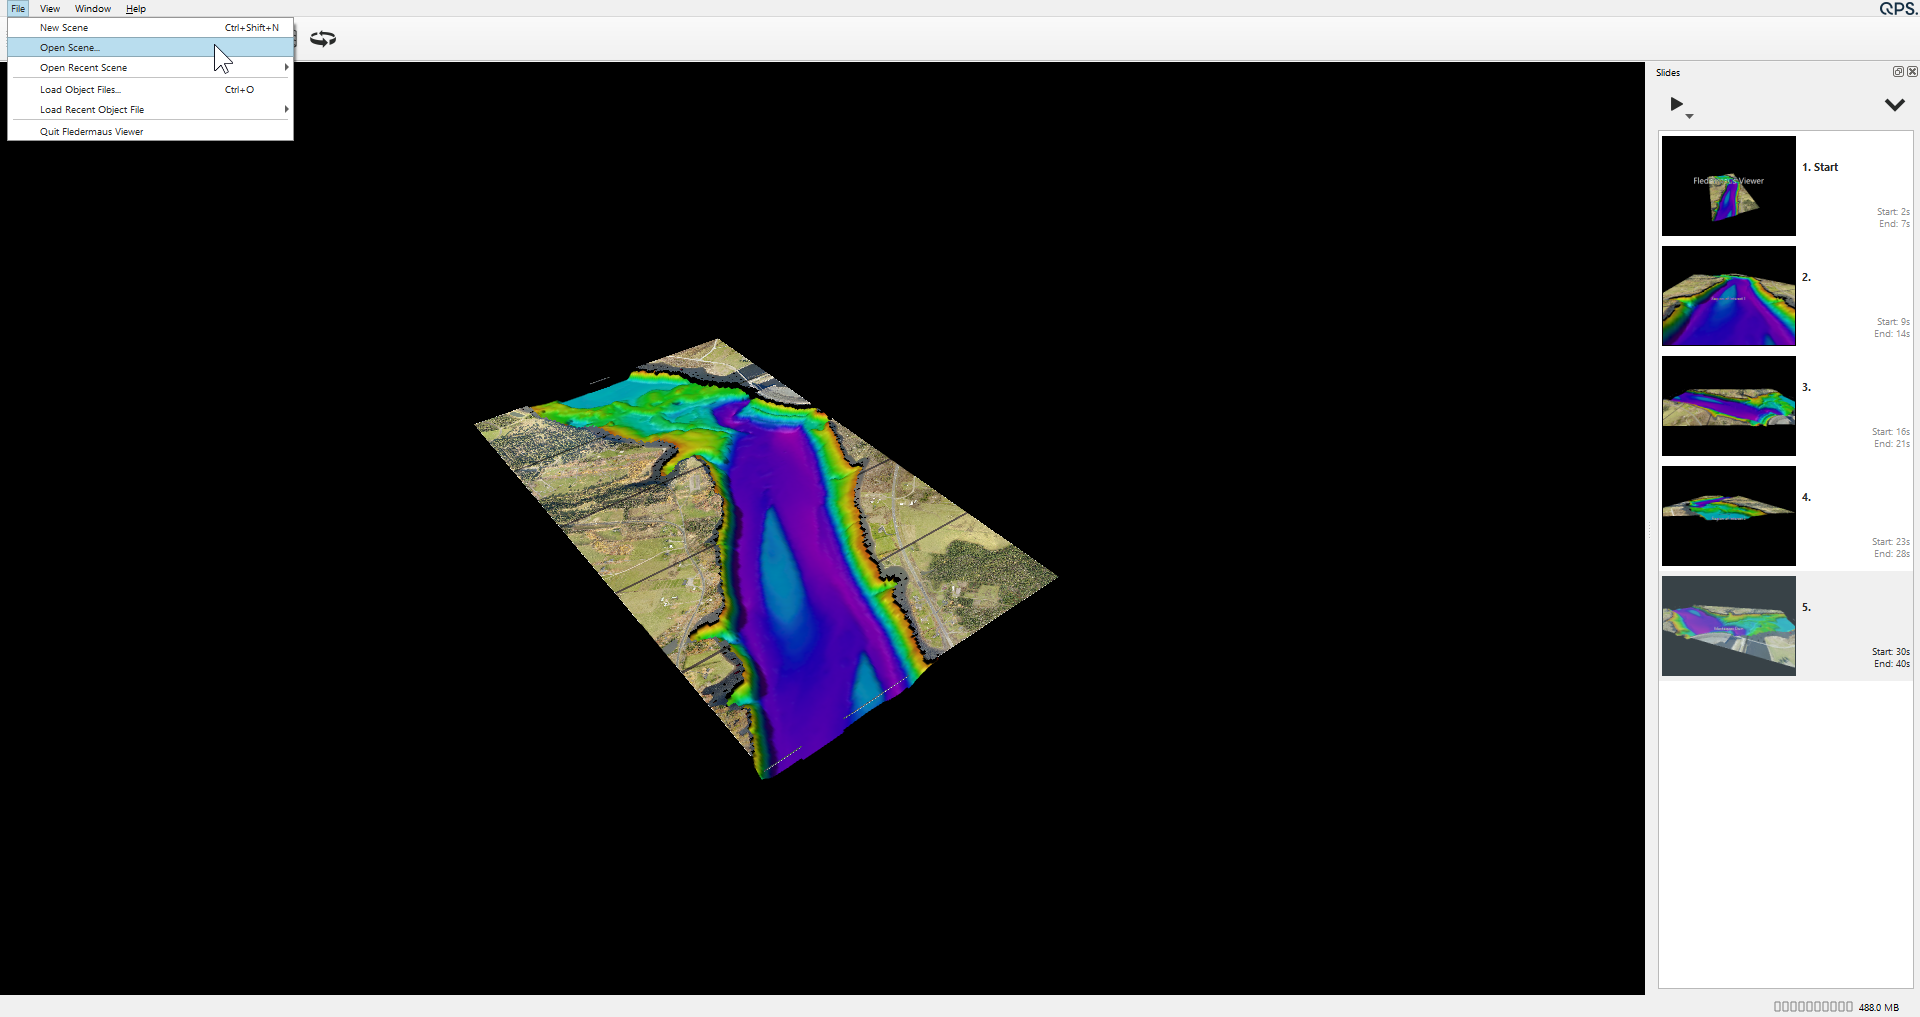
Fledermaus Viewer is limited to either loading QPS object files or opening an existing scene. For the purposes of this how to, a scene will be opened.
To import the pre-existing Fledermaus Scene into Fledermaus Viewer go to "File" and select "Open Scene" (see figure 2), and chose the prepared scene. You can also open a recent scene, or load in Object files from the File dropdown menu.
The ability to load Fledermaus 7 files (.sd, .scene) remains in the Viewer! These files are upgraded to to the corresponding Fledermaus 8 file type upon import.
Please note that this upgrade does not replace the original file! The new, upgraded version of the file is stored in the same location as the Fledermaus 7 file it was created with.
Step 3: Navigate the Scene
After loading, the scene should be in the view port, otherwise zoom to scene using:

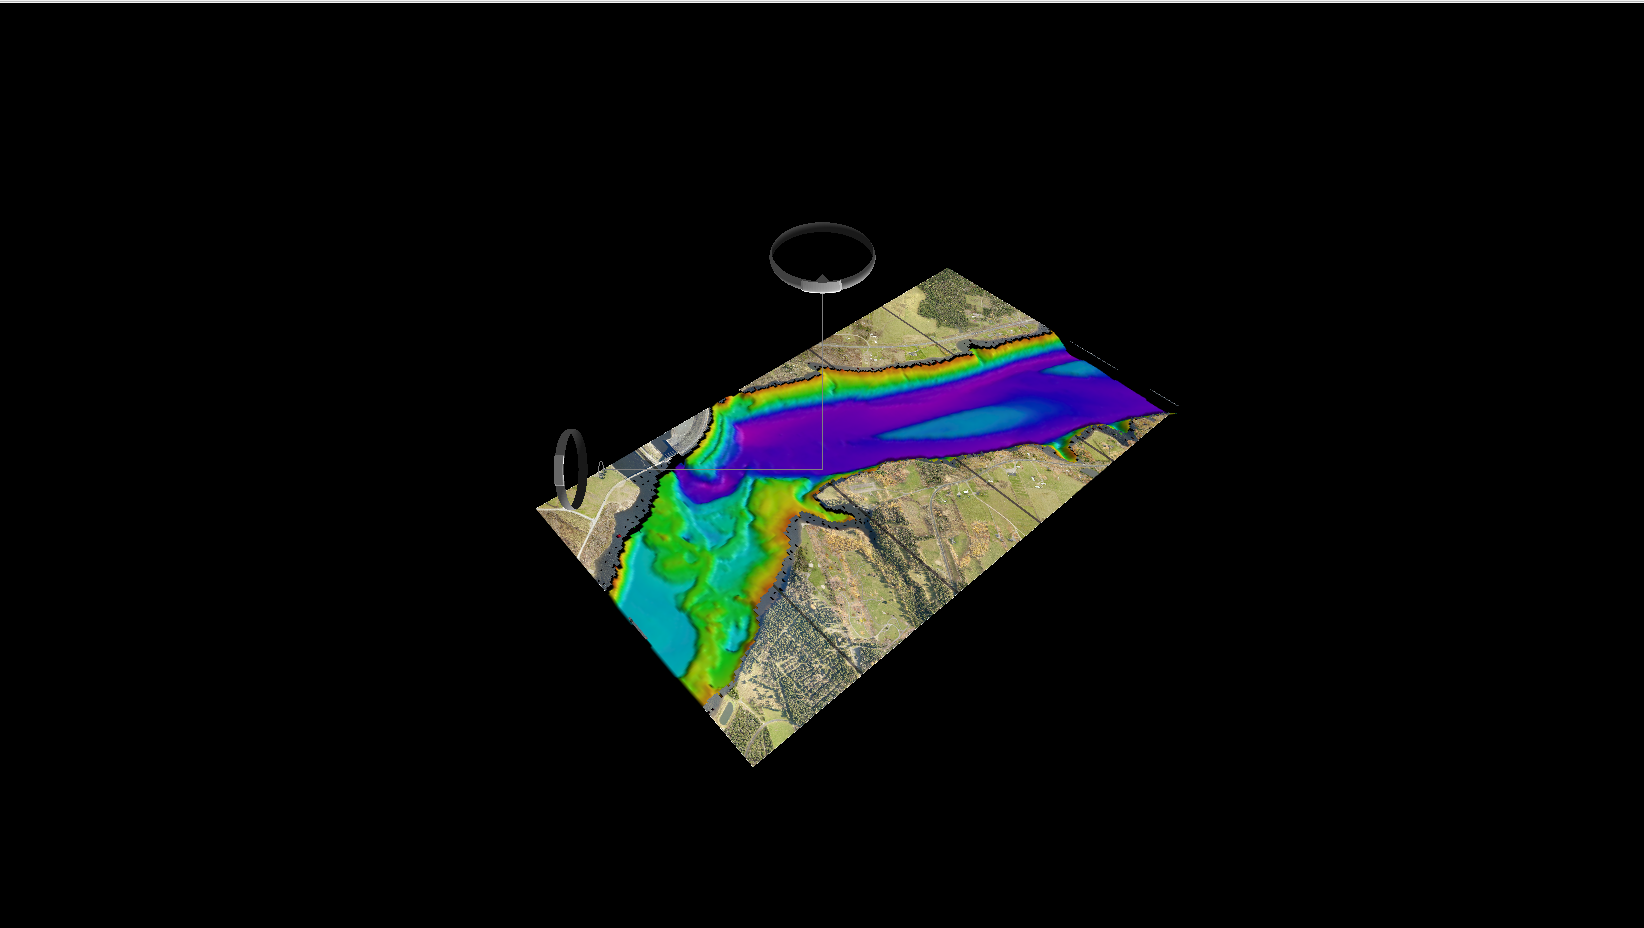
This is where you can view and explore the presented data, using the Navigation Widgets (see figure 3). You can also navigate around your scene in 4D with the left (rotate) and middle click (pan) buttons on your mouse.
Step 4: Change Visual Settings (Optional)
This is an optional step, should you wish to change the visual aspects of a loaded file.
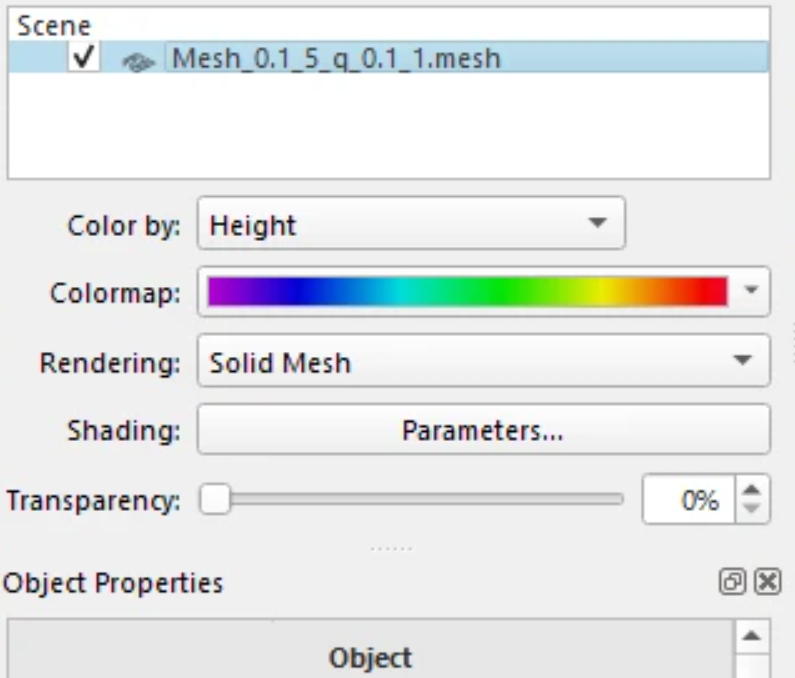
True to it's name, the Viewer is restricted to viewing, and only allows for changes to the visual parameters of the loaded files. For example in Figure 4 below, there are no operations or exports available for the mesh object, but you can change the colormap and shading of the selected mesh.
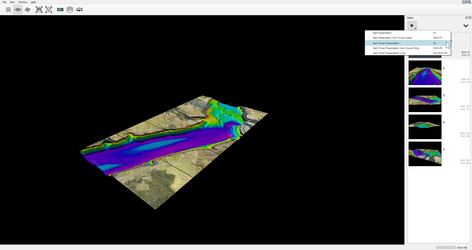
Step 5: Present the Scene (Optional)
This is an optional step, available if the loaded scene contains a saved presentation. If there is a presentation in the scene, an additional window will be available to you, as shown in figure 5:
From this window, you have access to the following functionalities:
-
Start Presentation - Starts from first slide and the mouse or space bar can be used to go through slides manually.
-
Start Timed Presentation - Starts from first slide and goes through slides automatically based on the times set.
-
Start Timed Presentation Loop - When you need the presentation to loop, based on set times.
-
For more information see the Reference Manual.
-