
In the past it was only possible to create lines either offline, using the Survey Manager or online, using the Navigation Display.
Now, you can create lines using the Navigation Display and the Survey Manager at the same time, going back and forth between the two applications to optimize the lines for your project.
On this page:
Navigation Display
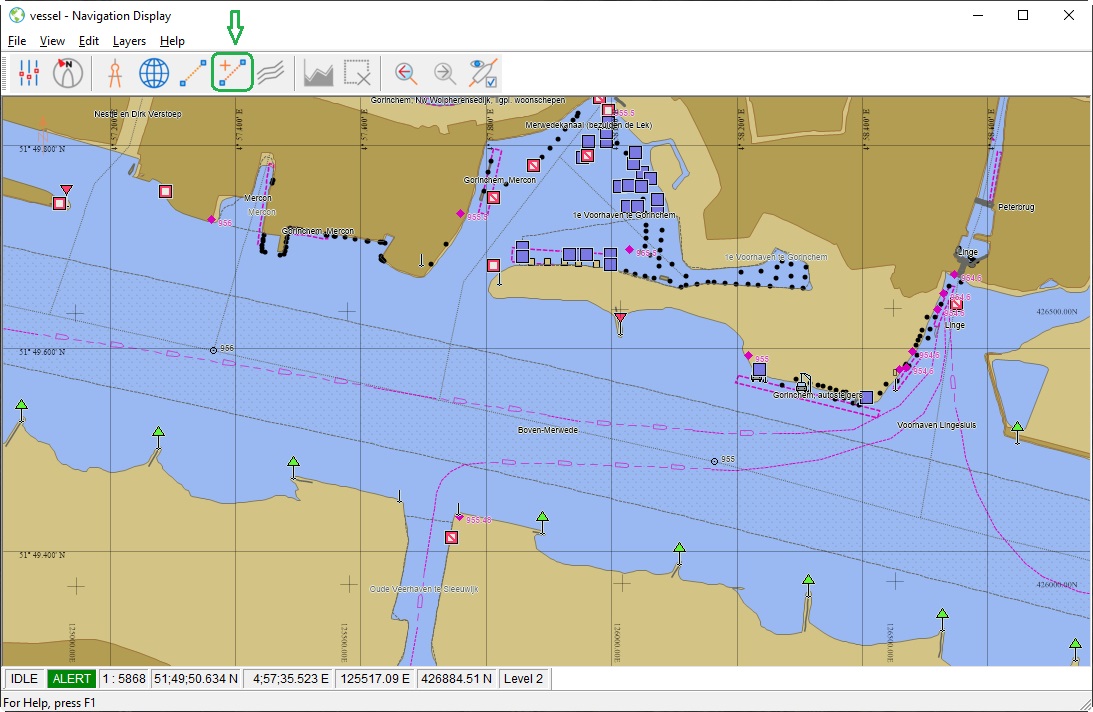
Go to the Waypoint planning option:
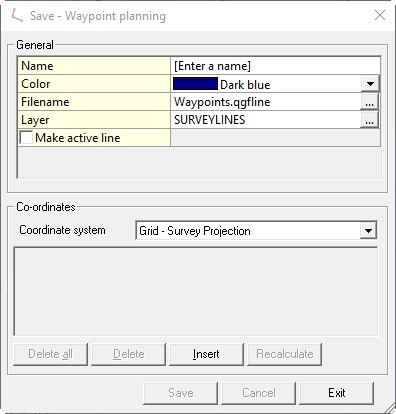
The Save - Waypoint planning dialog will open:
The cursor will change to indicate that points can be selected in the Navigation Display:

Select the points with the left mouse button, clicking with the right mouse button to end the selection.
Enter a Name for the line and select a file to store the line in:
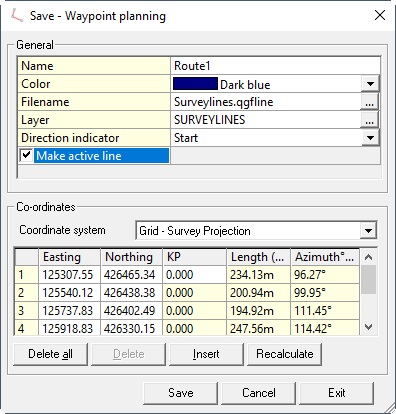
If you would like to immediately activate the line for navigation, tick 'Make active line'.
Press 'Save' to store the line in the file.
A notification will appear:
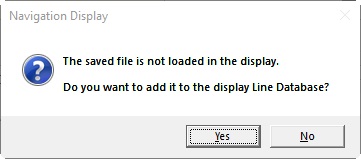
Press 'Yes' to view it.
Create winglines
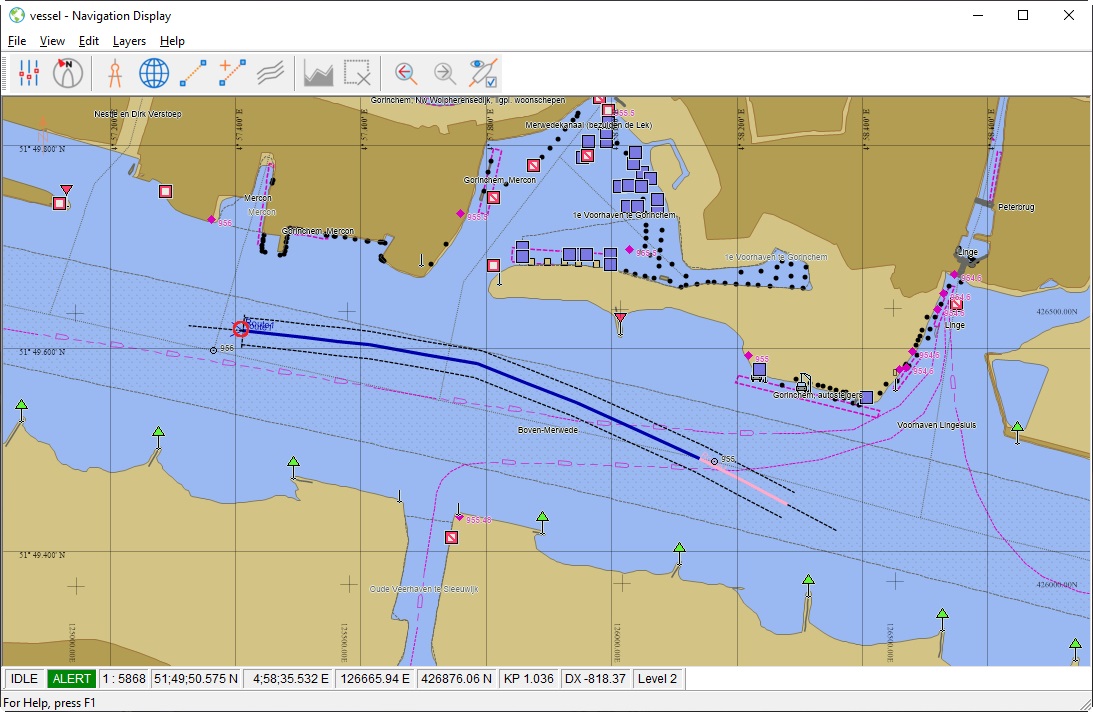
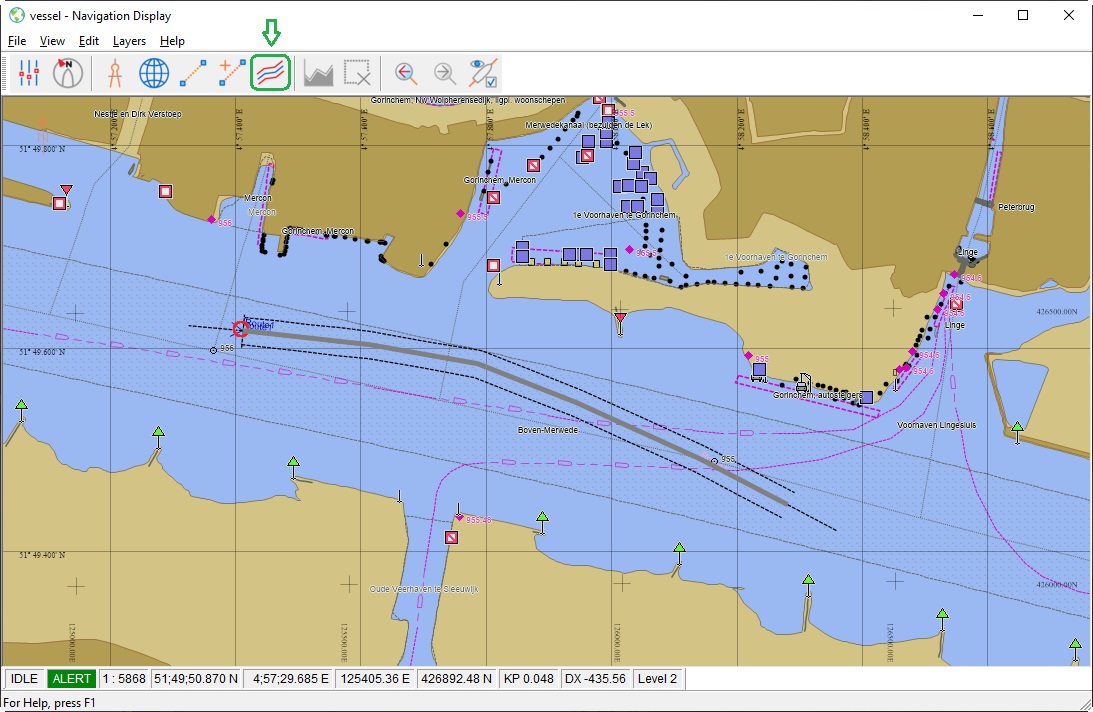
Select the just created line by clicking on it (it will turn grey).
Select the Winglines option:
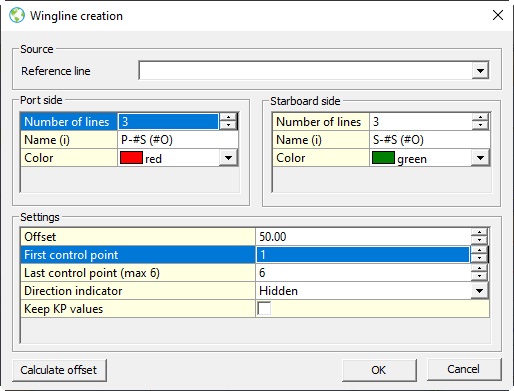
The Wingline creation dialog opens, where you can enter the settings for creating lines to port and starboard of the selected line/polyline:
A preview of the lines will be shown in the Navigation Display:
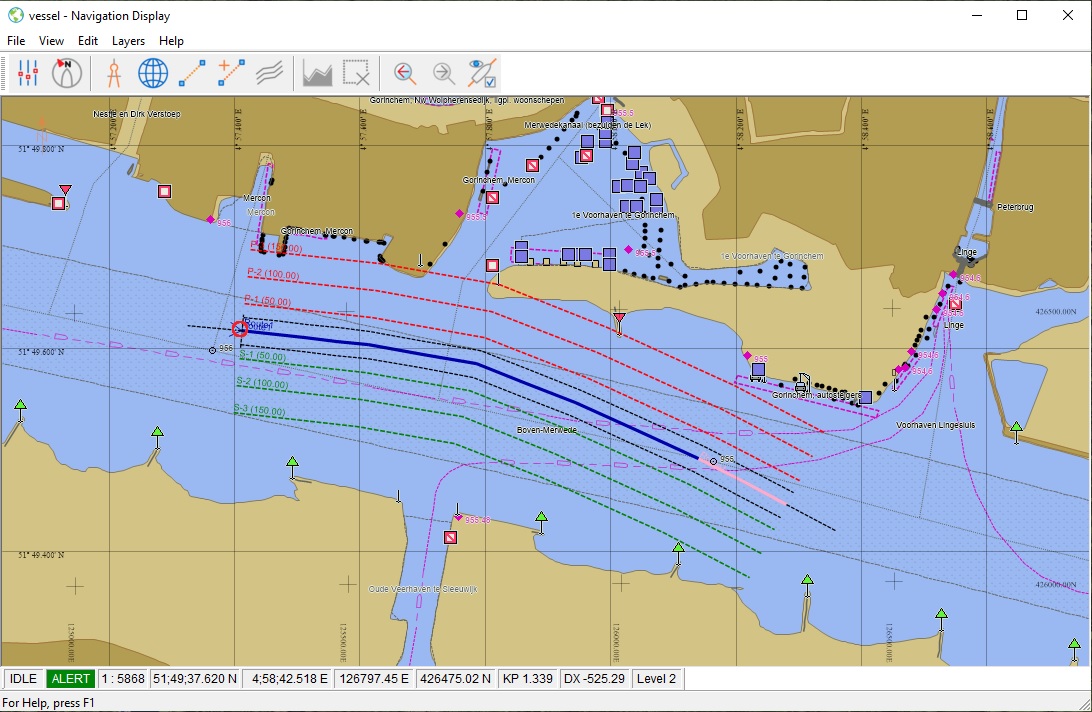
Click OK in the dialog box and the lines will be created:

Survey Manager
To create Crosslines, you will need to start the Survey Manager.
You cannot edit an active line, this will cause problems in the Navigation Display, so make sure to de-activate it by selecting another line.
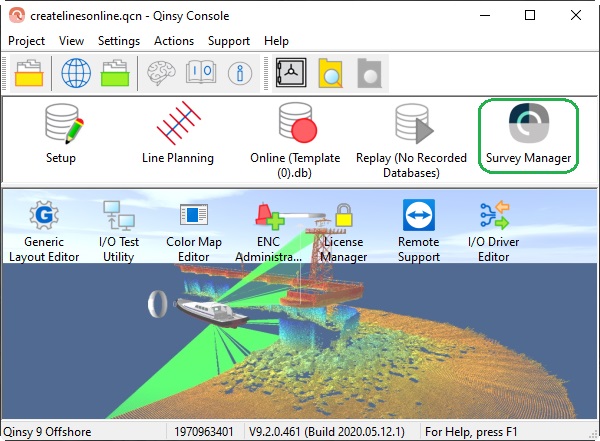
Go to the Console and select 'Survey Manager' to open the Survey Manager:
Open the Survey Manager with a Project Session (so the line datafile is automatically opened).
NB: this will open all files in the project, so when the project contains a lot of files, you can also start with an empty session and only import the line database after opening.

The line(s) as created in the Navigation Display will be listed in the Project Explorer and will be shown in the Plan View:
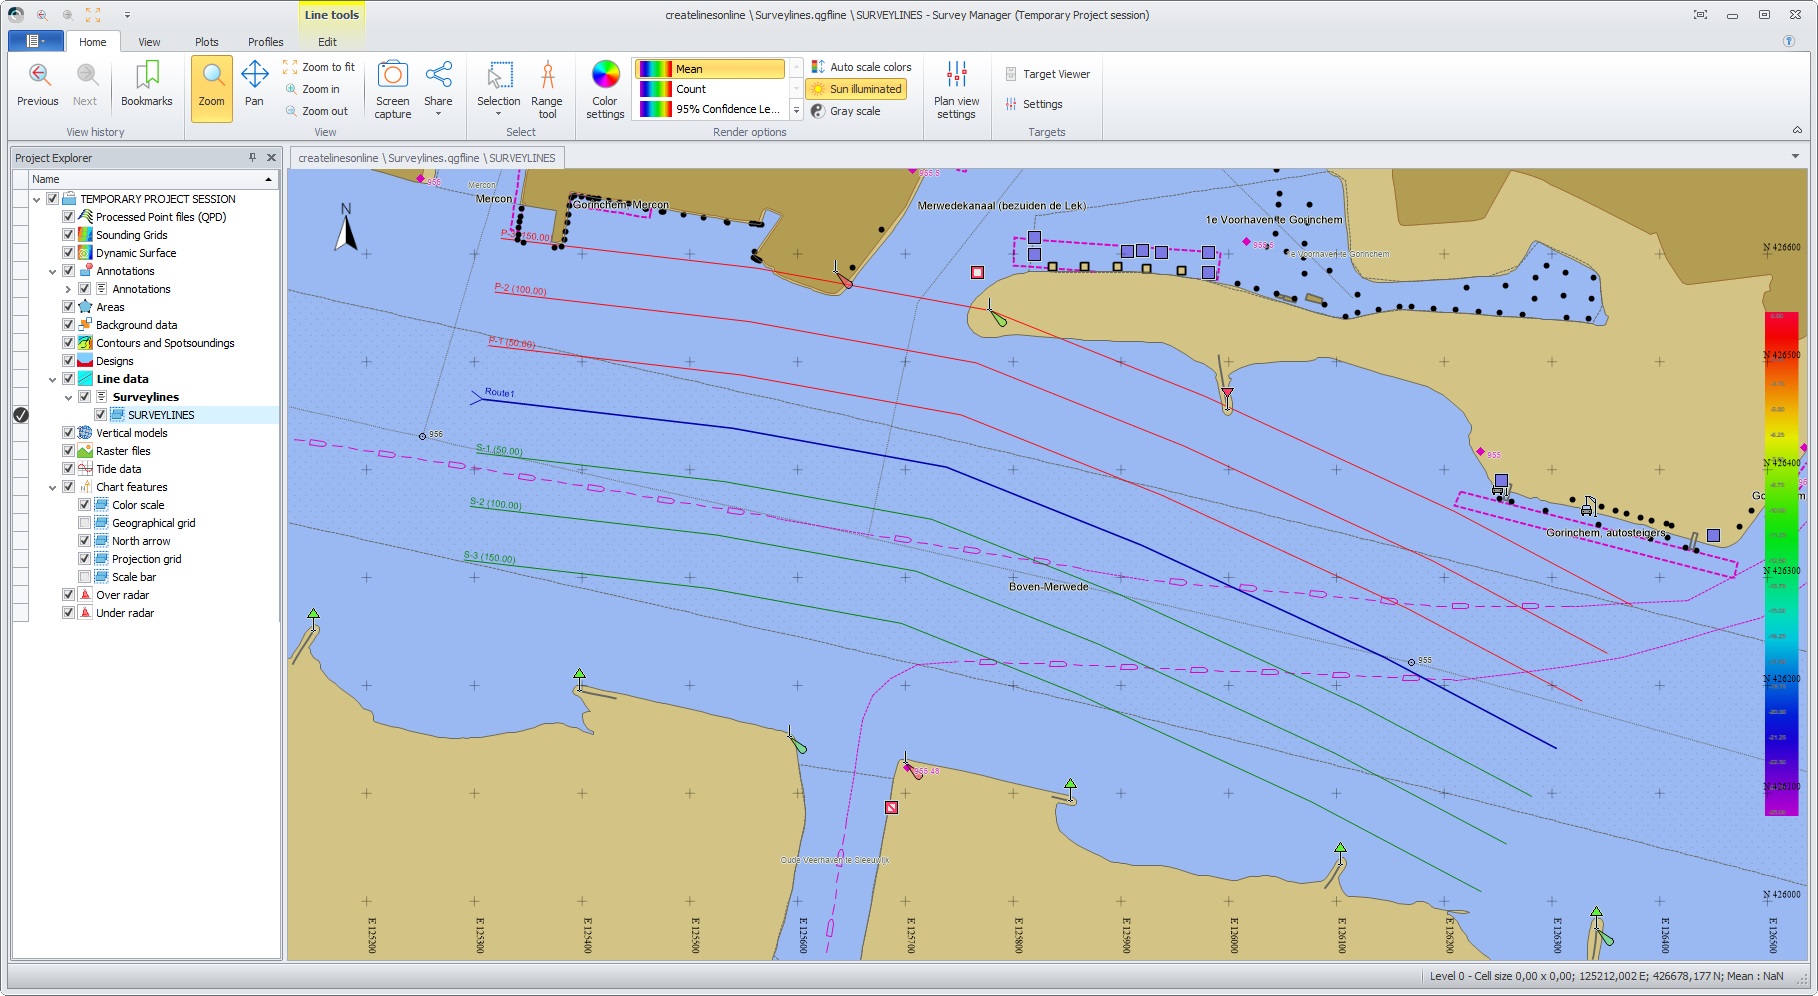
Press the Line Tools tab - Edit tab and the options for editing lines will appear:

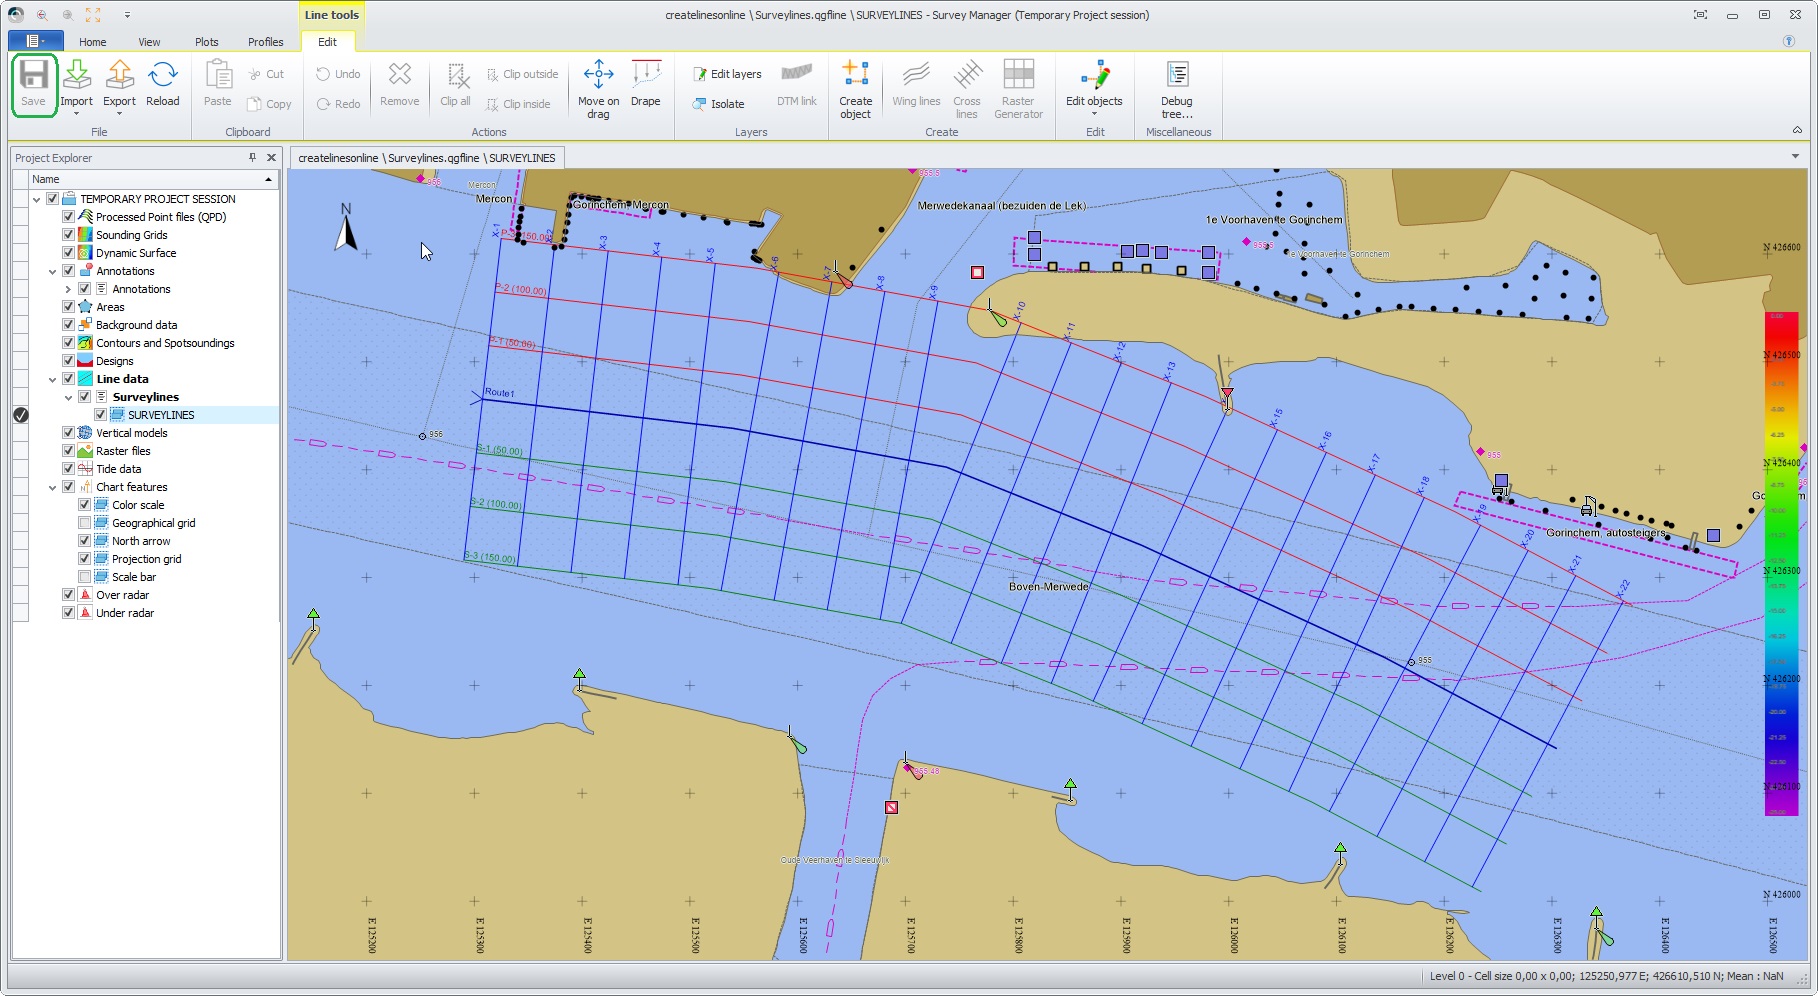
Select the line you want to use to create the Crosslines on (by clicking on it) and press the option Cross lines:

Press the option 'Cross lines' and the Cross Lines dialog opens, where you can enter the settings for creating cross lines along the selected line/polyline:
(a preview is shown in the Plan View of the Survey Manager)
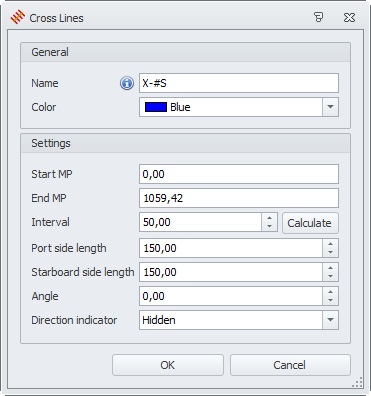
Press 'OK'.
Press the 'Save' option in the ribbon tab:
Return to Navigation Display
The lines created in the Survey Manager are now shown in the Navigation Display:
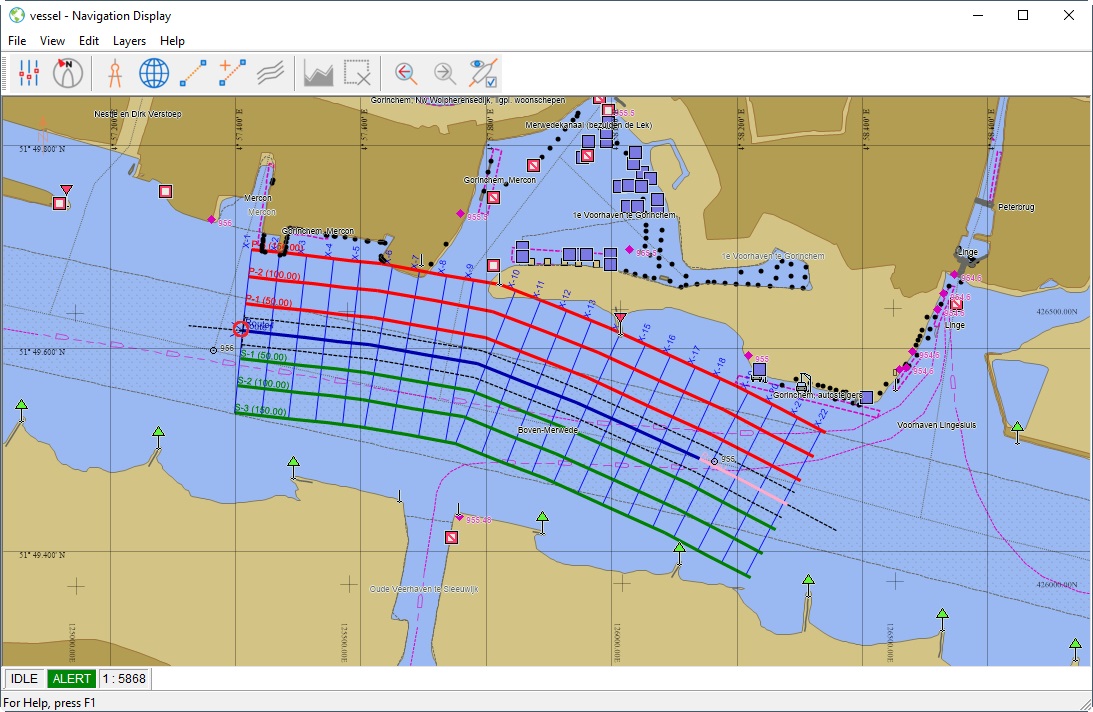
Right-click on any line and the line name will be shown in the drop down menu which opens:
Select 'Edit: line name'
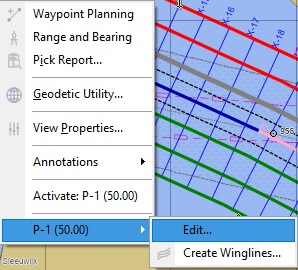
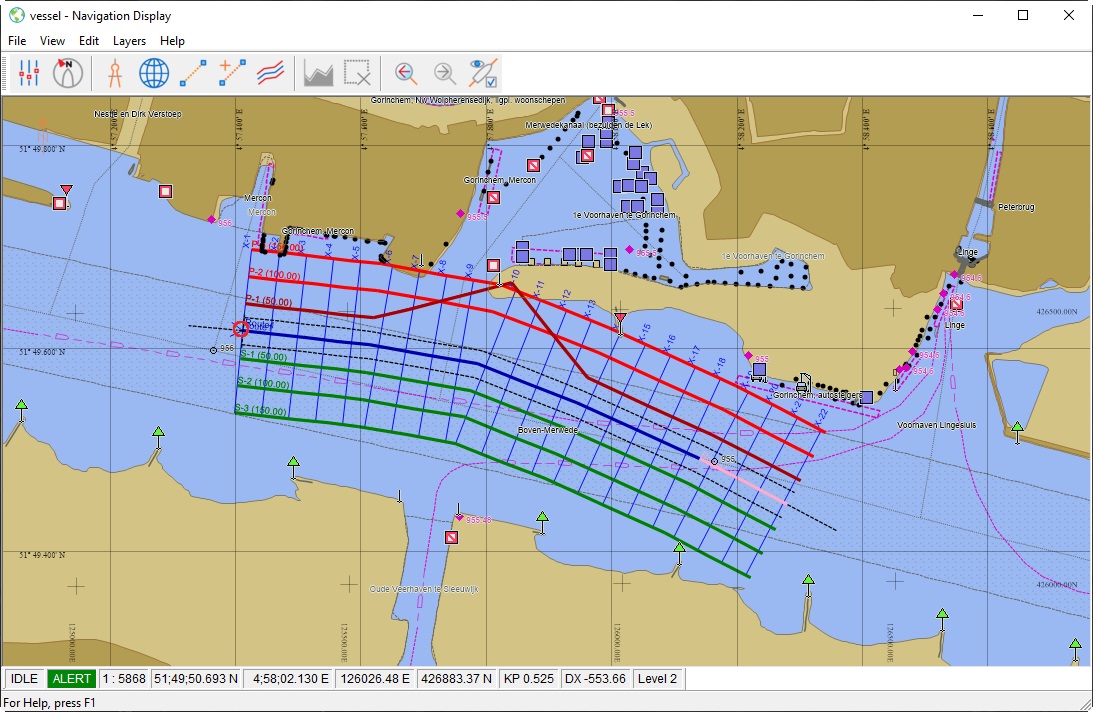
The cursor changes shape when hovering over the vertices to indicate you can drag these to adjust them.
In the Save - Waypoint planning dialog press 'Save' to store the changes.
Controller - Settings - Session Setup
Under 'Planning' go to Line Databases:
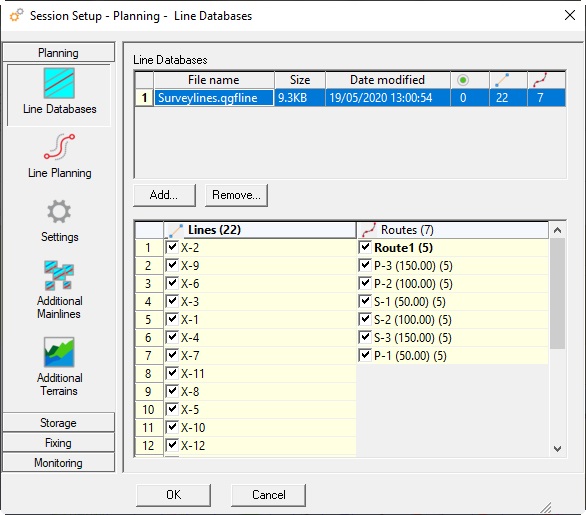
Check that the Lines and Routes needed for this session are activated.
Press 'OK'.
Activate in Navigation Display
Right-click on the line that is to be used first in this session and the line name will be shown in the drop down menu which opens:

Select 'Activate: line name'.
The line is immediately used for calculations.