Geodetic Setup - Getting Started
Geodetic Configuration User Interface
On this page:
Introduction
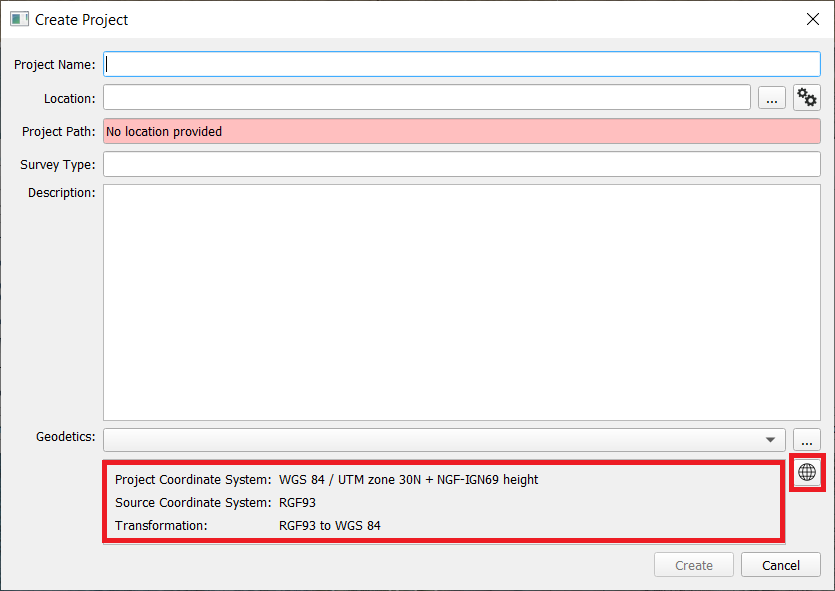
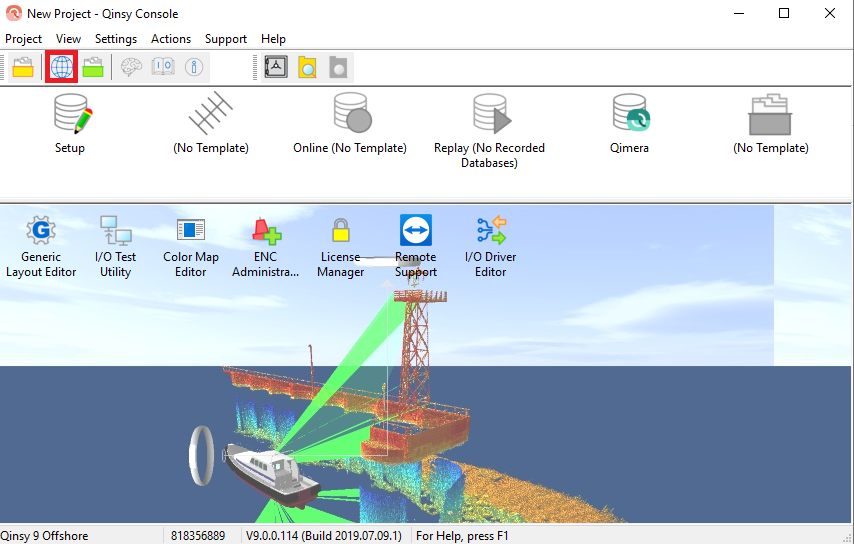
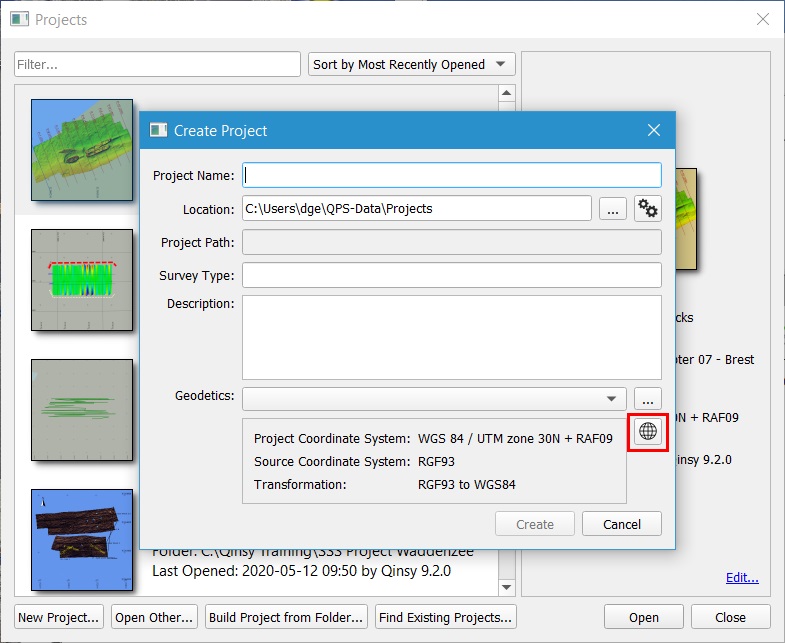
It is possible to define the geodetic settings in case a new Project is created for both Qimera and Qinsy. Alternatively, it can be edited from the Qinsy Console (if using Qinsy). In Qimera, this is only done during the project creation stage.
When a new project is created, Qinsy will fill in the last used Geodetics by default;
It is possible to edit these by selecting the 'Edit' button;
The Create Project dialog has a common look and feel between Qinsy and Qimera, but the lower section of the dialog where geodetics settings are configured varies slightly. This is done in order to accommodate different workflows that existed in the two products prior to the creation of the Geodetic Configuration User Interface.
When using the Geodetic Configuration User Interface, it is possible to define the geodetic settings in 4 ways:
Importing a WKT (Well-Known Text) string
Selecting a Predefined Geodetic Setup
Using the Geodetic Guided setup
Using the Edit option
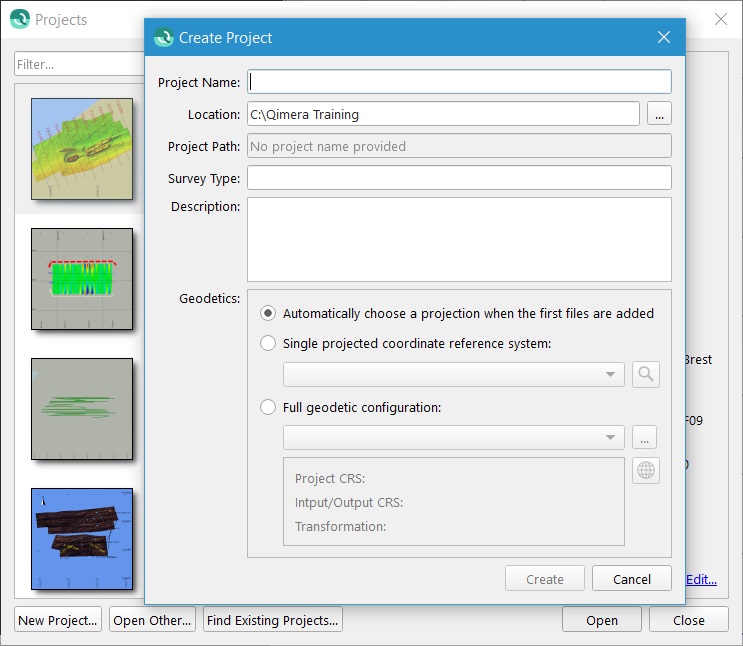
The start up experience for Qimera allows for very simple configurations to be chosen, such as:
Automatic selection of a projection once files are added
Selection of a single coordinate reference system where a transformation is not required
Creation of a Full Geodetic Configuration, including definition of transformations
The Qinsy start up experience uses the Overview Guided setup exclusively to provide the full advanced configuration option, the other options are hidden.
Qimera Project Setup
Qinsy Project Setup
1. Importing a WKT string
When a WKT string is created or available, it is possible to import this
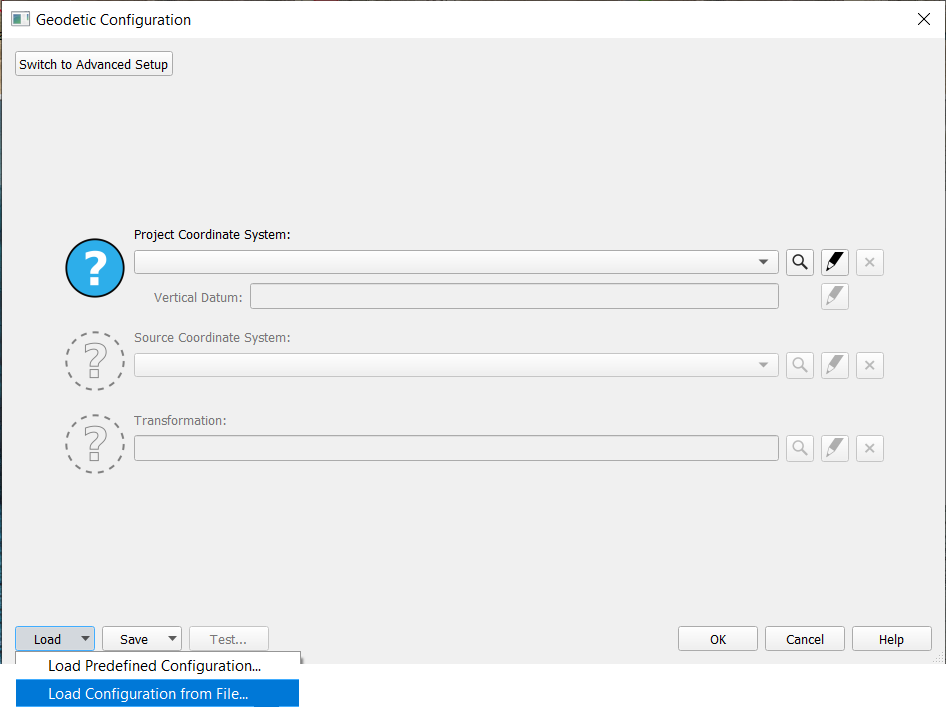
Press 'Load' and select 'Load Configuration from File'
Windows File Explorer will pop up, where the user can select the WKT string
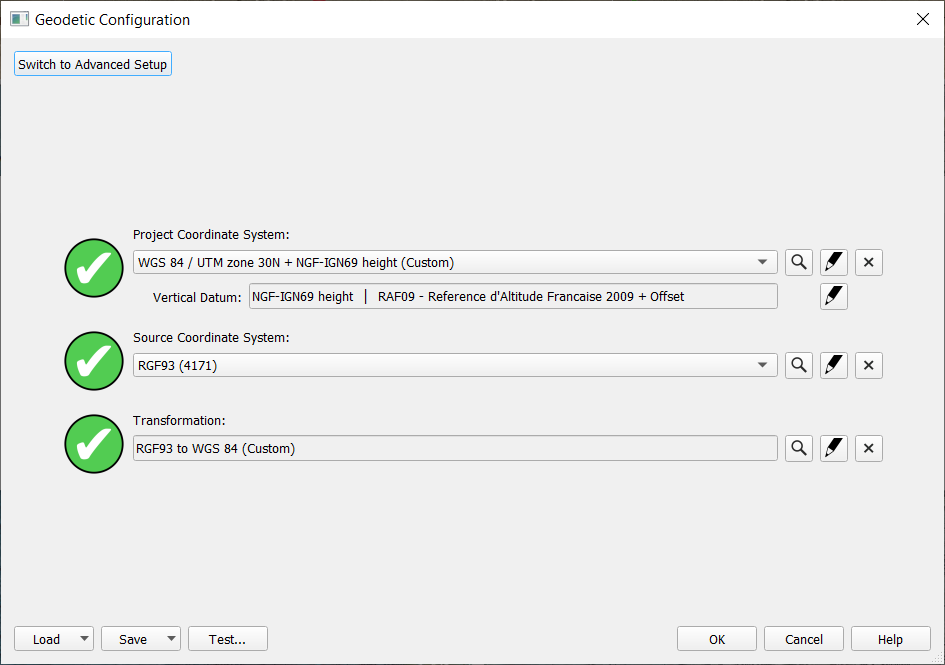
When the WKT string is selected, the Geodetic Configuration User Interface will automatically extract the info that is available
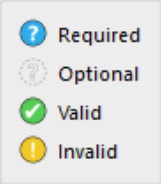
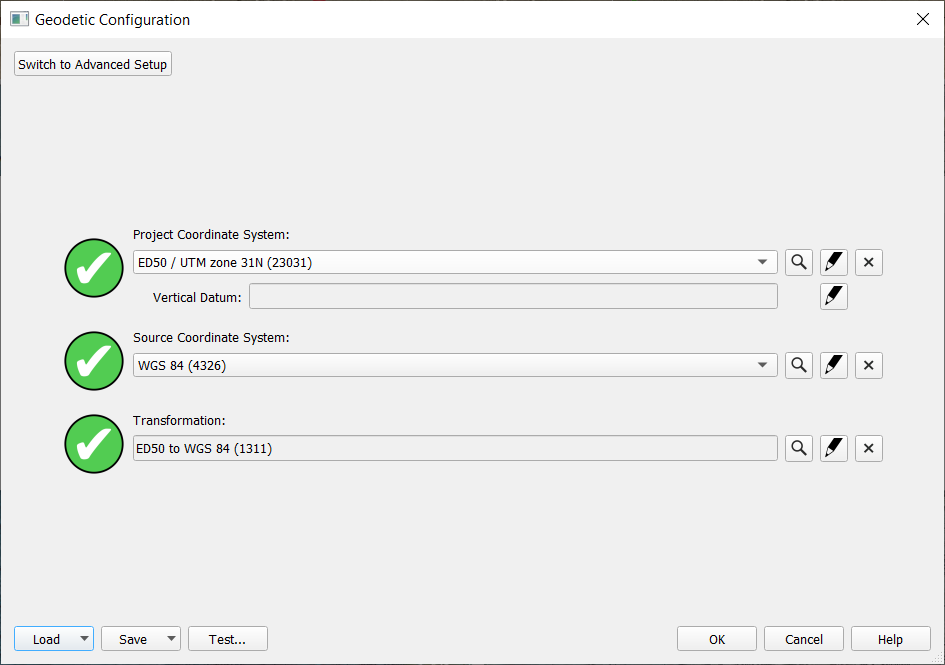
The large icons in front of every entry box indicate the status of the entry:
2. Selecting a Predefined Geodetic Configuration
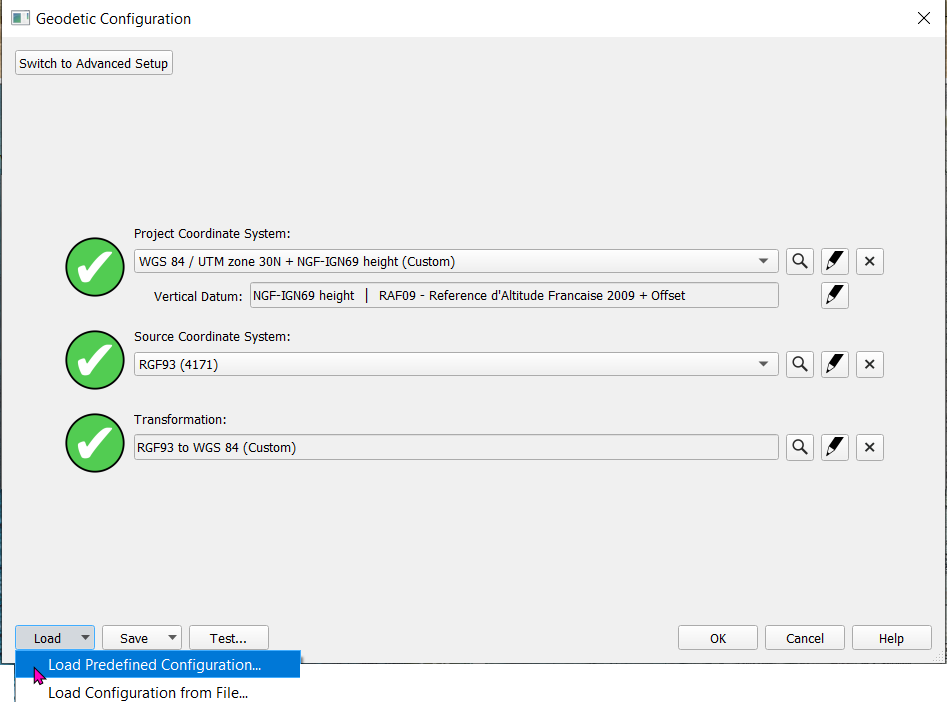
Press 'Load' and select 'Load Predefined Configuration'
A pop-up window will appear where the user can select the configuration that will be used
3. Using the Guided Setup
When the Guided Setup is used, the user needs to define at least the Project Coordinate System (1)
When the user wants to transform from a different input Source Coordinate System (2) to a Project Coordinate System (1), then also a transformation (3) needs to be configured
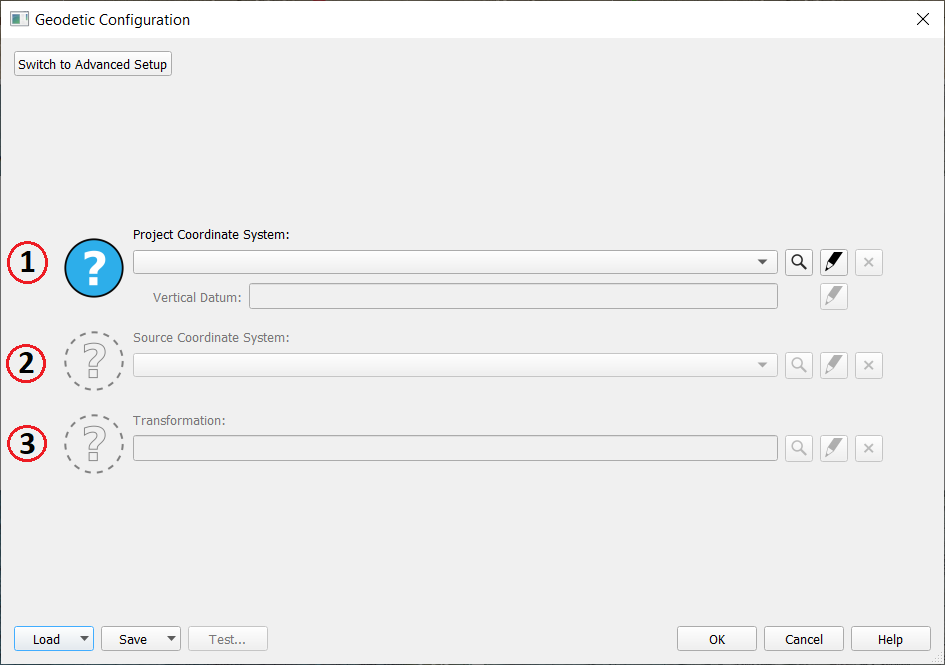
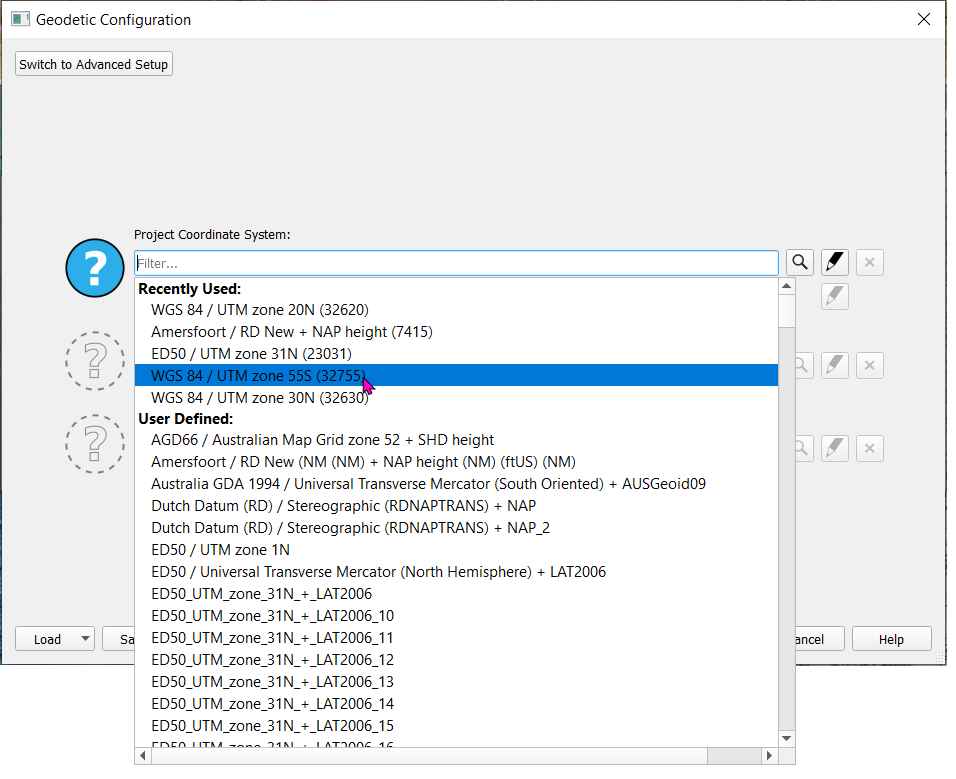
It is possible to define the Project Coordinate System in three ways:
Using the Drop down menu, and selecting the wanted Coordinate System
Using the Edit

button, and it is possible to define the complete Coordinate System
Using the Search

button, and it is possible to search for the Coordinate System in the Detailed Overview
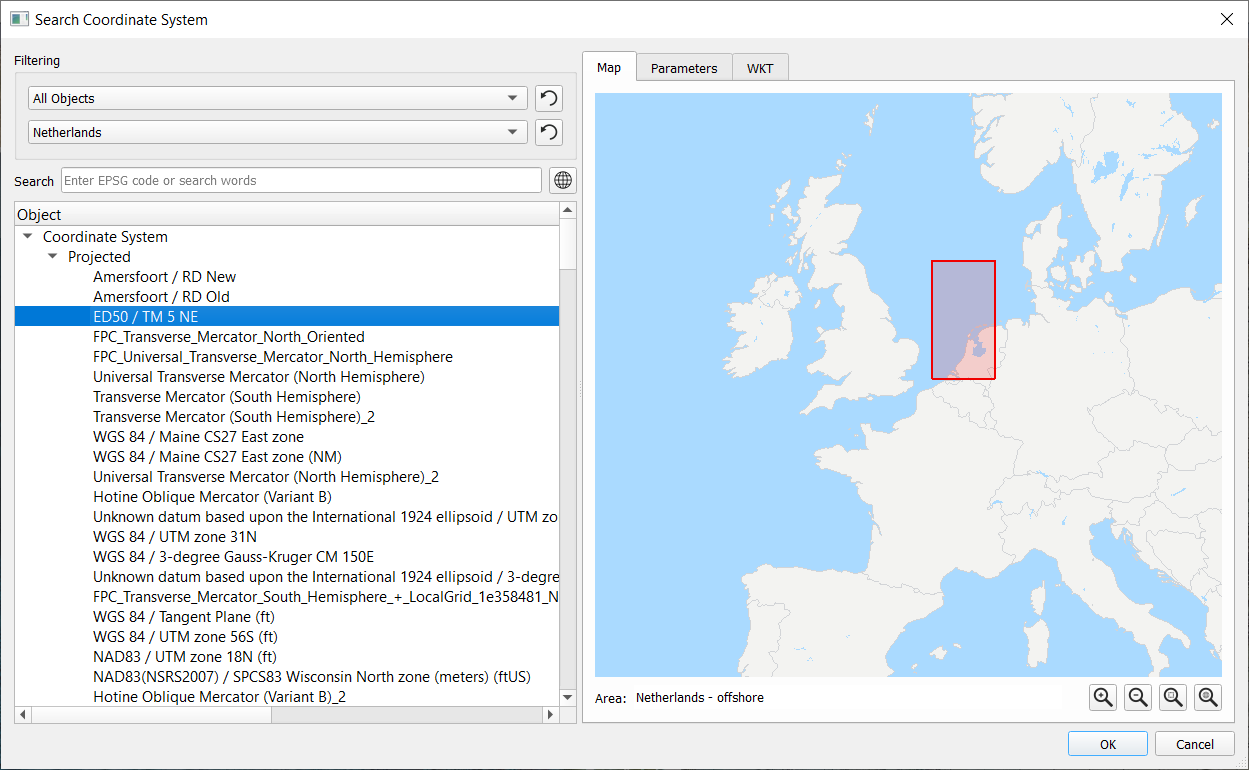
4. Defining a Coordinate System through the 'Edit' button
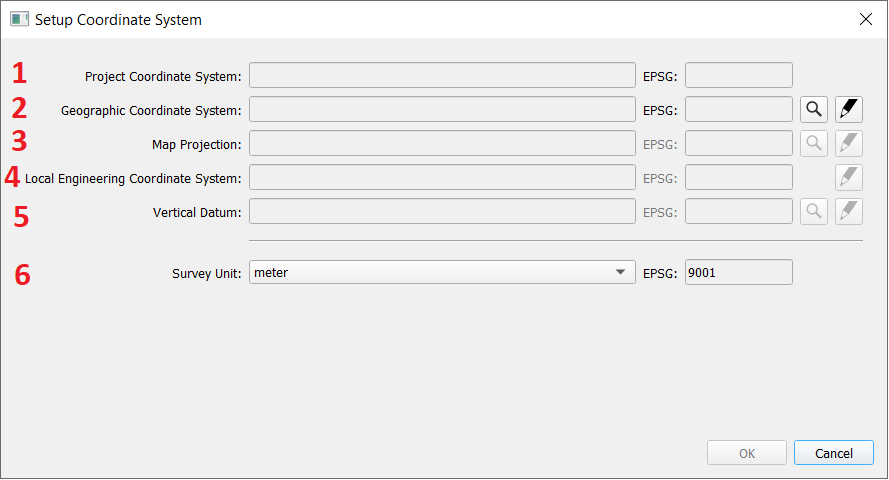
When the Coordinate System is defined through the 'Edit' button, the following screen will appear:
Project Coordinate System: This is the name that is used and its EPSG code
Geographic Coordinate System: This is the name that is used and its EPSG code
Map Projection: This is the computation method how coordinates are projected to a map
Local Engineering Coordinate System: Same as Local Construction Grid previously
Vertical Datum: Use Geoid for vertical calculations
Survey Unit: Possibility to define the survey unit
