
Editing, Exporting & Visualizing Events Stored in *.EVTDB Files
On this page:
Importing Events using the Target Viewer
The *.evtdb file created online can be imported into the Target Viewer.
Once imported and saved in an *.MDB file, the icons can be viewed in the plan view. It is also possible to create an export from it.
The procedure is:
-
Open the Survey Manager
-
Select Target Viewer from the Home Ribbon

-
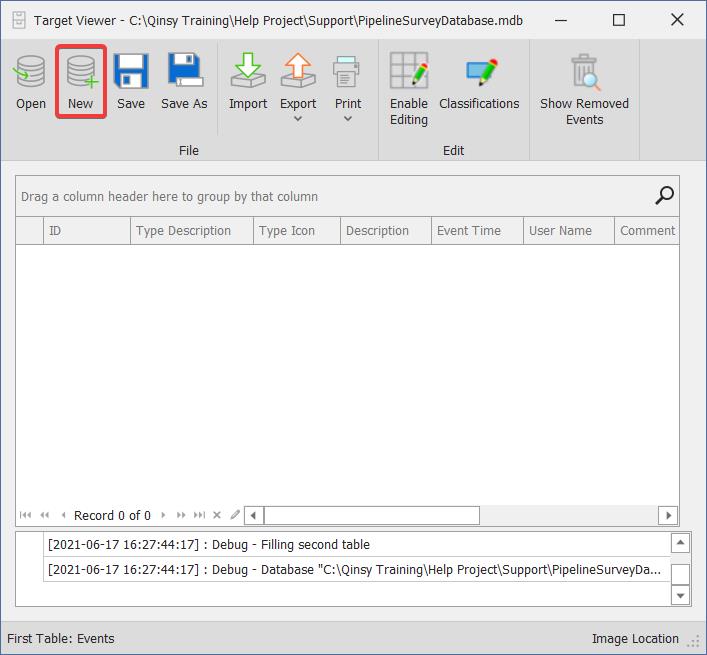
In the Target Viewer window select New. This starts the New Database Wizard:

-
Click Next
-
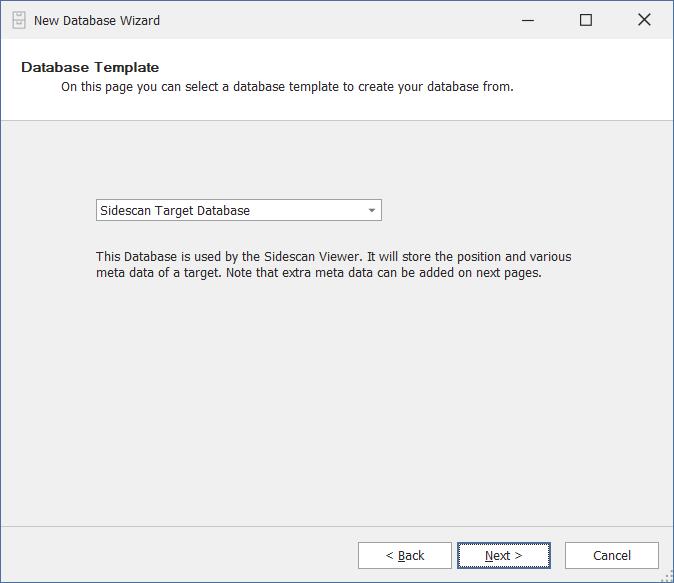
An initial template database called 'Sidescan Target Database' is the single choice.
This is a MS Access database which is used as the basis of a new MDB file. -
Click Next.
-
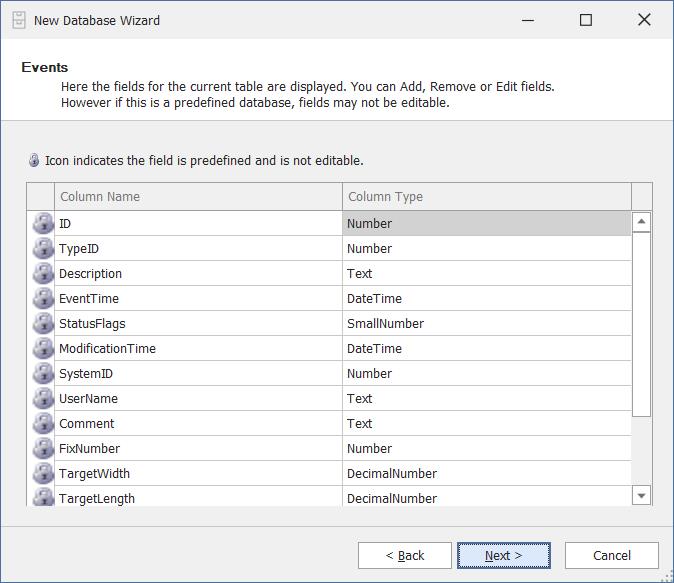
This page lists all the predefined fields in the database template for Events.
Not editable with a predefined template database.
-
Click Next
-
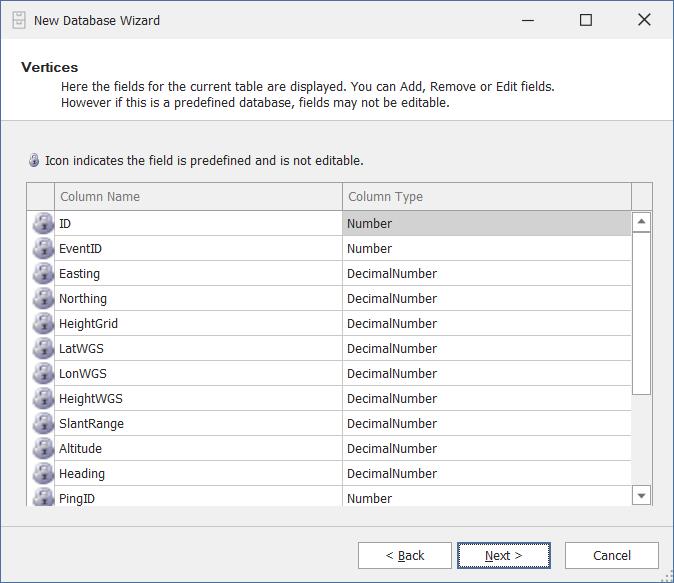
This page lists all the predefined fields in the database template for Vertices.
Not editable with a predefined template database.
-
Click Next
-
Enter a name for the MDB file in which events are to be stored.
The default folder is \Support in the current project folder.
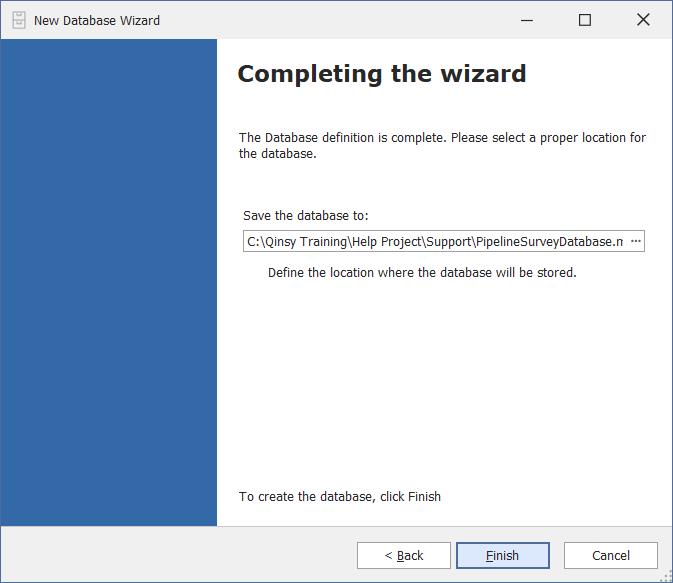
-
Click Finish.
In order to import the classes and events used during the survey:
-
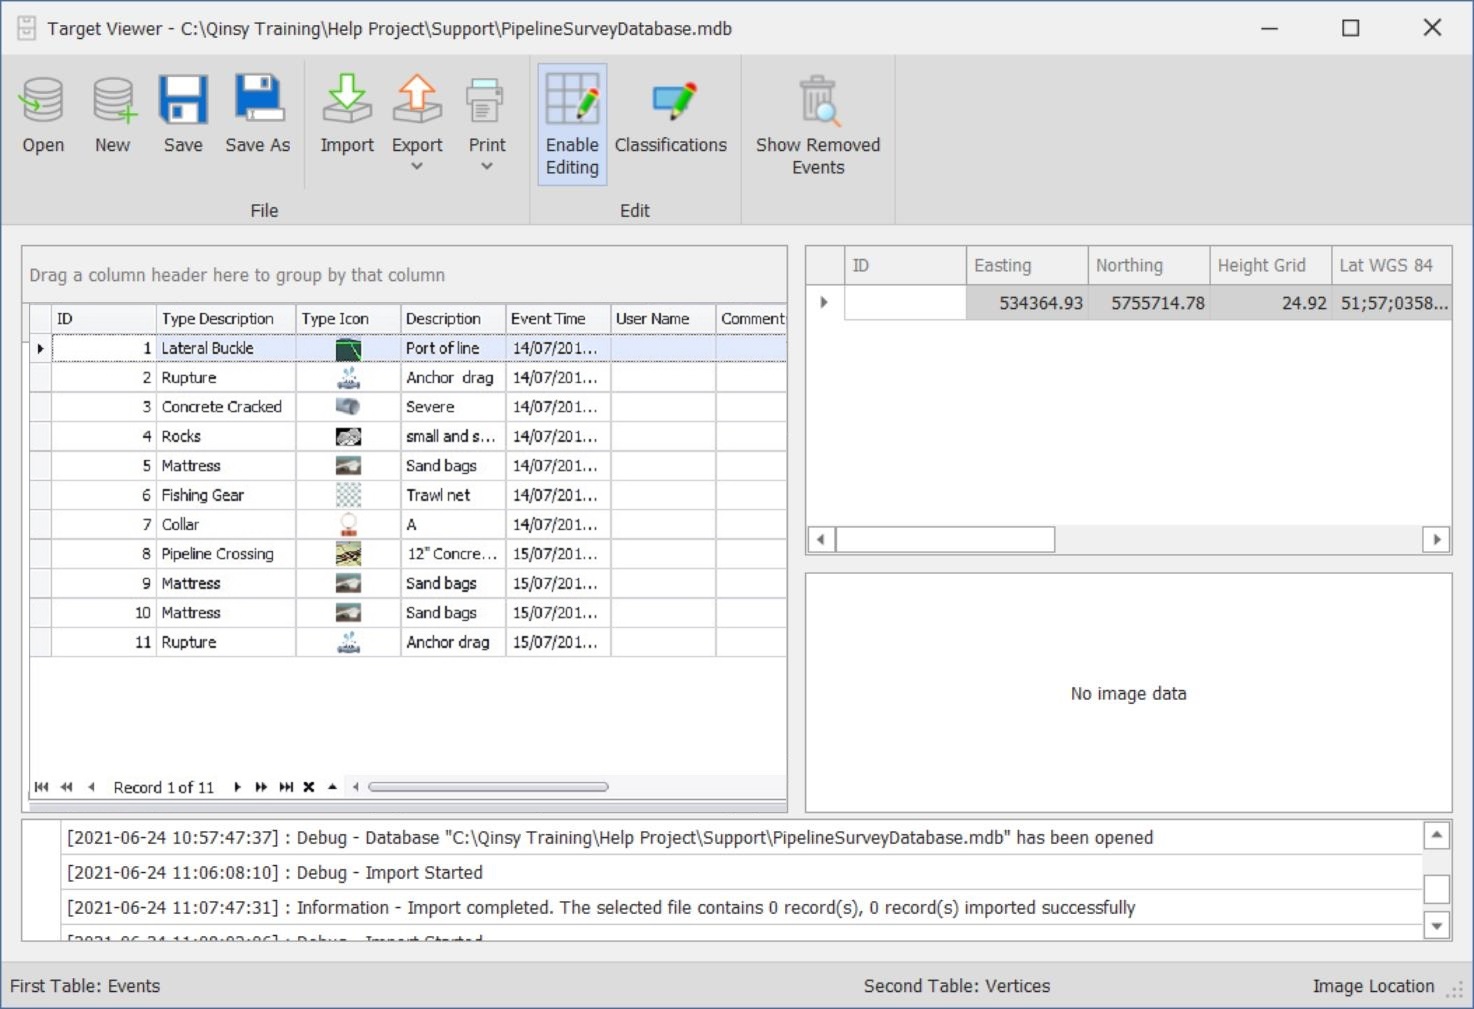
Click on Enable Editing
-
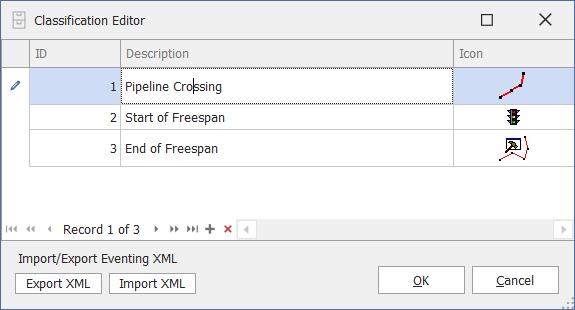
Click on Classifications
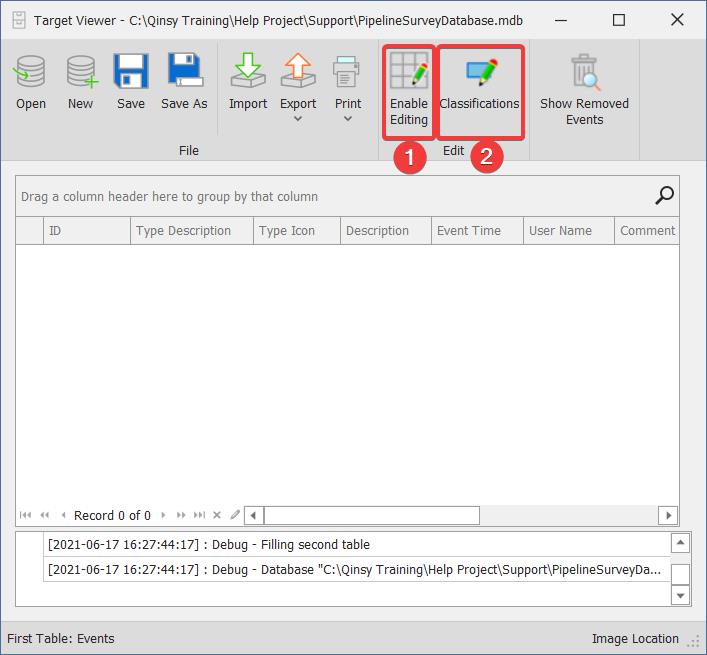
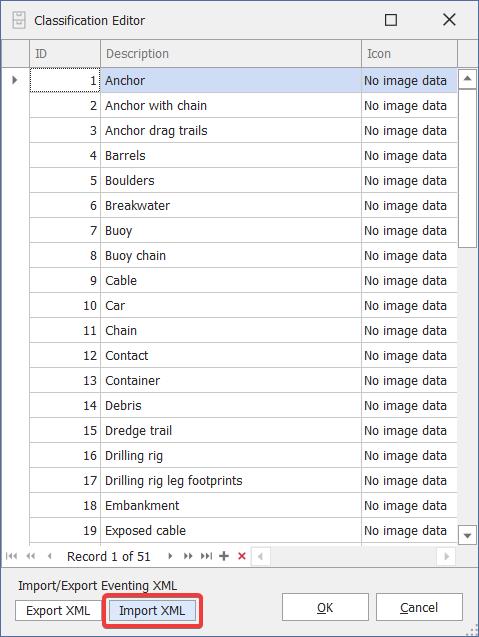
The default items from the Sidescan Target Database are listed in the Classification Editor window.
-
Click on Import XML to import the defined events used during the survey.
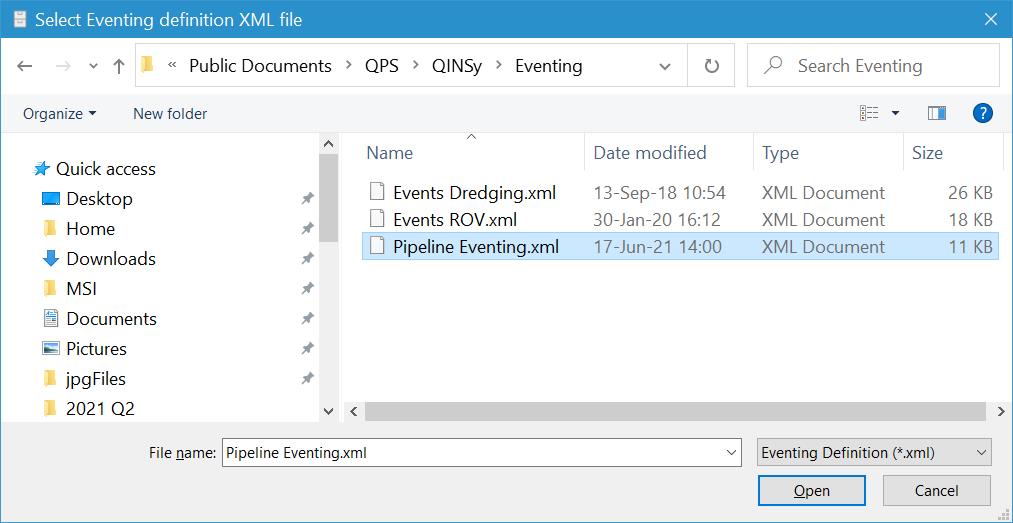
-
Browse to the \Users\Public\Public Documents\QPS\Qinsy\Eventing folder and select the appropriate XML.
-
Use the arrow buttons to step through and check the imported events.
-
Use the 'x' button to delete events.
-
Use the '+' button to add new events.
-
Click OK.
-
Click on the Import button to now import the EVTDB file created during the survey. These files are stored in the \LogFiles folder.
-
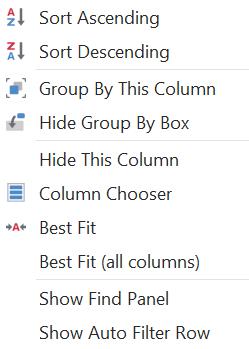
Right clicking in any of the column title boxes provides options to modify the view:
-
Save the MDB file.
Exporting and Printing EVTDB Event Data
-
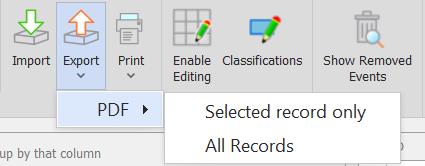
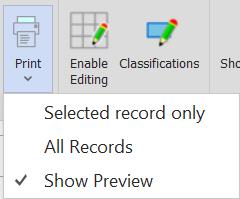
Click on Export to send all records or selected records to PDF.
-
Click on Print to send all records or selected records to a printer.
-
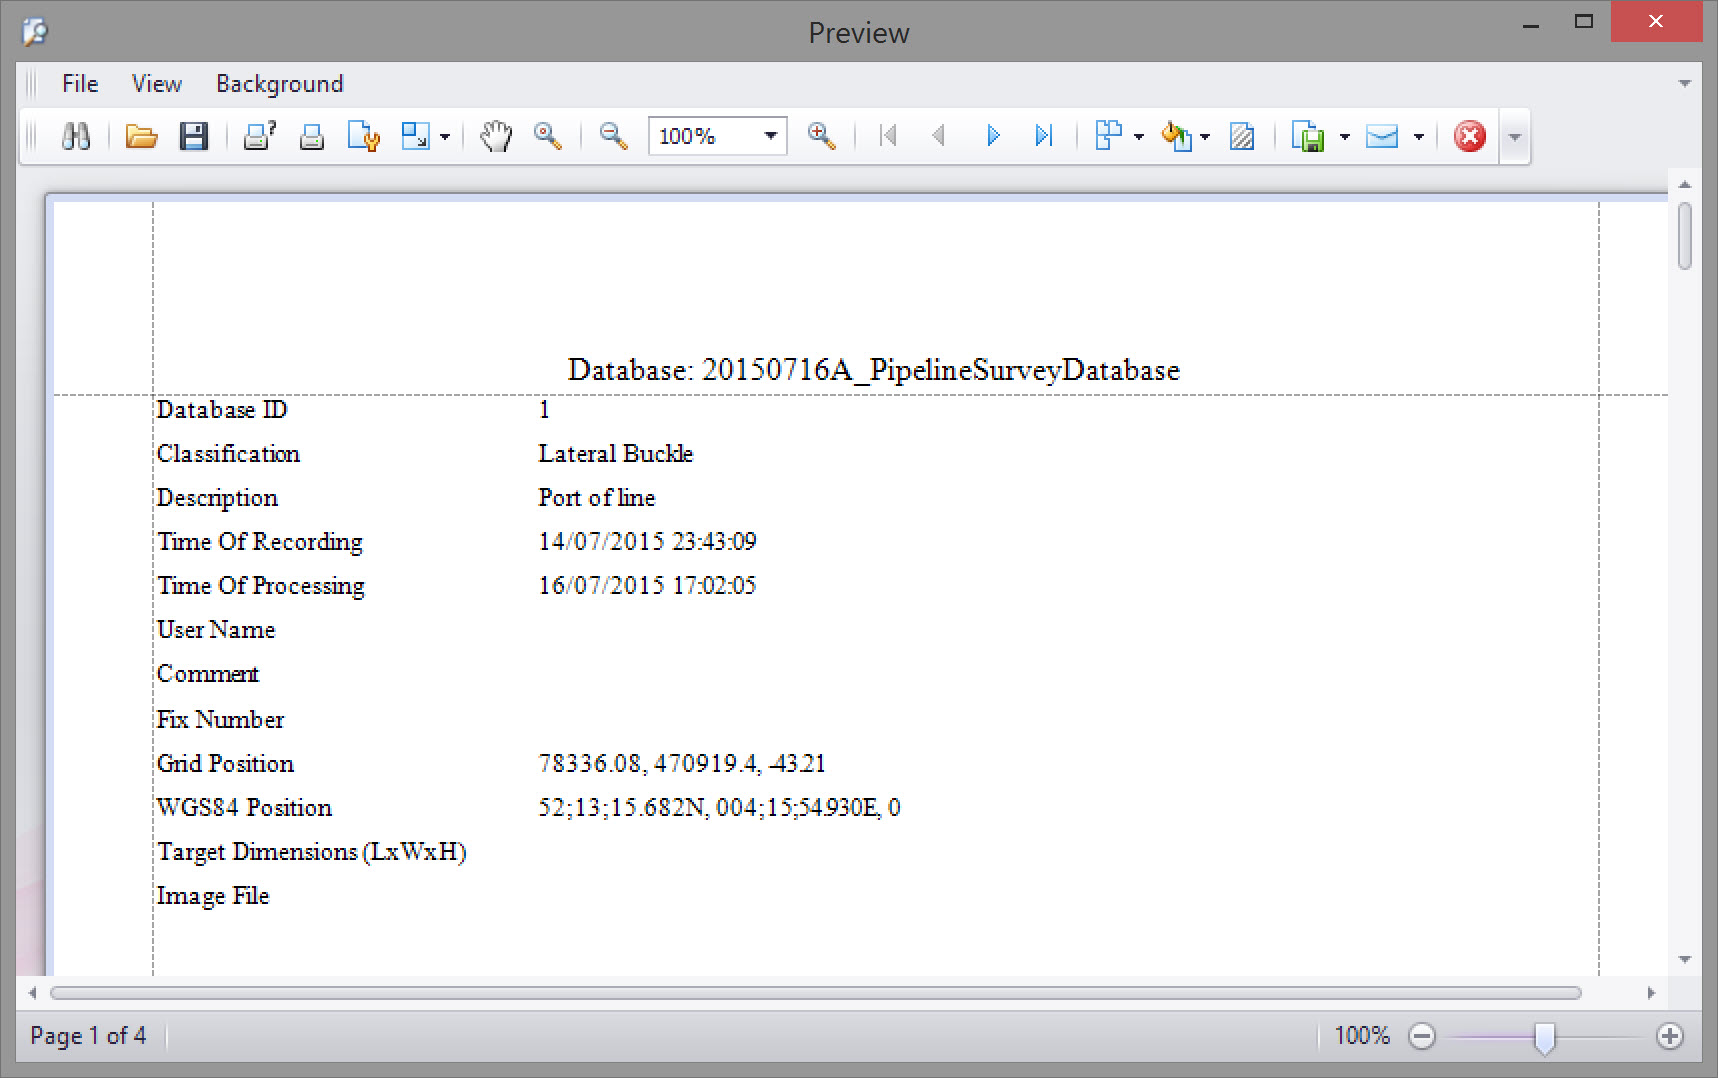
To see a preview first select the Show Preview option, and then click on print again.
-
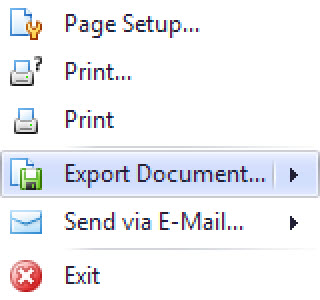
In the File menu, find options for exporting documents and/or sending by email.
-
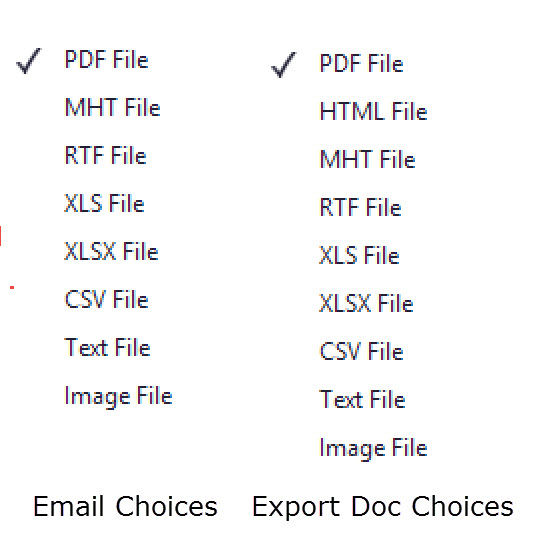
Export Document and Email choices:
Visualizing Events in Plan View
-
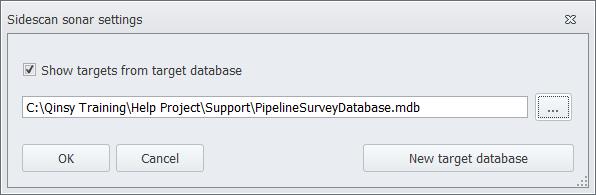
Click on Home and Settings.

-
Browse to the MDB file.
-
Make sure 'Show targets from target database' is enabled.
-
Click OK. The events will be plotted in the Plan View.
Return to: How-to Eventing