
How-to Remote Display Controller
General
The Remote Display Server/Controller combination is used to show the Qinsy displays on one or more remote computers.
These displays may be used to provide the remote users (i.e. a helmsman, a ROV operator) with the information needed to perform their specific tasks.
In order to do this a module called the Remote Display Server sends the required information (i.e. settings, raw data & results data) to the remote computer.
On the remote computer the information is received by a module called the Remote Display Controller which transfers the information to the remote Qinsy displays.
In order to send the information from the Remote Display Server to the Remote Display Controller a TCP/IP version 4 network connection is required.
This document will give an explanation on how to set up the connection between a Remote Display Server and one or more Remote Display Controller(s).
For detailed information about certain settings please check the online Help by pressing the F1 button of your keyboard while the Remote Display Server or Remote Display Controller window is active.
Network setup
Important
This document presumes that the TCP/IP version 4 protocol is properly installed and that suitable IP addresses have been assigned.
The online computer must be able to communicate with each of the remote computers via the network.
In order to prevent problems with the file sharing it recommended to:
Make all used computers part of the same domain or same work group.
Make sure that in case a work group is used that the same user name and password is used on all computers.
Set the appropriate IP address and Subnet mask on each computer. An example is shown below:
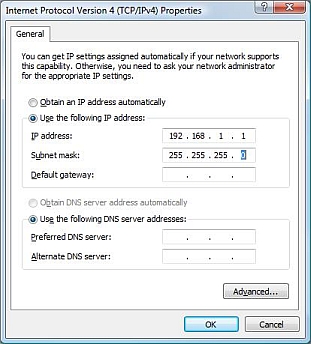
The IP addresses of the computers are all set in a similar way.
By setting the submask to 255.255.255.0 the IP addresses on these computers can be 192.168.1.X.
X should be different for each computer and must be a number between 1 and 254.
Qinsy
The Remote Display Server is started from the Qinsy Controller. It is part of every Qinsy installation.
"Remote Display Client" Add-on
The Remote Display Server option is only available if the "Remote Display Client" Add-on is part of the license that is used on the Qinsy online computer.
The license may be checked by running the License Manager from the lower pane of the Qinsy Console program.
There is no limitation on the number of remote computers that may be used. However a larger number of remote computers requires more network bandwidth.
The remote computers do NOT need a license in order to display the data sent by the Remote Display Server.
To use the remote display functionality Qinsy should be installed on the remote computers.
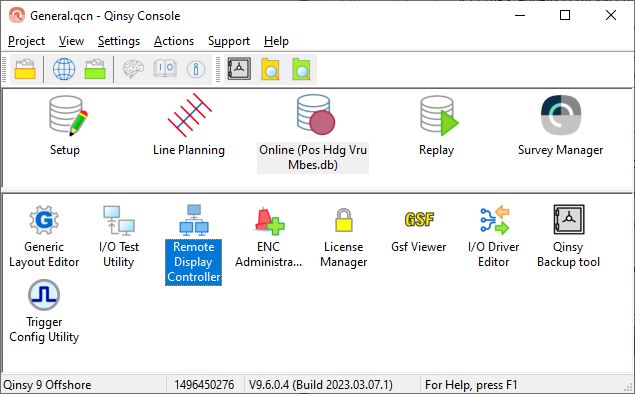
On the remote computers the "Remote Display Controller" icon needs to be activated on the Qinsy Console.
This may be done by right clicking in the bottom pane of the Console. This will show the option to "Add/Remove Qinsy Program".
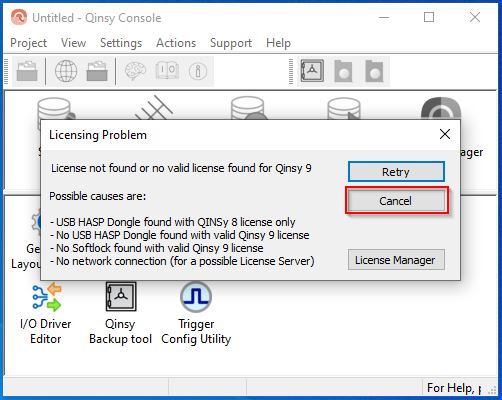
When you start the Console you might see a popup message indicating a licensing problem.
You may ignore this popup message by clicking on the Cancel button:
Another popup message may be shown asking you to select a dongle.
This popup message only appears when no dongle selection was made before.
You may ignore this popup message by using the 'x' button to close the popup message.
Important
Do not use a mapped (network) drive for the project on the Online PC and do not select the project on the Qinsy Online PC, both will cause problems with the project file and can corrupt your Template Database.
All computers running the Remote Display Controller should have the same Qinsy version installed as installed on the PC that is running the Remote Display Server.
If this is not the case a message will be generated and incorrect results may be shown and/or crashes may occur on the computers running the Remote Display Controller.
Check the Qinsy Console to see which version is installed by selecting "Help" from the menu bar and then "About Console". The version is displayed as "Version 9.x.y.z".
Communication
The Remote Display Server and the Remote Display Controller use the TCP/IP version 4 protocol.
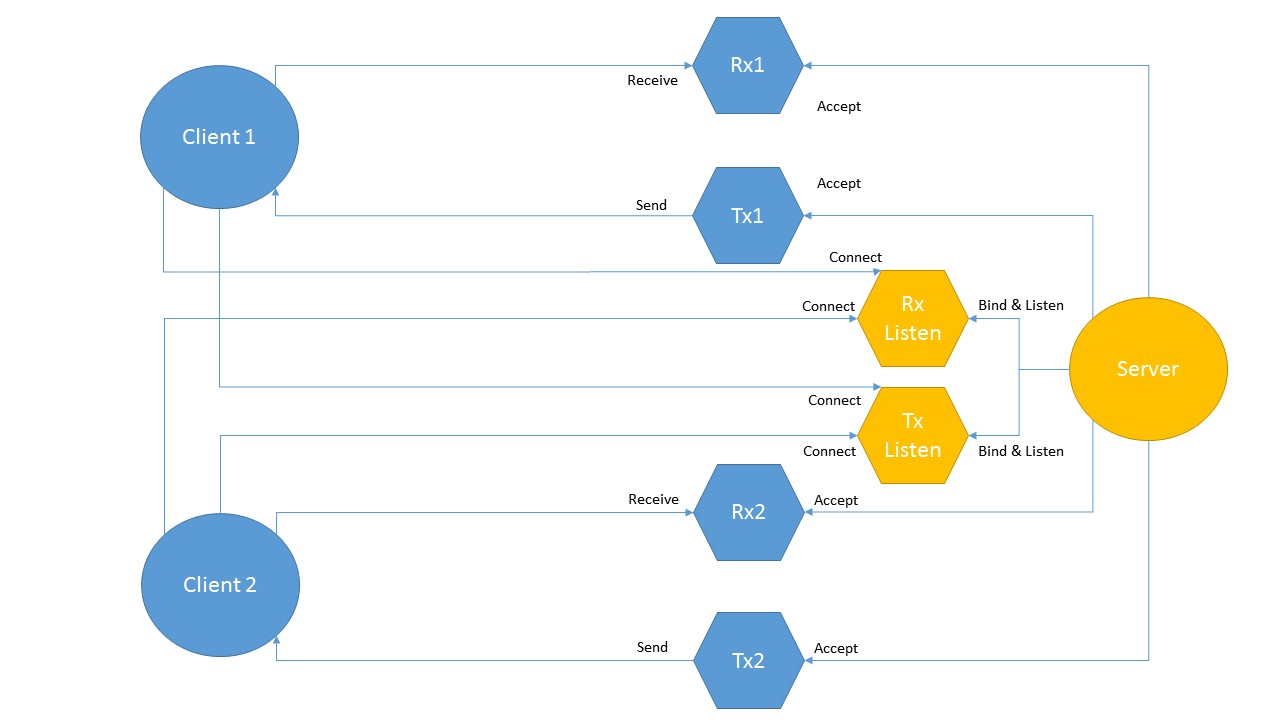
The listening Ports you select in the Remote Display Controller are split into Port and Port+1 (Yellow Rx and Tx).
On these ports the Remote Display Controller will listen and the initial connections will be established and then they will be offloaded to individual Rx and Tx ports per client, selected by the operating system.
The selected ports cannot be influenced by the Remote Display Controller. The operating system will automatically select free available ports.
Please make sure that the selected Port and Port+1 have access through your firewall for the selected IP range and that all ports created by the process called "SocketServer.exe" will have access through the firewall.
Setting up the Remote Display Server
The Remote Display Server is started from the computer that is running the online Qinsy system.
Start an online session by opening the Qinsy Controller.
Go to "Options" on the menu bar and select "Remote Display Controller".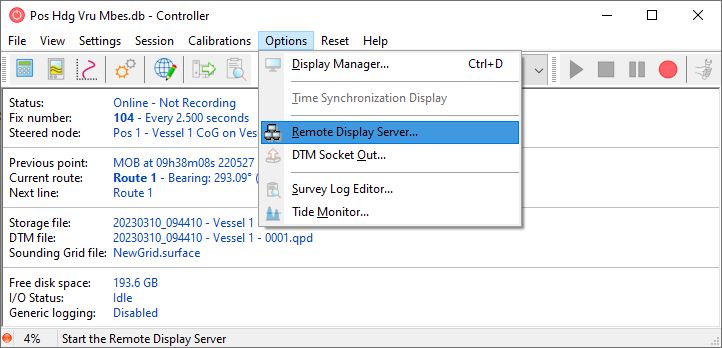
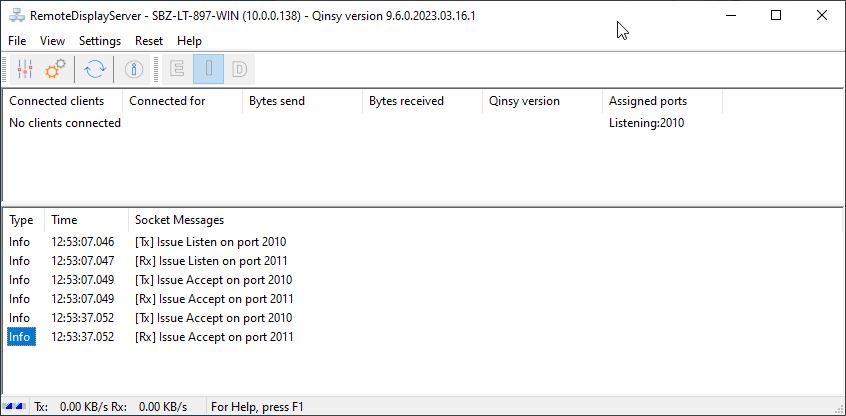
This will start the RemoteDisplayServer window as shown below:
Select "Settings" menu of the "RemoteDisplayServer" window and then "Remote Display Server".
This opens the "Remote Display Server Settings" dialog where the port on which program listens for the remote computers may be set
By default port number 2010 is used.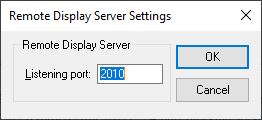
Select "Settings" menu of the "RemoteDisplayServer" window and then "Output Settings".
This opens the "Output Settings" dialog where a selection can be made of the items that will be sent to the remote computers.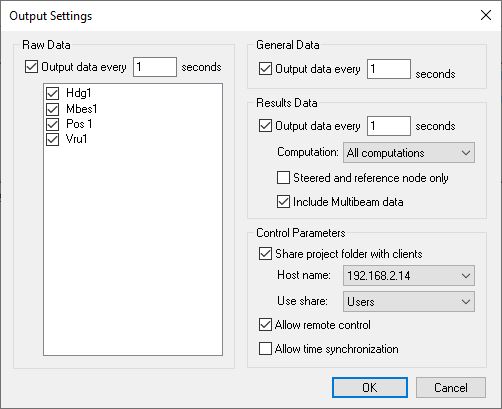
Share project folder with clients
This option replaces any file paths in the data that is sent to the remote Display Controller with so-called UNC paths. These UNC paths allow the Qinsy displays running on the remote computer to find the files they need. In order to use the UNC paths there are two options:
Use dynamic shares: In this case the Remote Display Server creates the required shares so that they may be used by the displays running on the remote computers to access the required information. This option requires 'Administrative Privileges'. This basically means that the active user needs to be a member of the 'Administrators' user group.
Use a specific share: In this case the Remote Display Server uses a pre-created share to construct the UNC paths. The pre-created share needs to be located above or on the Qinsy project folder level within the folder tree of the online PC. A good rule of thumb is that the project folder needs to accessible from the remote computer through the pre-created share.
Allow remote Control
When the Remote Display Controller needs to have the ability to control Qinsy from his computer, make sure that the Qinsy project folder on the Socket Server computer is shared and that it can be accessed via the network using Windows Explorer.
When everything is set up correctly and Remote Display Controllers are connected the Remote Display Server window may look like this:
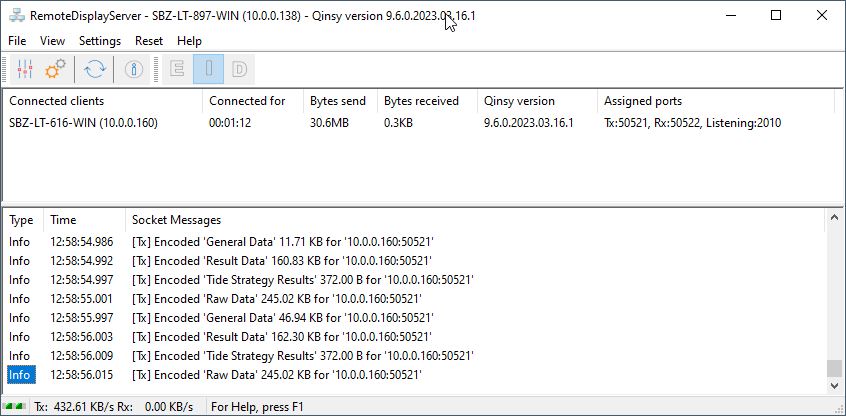
The Remote Display Server shows useful information on the Remote Display Controllers that are connected, for instance the IP address and host name of the remote computers and the used Qinsy version.
Setting up the Remote Display Controller
As mentioned before the computer running the Remote Display Controller does NOT require a valid Qinsy license.
The PC requires a copy of your Qinsy project and should contain:
Template Database file used on the online computer.
Background data required (DXF, QXF, QGF, ECW, etc.)
Select the "Remote Display Controller" icon from the Qinsy Console.
If the icon is not visible in the lower pane of the Console window it must be added.
Do this by right-clicking in the lower pane and selecting "Add/Remove QPS Programs".From the Remote Display Controller go to "Settings" on the menu bar and select "IP Address".
This opens the "Remote Display Server Settings" dialog.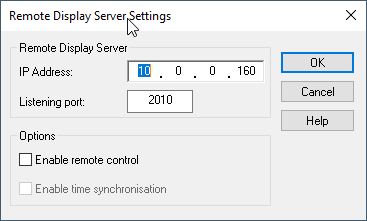
In this dialog the IP address of the Remote Display Server computer should be entered as well as the port on which it is listening.
Enable the option "Enable Remote Control" in order to start and stop the recording using the Remote Display Controller.
This option can only be enabled if it is also enabled on the Remote Display Server.Once the Remote Display Controller has connected to the Remote Display Server it will show valid information in the Status, Fix number, Steered node fields.
When this is the case the connection is successful.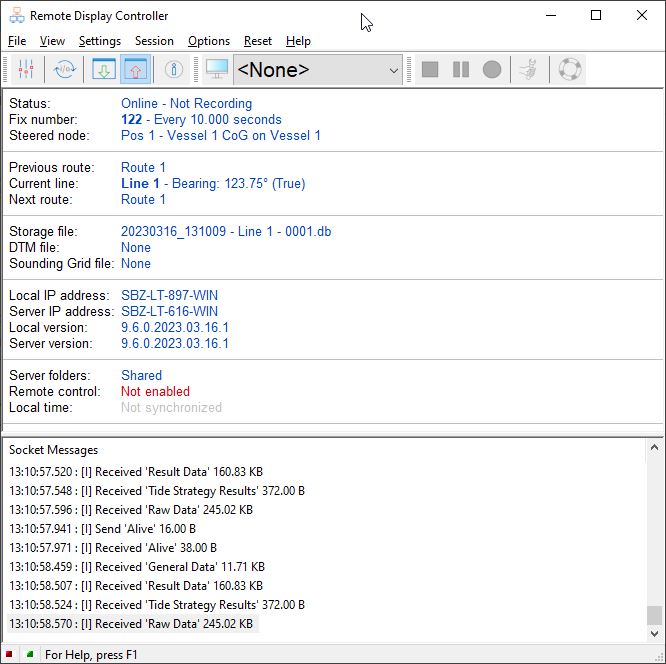
The user can now set up displays or open existing ones using the Display Manager.
If Remote Control is enabled line changes can be made and the recording may be started/stopped.
The Remote Display Controller also shows useful information about the Remote Display Server such as its IP address and the Qinsy version.
Questions & Answers
Topic | Answer/info | |
|---|---|---|
| 1 | Display options are grayed out | In case the display options are grayed out, it means that no "Steered node" data is sent. |
| 2 | No connection | In case the connection is not started it is most likely that there is a network problem. Use off the shelf network cables to prevent strange network behavior due to wrong wiring. |
| 3 | No grid data on remotes | Everything is working and you can reach the folders on the server PC, but you cannot see the sounding grid on the remote computers. It might be worth checking your network profile. It could be set to one of the following values::
Try setting it to Private, meaning that you are in a private network. |
| 4 | Time synchronization of remote computers | It is possible to synchronize the time between the computer that is running the Remote Display Server and the various remote computers that are running the the Remote Display Controllers.
Note that this does NOT automatically synchronizes the remote computers clock. |