How-to Use the Crosscheck Tool
This article describes how to work with the new crossline comparison tool that has been released with version 1.2
On this page:
Step-by-step guide
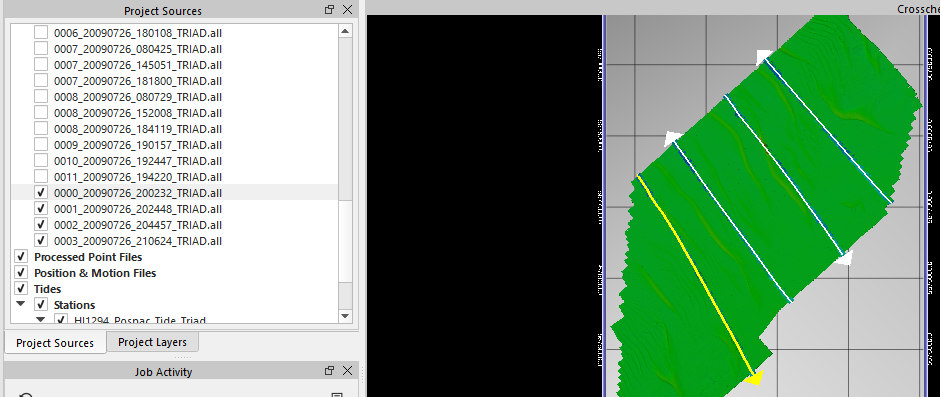
- First ensure you have a cleaned Dynamic Surface that does not contain the cross lines.
- Select the first cross line in the Project Sources window.
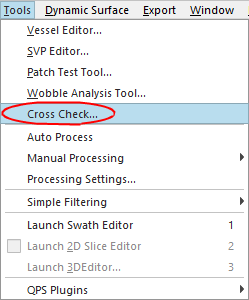
- Go to the Tools drop down menu and select Cross check
- Select from the Statistics drop down menu the required IHO Order or select the Custom option and input the required A&B parameters
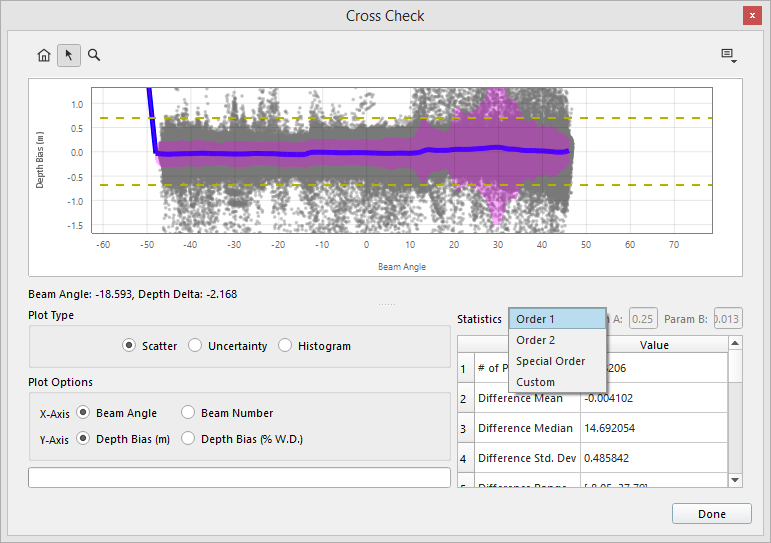
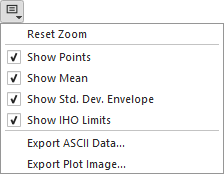
- Using the

It is from here you can also export your information using the Export ASCII Data... and Export Plot Image... options
The yellow dotted lines depict the limits of your IHO order vertical tolerance.
The purple area is the 95% Confidence Interval (2 Standard Deviations) based on normal distribution (check the histogram)
The blue line represents the Mean Value
Points indicate the difference in depth between the cross line and the surface. They can either be drawn based on beam angle or on Beam number.
Check the distribution of your data using the Histogram.
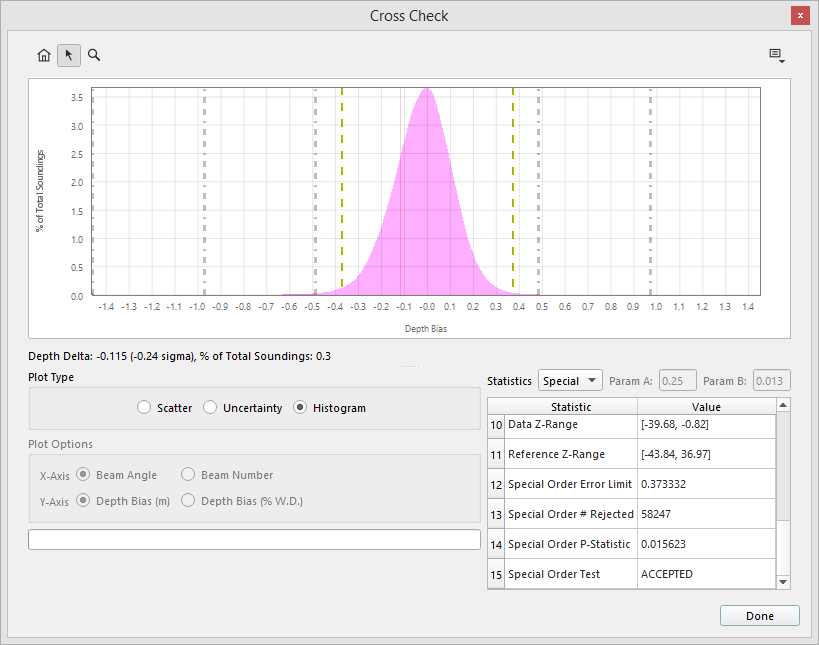
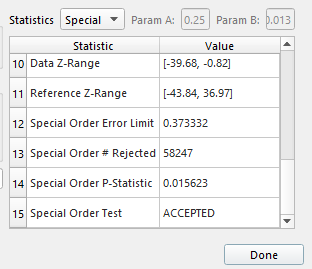
The text in the Statistics window will indicate whether the crossline had passed the parameters for your IHO order
- Follow the above steps for your other cross lines.
If required, you can select multiple crosslines before launching the Cross Check window
