
This article will help you set up a new project.
On this page:
Set up Geodetics in a new project
Go to Project Browser and create a new project
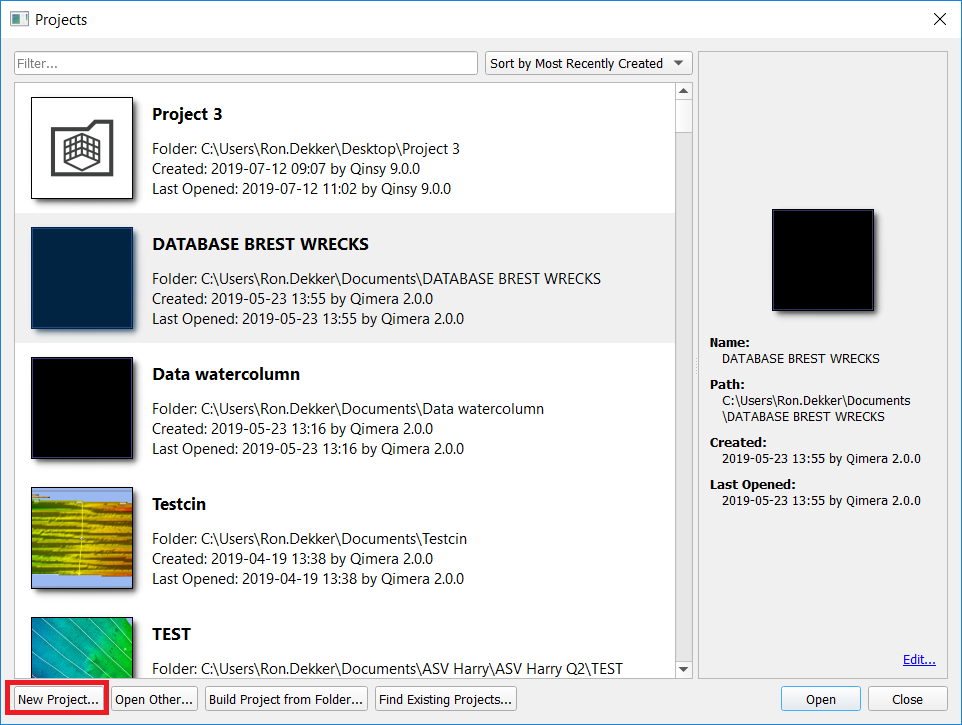
From this point on there are three ways to set up a new project:
-
Allow it to automatically choose the projection when files are added, which
-
Chooses UTM zone automatically for first file for non-Qinsy data
-
Extracts projection from Qinsy file, if .db/.qpd files are provided
-
-
Specify a projected coordinate reference system
-
Set up your CRS from scratch using the Full geodetic configuration
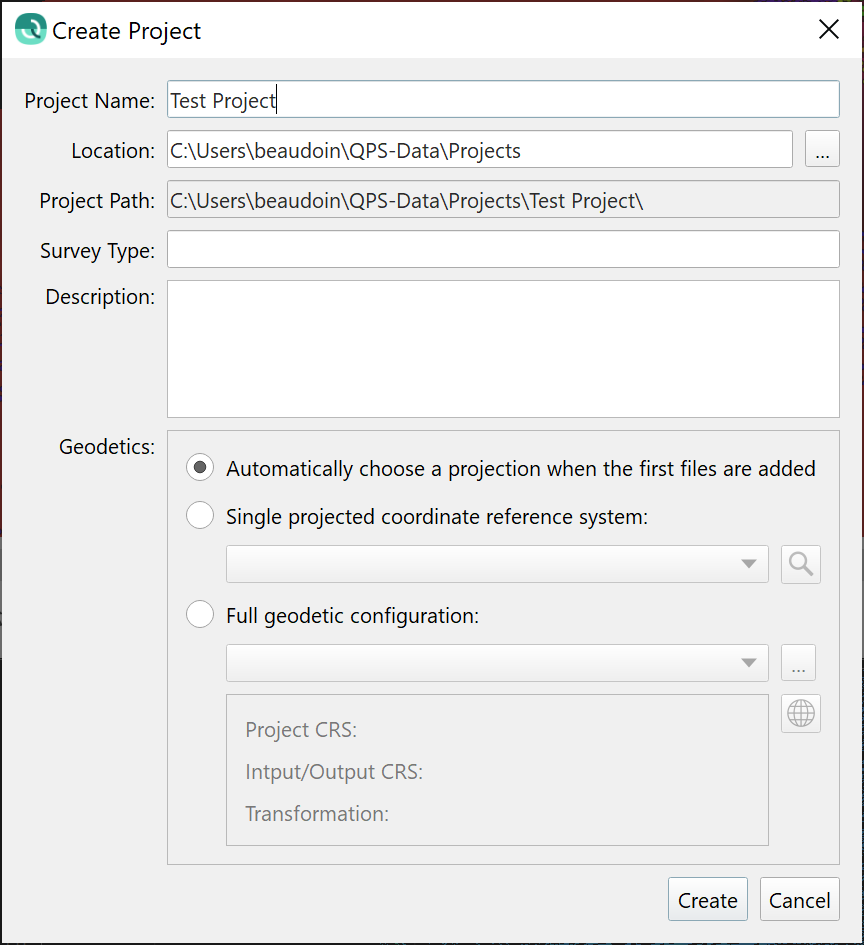
1. Automatic
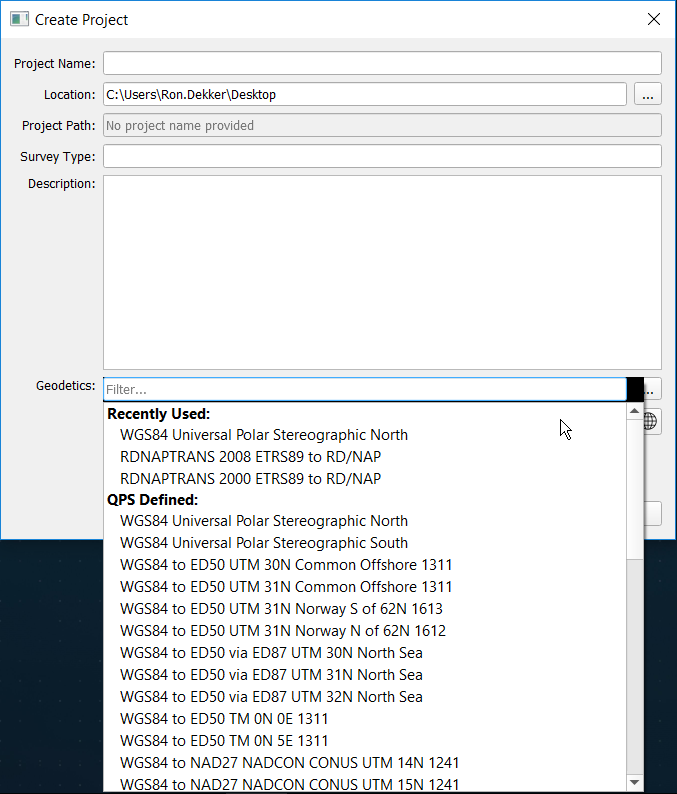
For a predefined setup click on the drop down menu.
Here you will find:
-
Recently Used geodetic setups if you have done it before and/or saved a custom created one
-
QPS Defined, which are the Qinsy predefined datums
2. WKT File
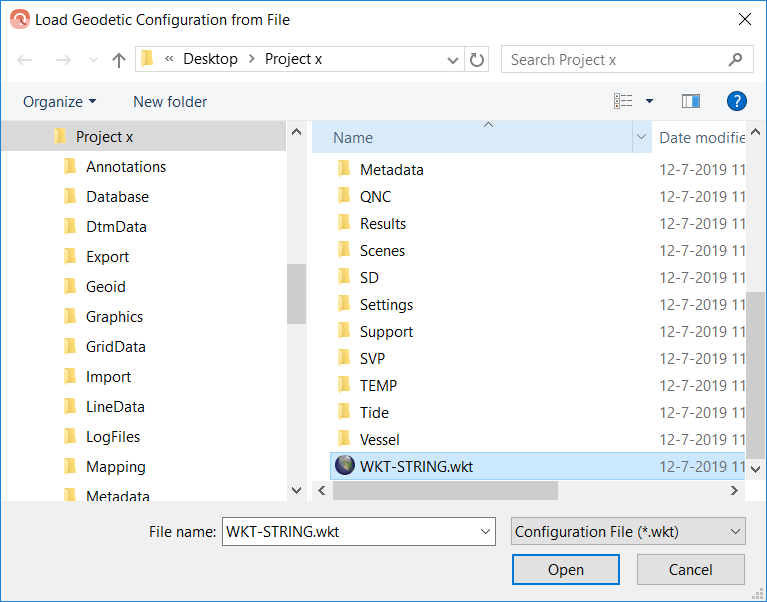
If you have a WKT file (can be saved via the SETUP CRS option below).
-
You are able to select the WKT file which will populate the Datum for this project
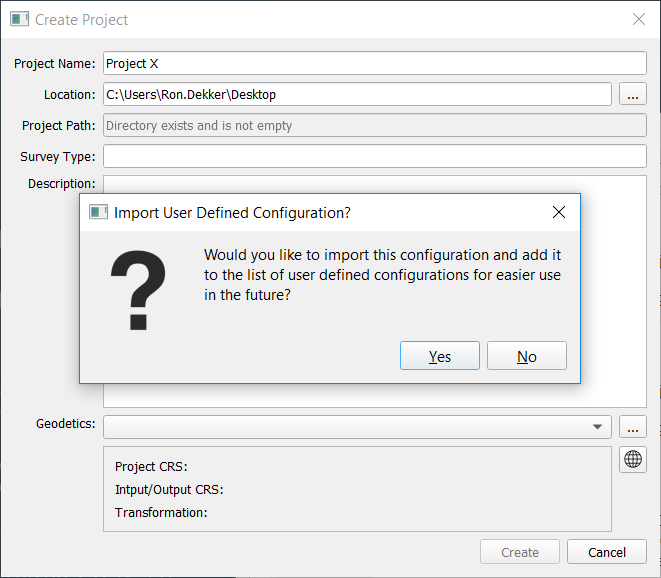
3. Set up Project Coordinate System
For a CRS setup from scratch you now have to set up the Project CRS:
-
The project CRS is the Target datum.
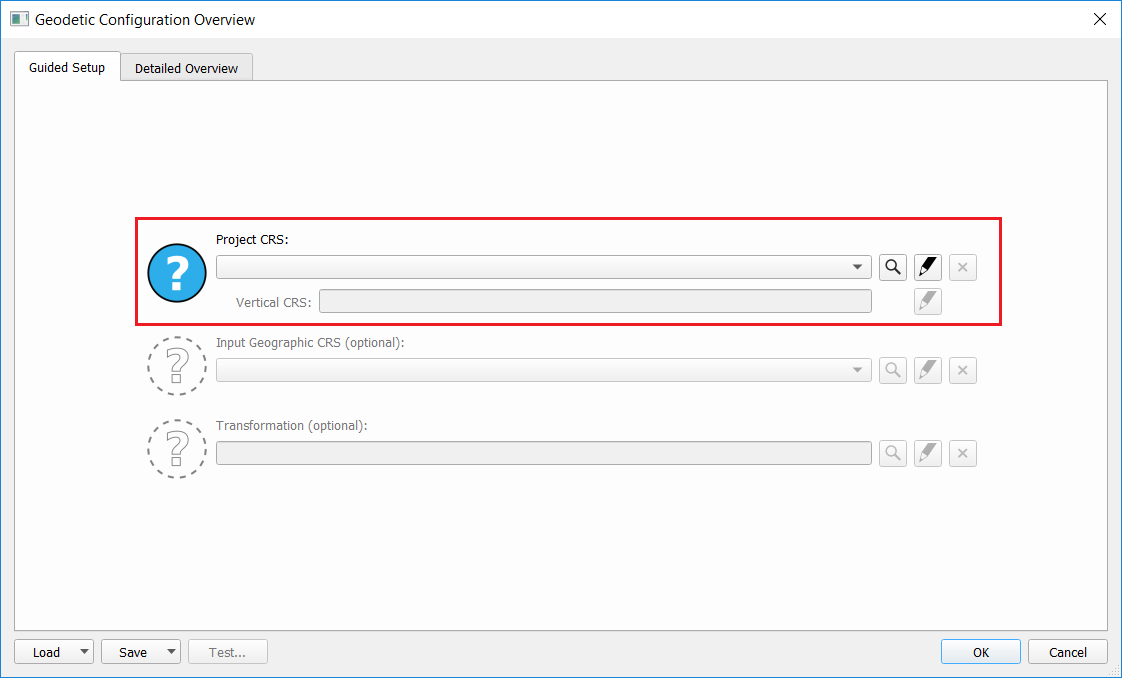
-
This can either be set up by loading a complete predefined datum transformation,
-
Or by loading a WKT file.
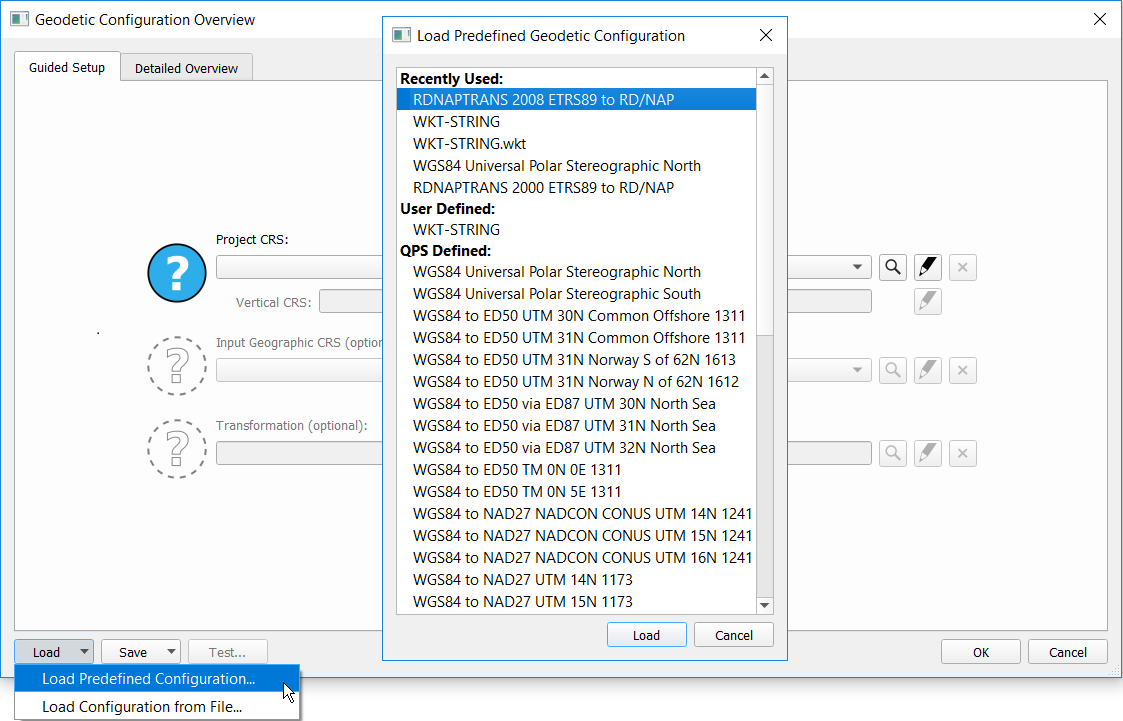
-
You can load a specific existing ellipsoidal datum (e.g. WGS84, ETRS89, different local datum, etc.)
-
In case you still want to do a datum transformation you will have to do it manually, please keep reading.
-
-
If set up correctly you will see a green check-mark
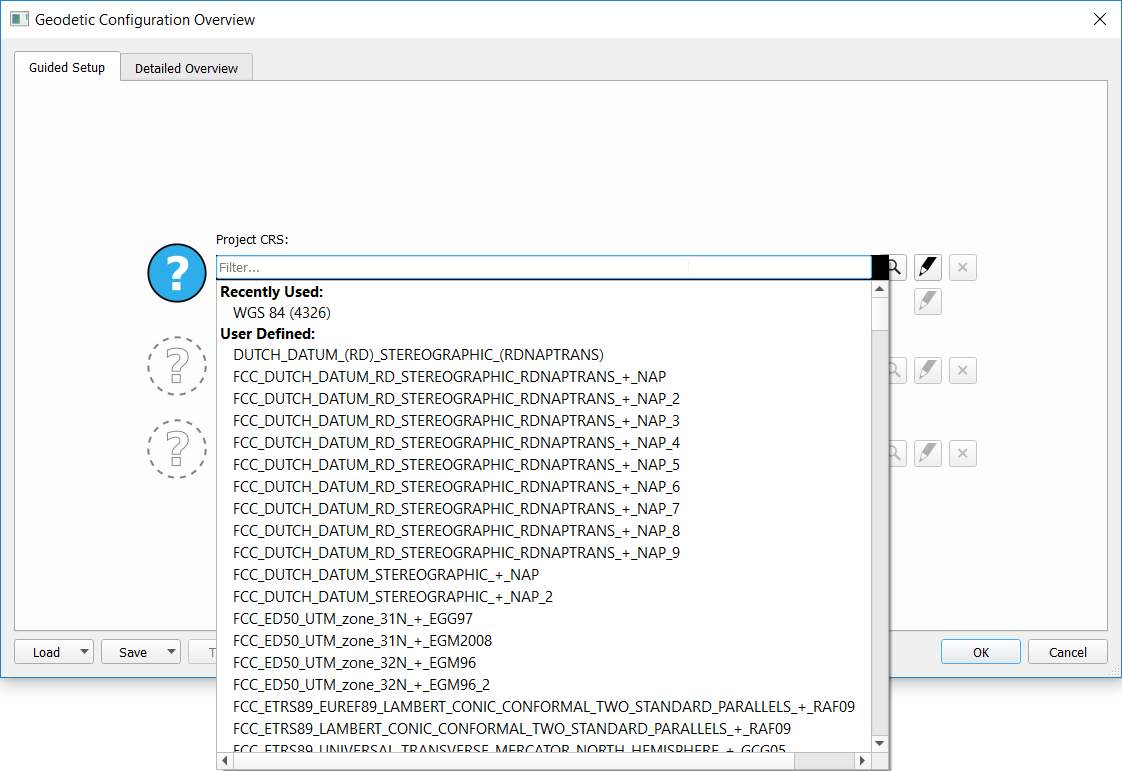
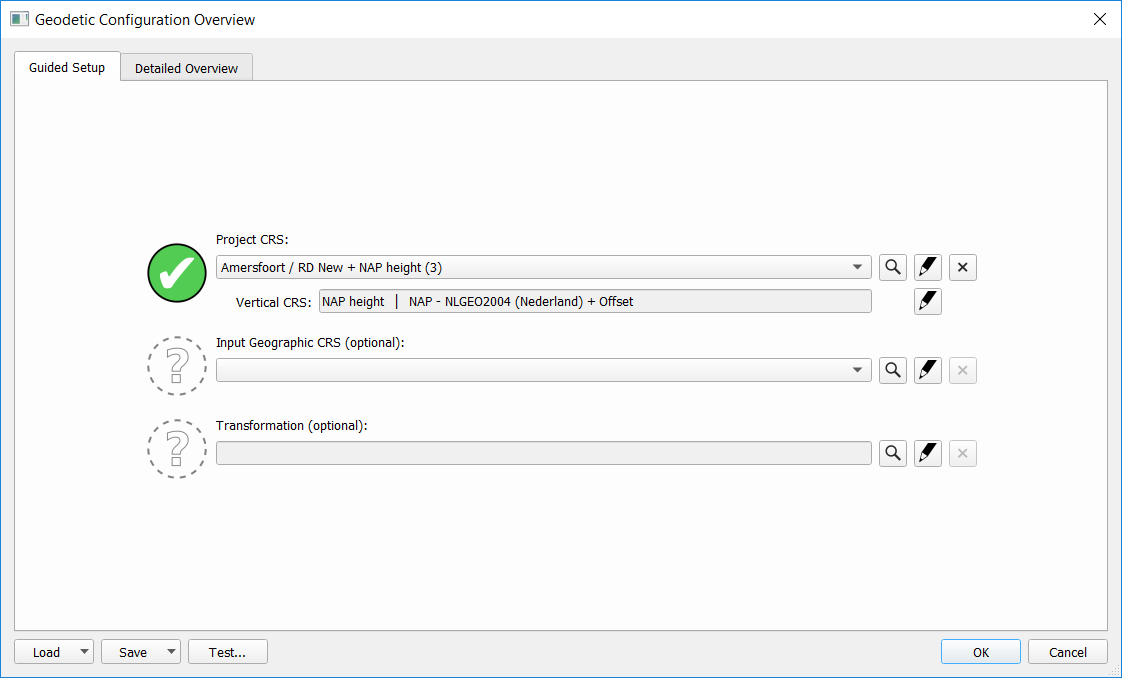
-
Set up Target datum by using the magnifying glass.
-
If set up correctly you will see a green check-mark.
If you still want to set up the datum transformation, you can do it in two ways:
1 Select Input geographics first, once target datum is selected:
-
Set up Source Datum
-
Set up correct Transformation
-
If set up correctly you will see a green check-mark
2 Select transformation first:
-
A list with existing related transformations is available
-
Once selected the Source datum will be auto-populated
-
If set up correctly you will see a green check-mark