How-to-FMGT - Backscatter Level Adjustment
The Backscatter Adjustment option under the Tools menu, allows level adjustment across multiple line configurations. This capability is typically required in a multi-vessel project. It allows you to more easily adjust the levels of files from multiple vessels by utilizing the processing settings to persist the adjustment level required to continue processing of additional lines. Then as lines are added and configured to use the correct settings, the adjustment is automatically incorporated during processing.
Step 1 - Create a Project
Ensure you have the latest version of Fledermaus installed.
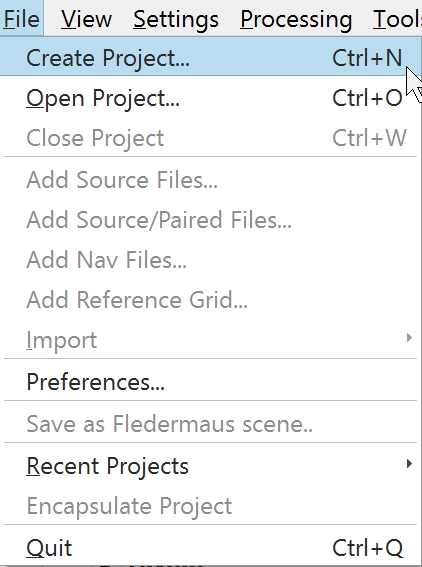
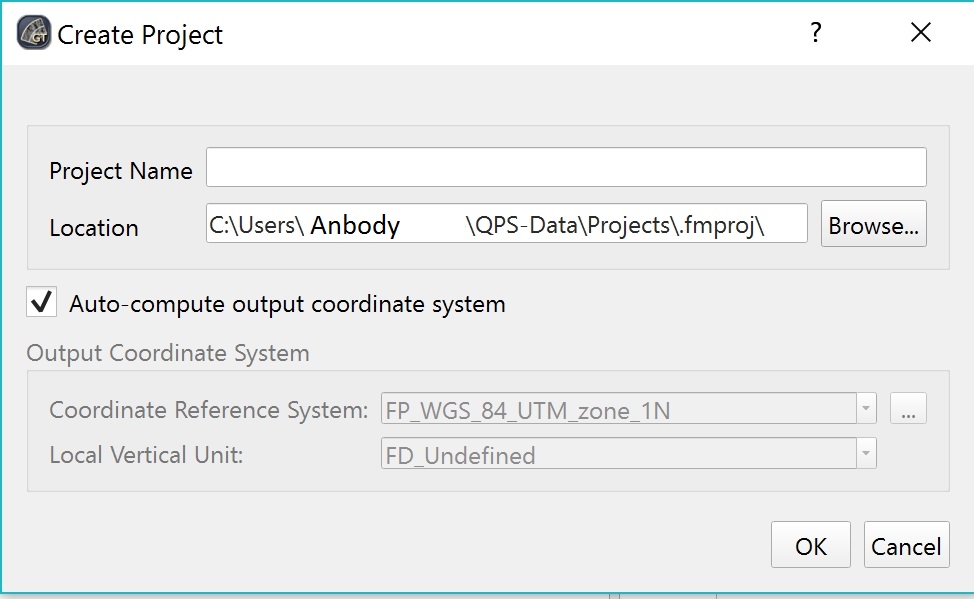
To create a project in FMGT from the File menu click on Create Project. You will then be asked to give the project a name.
Step 2 - Create Processing Settings
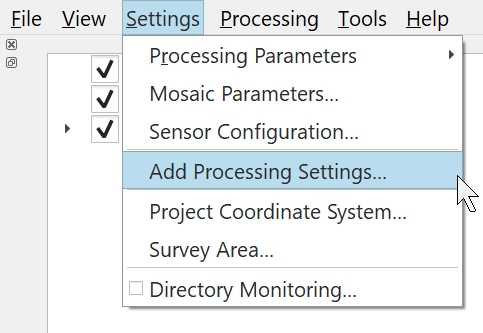
In order to use the Backscatter Level Adjustment tool, you need to ensure the lines you are trying to match are configured with different Processing Settings. To create a processing settings, from the Settings menu go to Add Processing Settings...and enter a name. Repeat this for the line you will be using to match.

Step 3 - Add Source Files
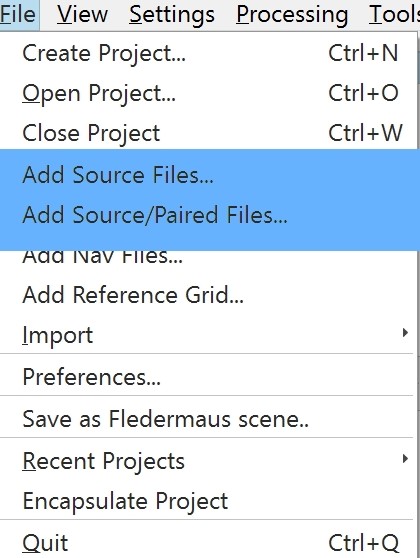
Each line you are trying to match will need to be added separately, as you will be setting the processing settings for each line upon import. To add source data, from the File menu click either Add Source Files... or Add Source/Paired Files...
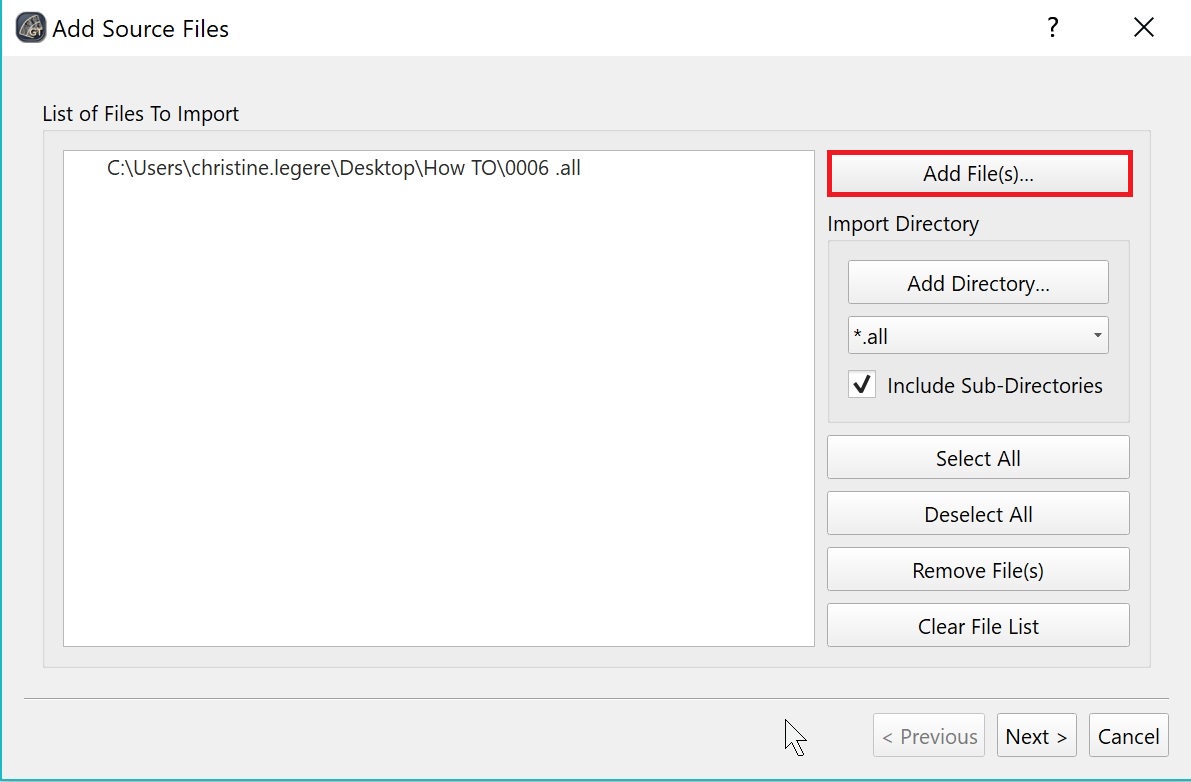
Click on Add Files ... and navigate to data location, click on Next
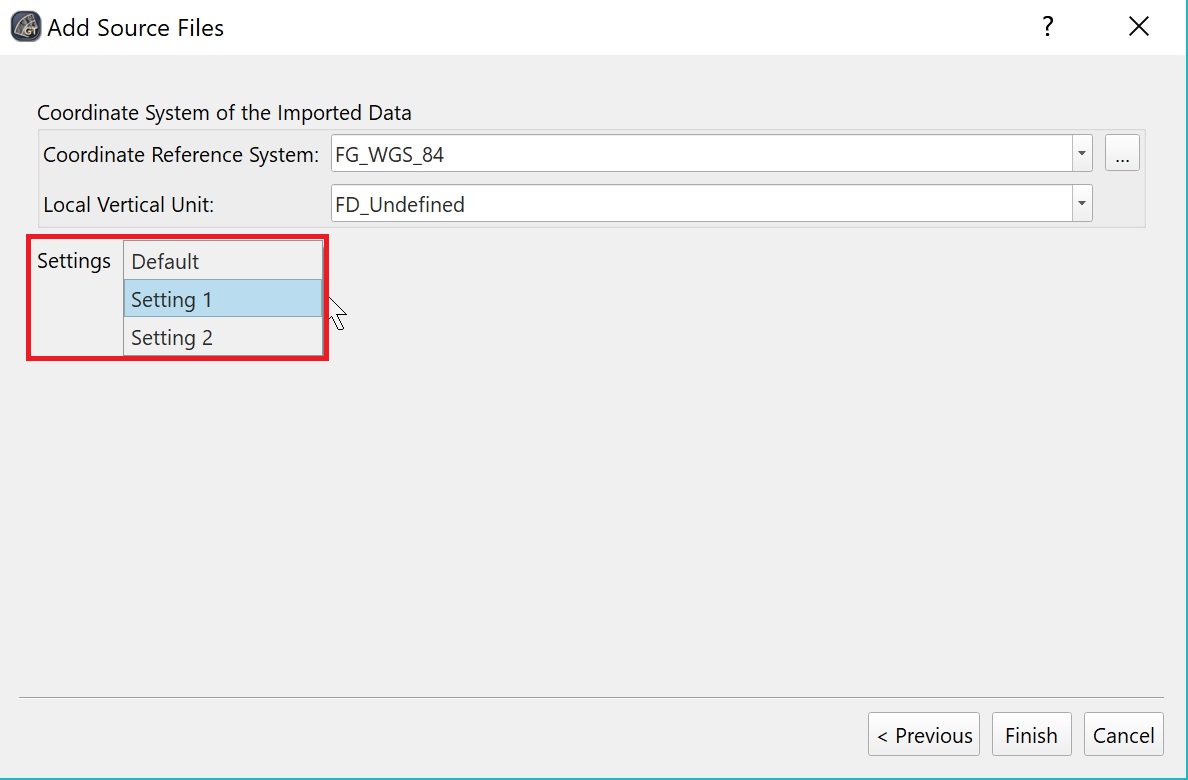
In the next window you can now chose what processing setting to use for the incoming line. Click on the Settings arrow and choose a setting.
Repeat these steps for each of the lines you are trying to match.
Once all lines are added, you can see what line has which Setting associated with it by right clicking on a line and selecting the Set Settings option.


Step 4 - Create Mosaic
To create a mosaic in order to use the Backscatter Level Adjustment tool you will need to have the two lines you want to use to determine the adjustment level checked in your project tree. The two lines selected to are used to make a single mosaic.

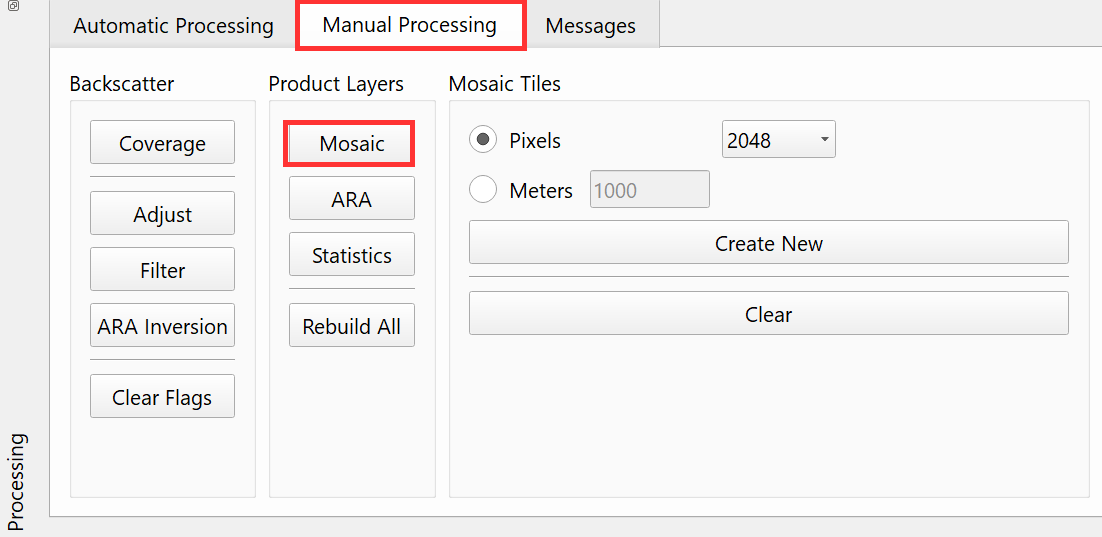
In the Processing window under the Automatic Processing tab have the box next to Mosaic checked and click Mosaic alternatively you can also create the mosaic under the Manual Processing tab .

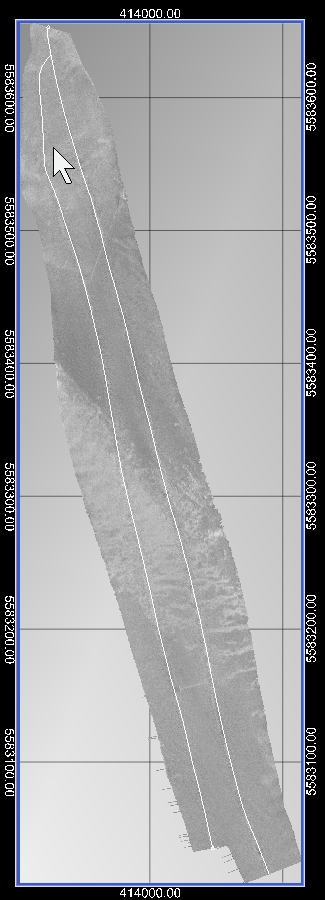
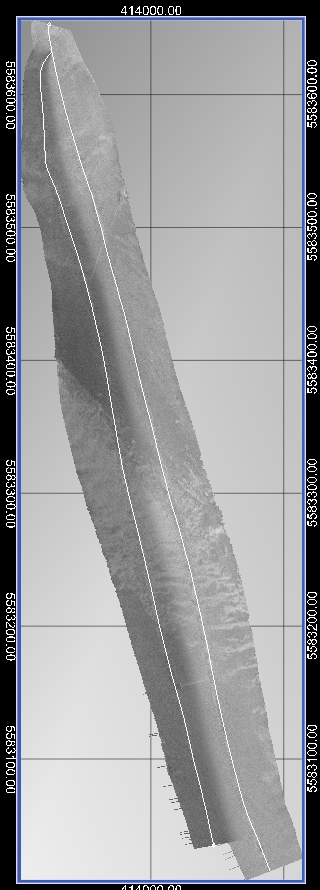
The resulting mosaic:
Step 5 - Backscatter Level Adjustment
To use the Backscatter Level Adjustment tool, you need to have two lines you want to use to determine the adjustment level checked in your project tree.

You also need to have a mosaic tile selected in the the Visual Objects tab. If your mosaic has only one tile, you can just select the mosaic.
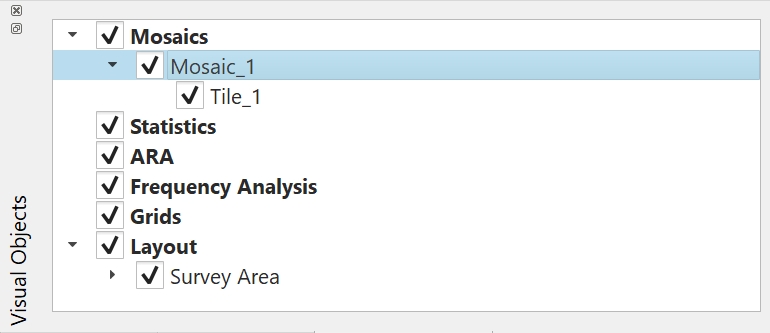
Under the Tools menu, navigate to Backscatter Level Matching, FMGT will now extract the backscatter data per line and separate the lines as separate layers in the tool.
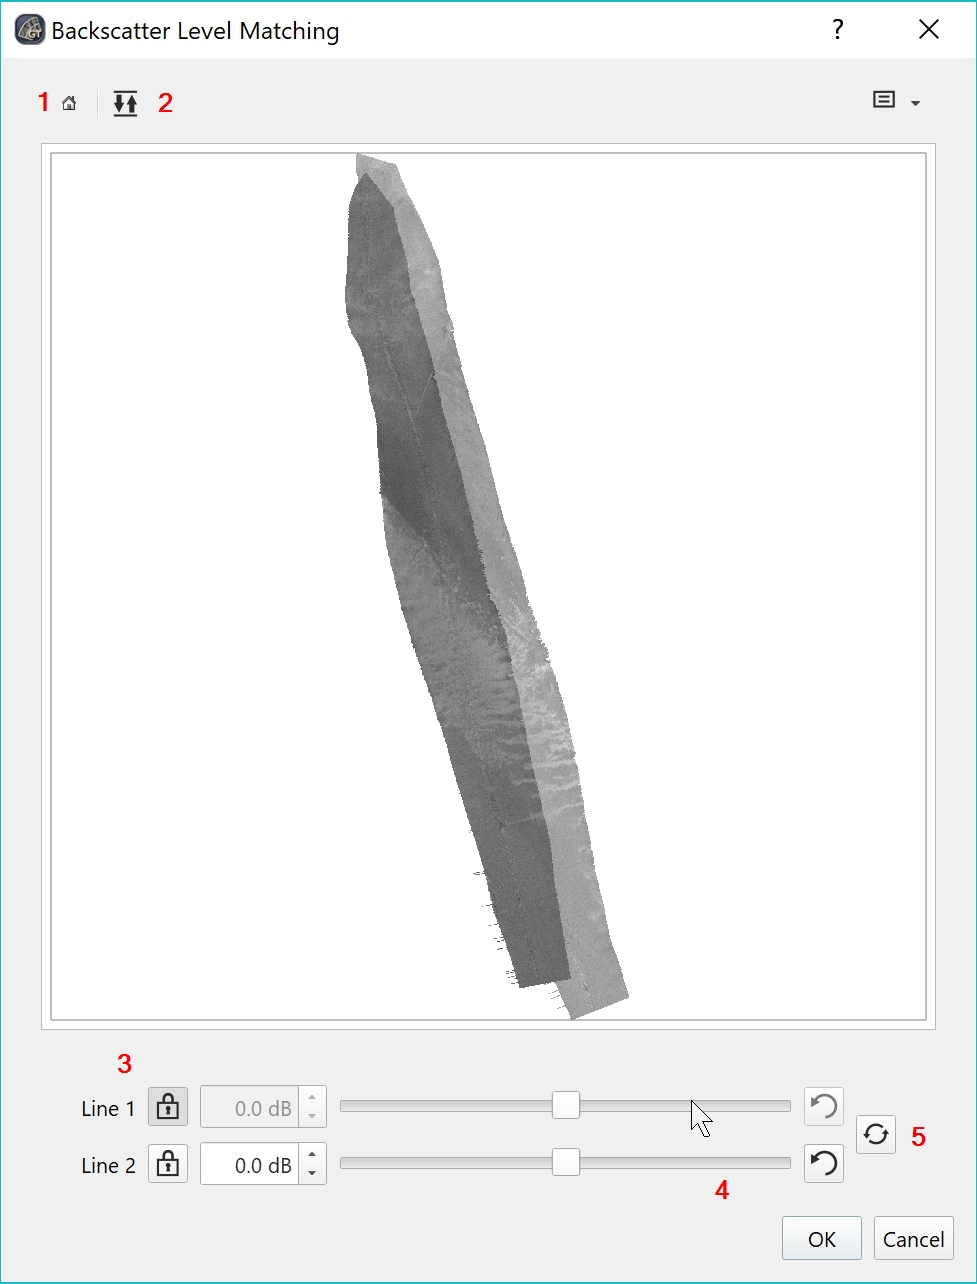
You can zoom into the display using the mouse wheel or click-drag to pan around the display. Click the home (1) button to zoom back to the extents of your data. You can also change which line is on top by using the layer swap button (2). If you want to use one of the lines as a reference, click on the lock button (3) next to the line of choice. The other line can be adjusted manually by using the slider bar (4) or the spin box to use the automatic adjustment tool (5).
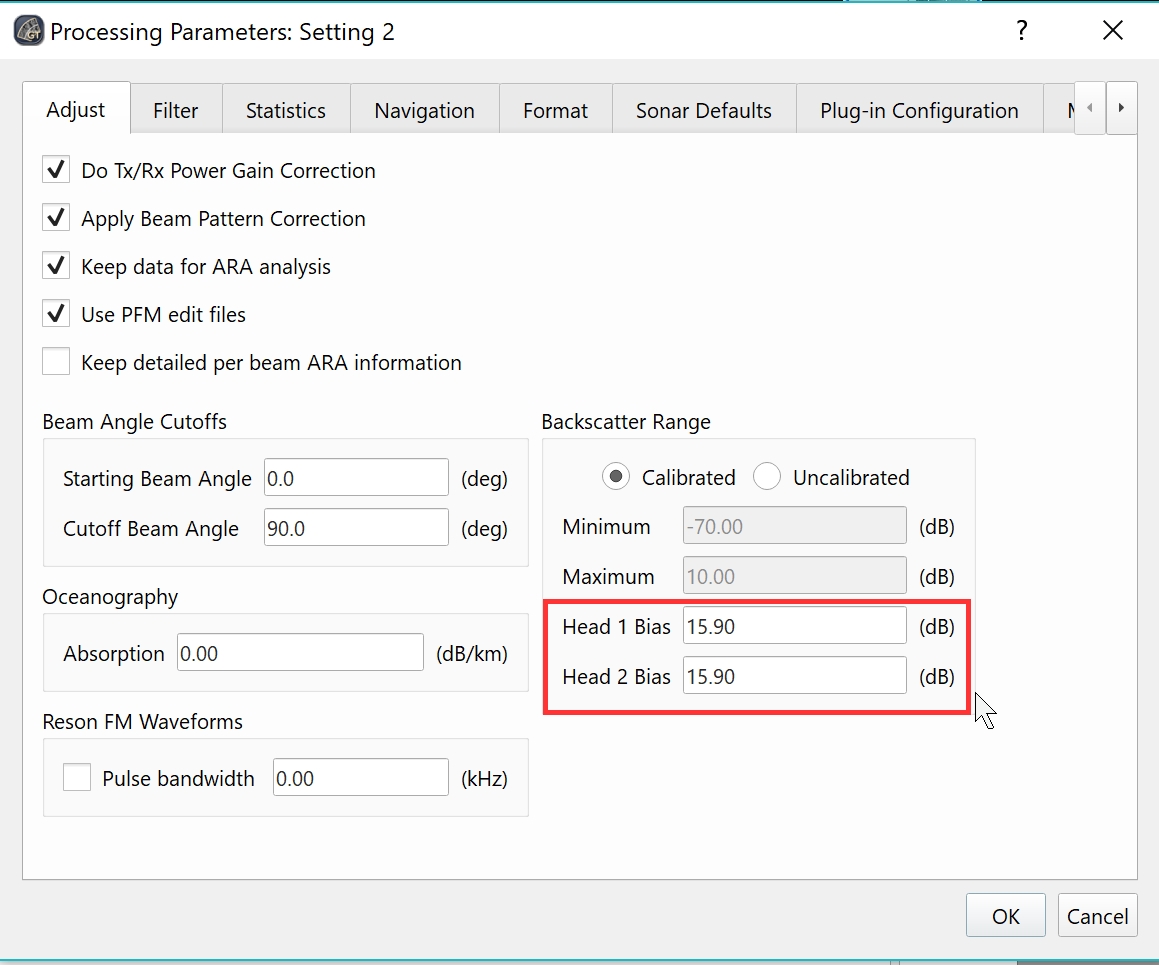
Once you are satisfied with the adjustments, click OK to exit. This will cause FMGT to save the offset value in the Head 1 and Head 2 Bias options of the specific Processing Settings. To see this offset value go to Settings menu, navigate to Processing Parameters of the line that was adjusted. When you exit, you will then be warned that these changes require complete reprocessing of your data. If you want to replace your current mosaic, simply click the Mosaic button to proceed with processing.
The resulting mosaic will have your adjustments applied to all associated lines:
