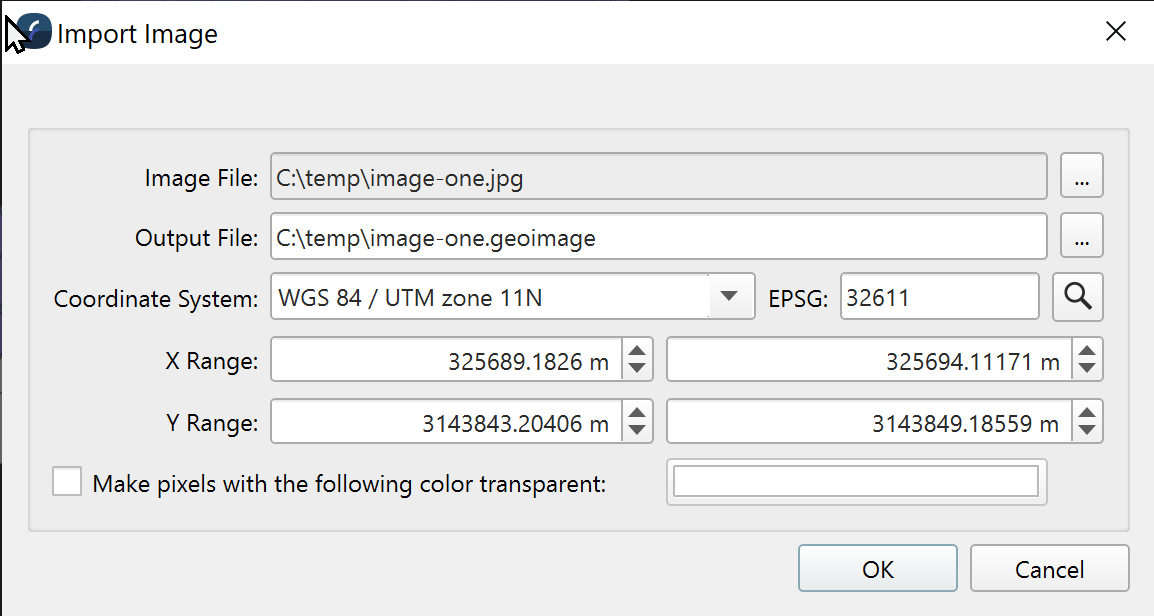
Fledermaus Import Image Dialog

Import Image Dialog
How to Start
Import Menu → Import Image…
What It Does
The Import Image option from the Imports menu will load an image file in one of the supported image formats. The import process starts with a prompt for the file to import followed by the Import Image dialog. The options in the dialog are a path to save the imported image, the coordinate system, bounds to position the model within the current 3D scene and an option to make pixels with a specific color transparent. The latter may be omitted if desired, it is omitted by default.
Overview
The dialog imports a specified file, writing the imported file to the specified output file. The CRS must be specified. It will be filled in from the image, if the image has a CRS, or from the scene CRS if the image does not have a CRS (e.g. JPEGs). Bounds must be specified. The bounds will be filled if if possible from the image metadata (e.g. GeoTIFF, TIFF World File, etc.). The bounds may be the bounds of the entire scene if the image does not have bounds.
Optionally, it is possible to make pixels of a specified color transparent. This can be useful to reduce storage space and to speed up import in the case where the specified color is not of interest, e.g. backscatter mosaics where large swaths of, say, pure white borders the data of interest.
Enable the option (checked), then click the color swatch to change the selected color. The color selected must match exactly. Pixels that do not match exactly will not be made transparent.
