
Export Scene to Geo-Image Dialog
How to Start
-
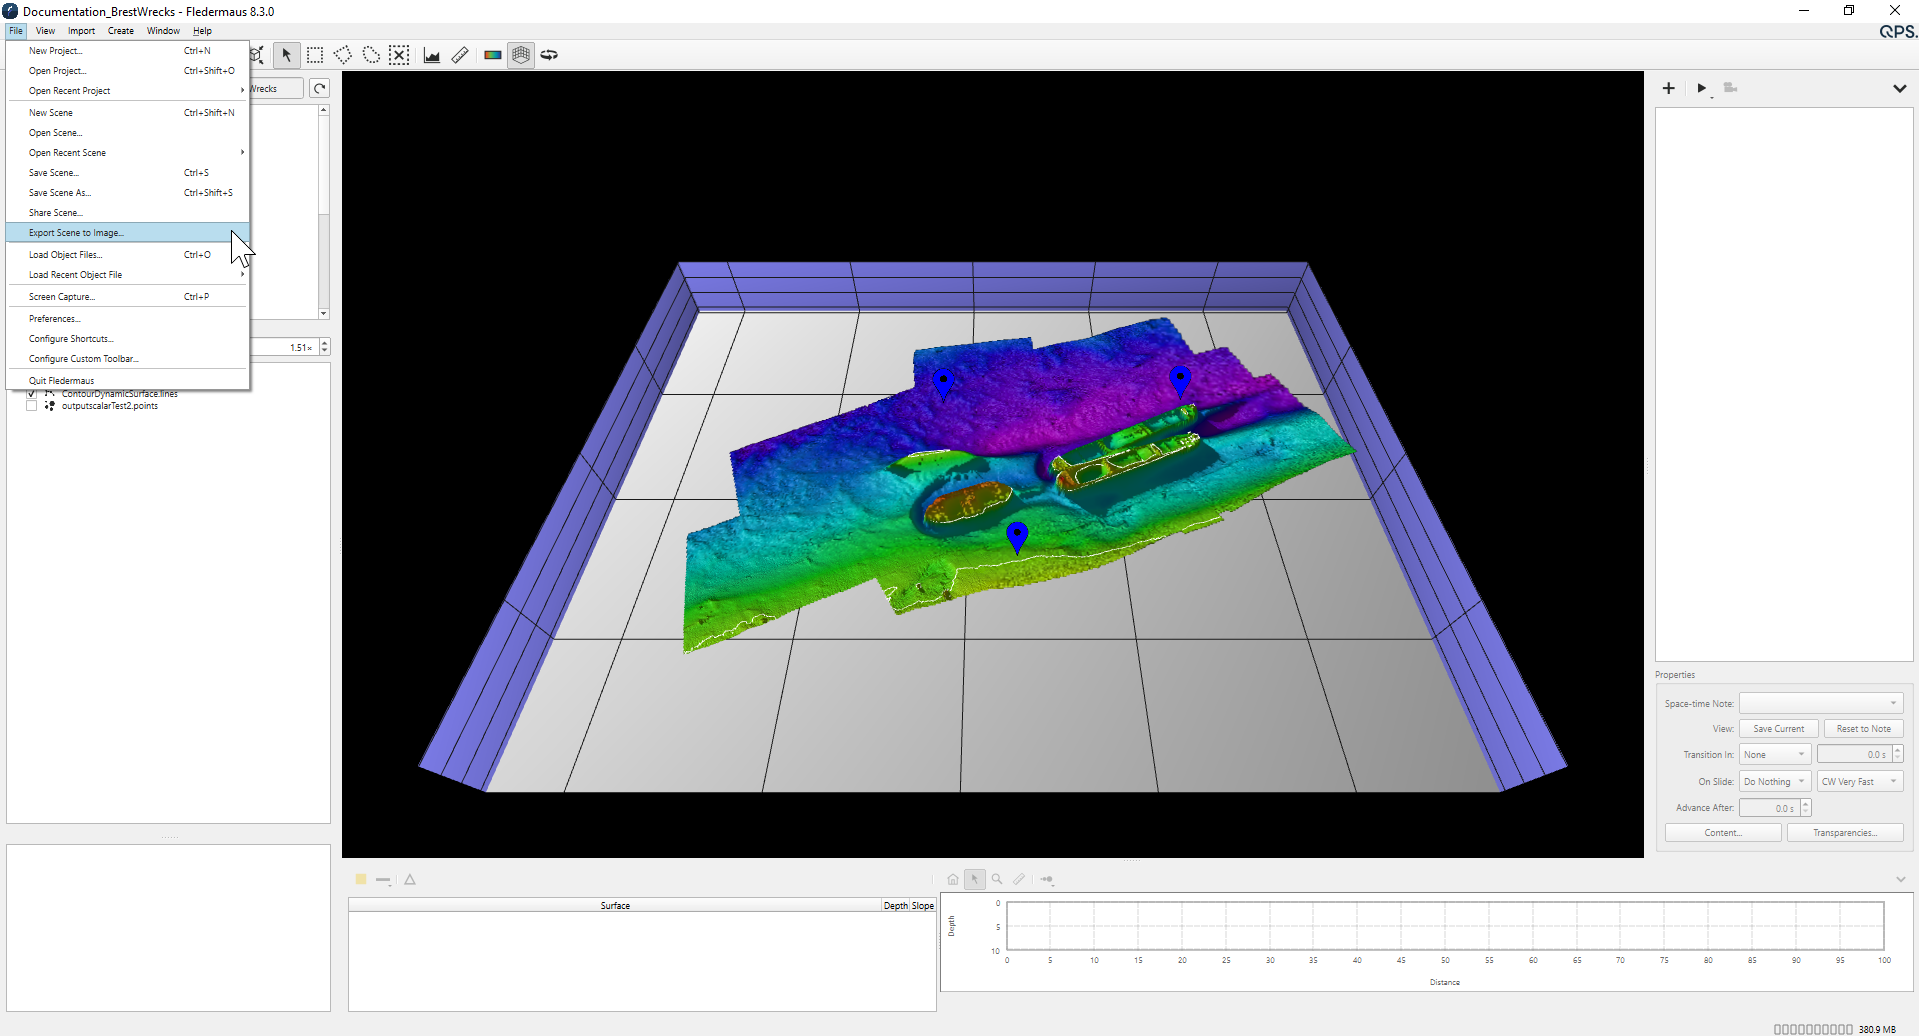
Main Menu Bar → File → Export Scene to Image
What it Does
This dialog is used to render and save the current scene display as a top-down orthographic georeferenced image and export it to a selected image format.
General Description
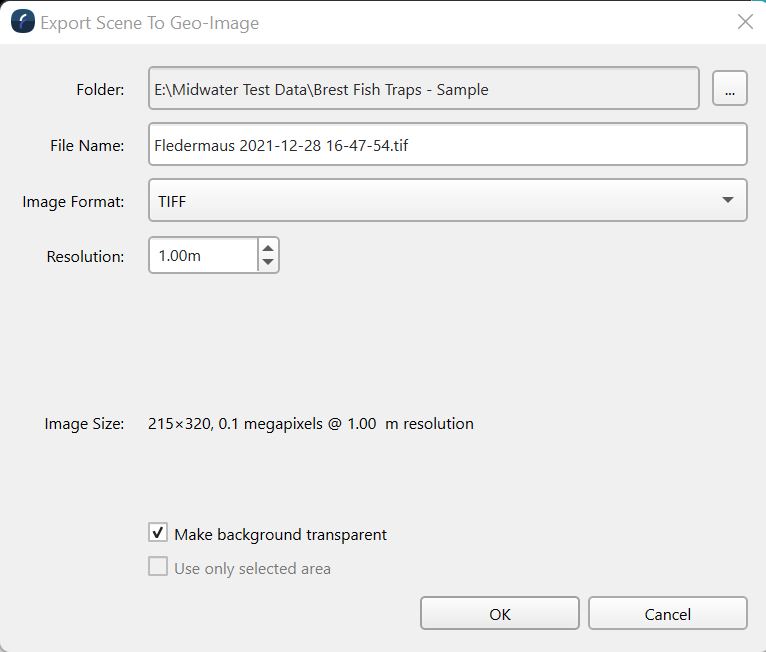
The export image location, name, format type, and scale factor must be specified in this dialog.
Folder
The folder where the exported image will be saved. If a project is open, the default folder will point to /Graphics/Mapsheet Captures in the current Fledermaus 8 project directory.
File Name
The filename of the exported image including its format extension. If the extension is removed it will be automatically applied based on the format selected in the 'Image Format' Combo Box.
Image Format
This Combo Box allows selection of the exported image format. Current supported export formats are JPG, PNG, TIFF, EPS (Encapsulated PostScript). The 'Copy to Clipboard' option will copy the image to the operating system clipboard and allow for pasting into an external application.
Resolution
One can directly control the resolution of the pixels in the resulting image by entering it here. By default the application will use the best resolution from any active object in the scene. Specifying a higher resolution (smaller number) will result in a larger image but doesn't really increase the information density as you are going beyond the resolution of the best available object. There are times however where this can be useful. The resulting image size and megapixel values will be displayed next to the 'Image Size' label. It is a good idea to keep an eye on the resulting image size. For example if you have a low resolution surface covering a very large area and a very high resolution in just a small part of the overall scene area then you can get some very big image sizes here.
Make background transparent
When toggled on, any area of the scene that has no data in it will have transparent pixels in the resulting image. If toggled off these areas will have the background color instead.
Use only selected area
One can control the area of the scene to be rendered by using one of the selection tools like the rectangular selection tool to set an area of interest. If so set this option will be available and can be used to more precisely choose the area to be exported. (Note its geo-spatial bounds will be an even multiple of the specified resolution.)
Return to the File menu.