
How-to Import a 3D Terrain Mesh
This functionality is only available in Fledermaus version 8.0, and described for 8.2 and above.
This document will help you use a mesh file.
On this page:
Introduction
In Fledermaus you can import 3D Terrain file types, which will be converted to a *.mesh file and loaded as scene or saved in a QPS project.
File types supported are:
| From | File Extension |
|---|---|
| OpenGL Transmission Files | .gl, .glb, .gltf |
| Model files | .obj |
| Autodesk | .3ds, .fbx |
Step-by-step
Step 1: Open import wizard
To start the import process, access the wizard through the Import menu, as shown in Figure 1.
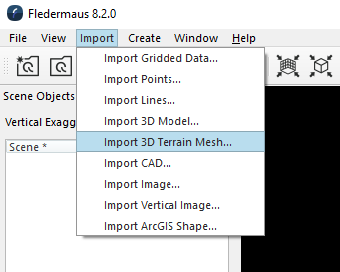
Figure 1. Import 3D Terrain Mesh
Step 2: Setup Import Parameters
Once you select this option, you will be presented with an import wizard, where you can confirm various parameters, seen in Figure 2 below:
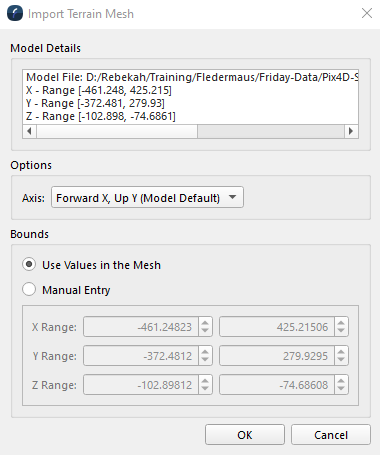
Figure 2: Import Terrain Mesh Wizard
Step 3: Create a .mesh
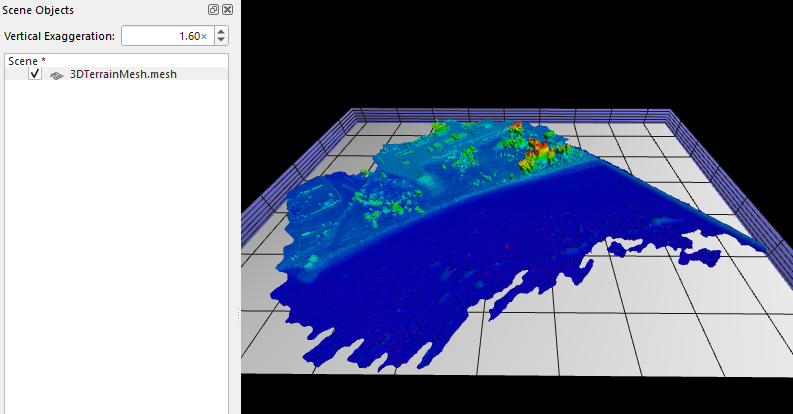
Once you are happy with the set parameters, click ok for your file to be converted to a .mesh Fledermaus object in the scene as depicted in Figure 3.
Step 4: Working with the resulting mesh
Once a mesh object is part of the scene, it will be displayed in the Fledermaus Scene Objects Dock with all other objects in the scene.
Aside from the ability to change the object coordinate system of your mesh, there are two mesh specific operations that can be done: clip mesh and slice mesh. These can be found in the Operations drop down menu on the object docks.
However, in importing a 3D Terrain mesh, only one of these options are available; this is because the sounding density is not usually included in the files being imported. For this reason only the slice mesh option will be looked at in this page. For information on mesh clipping, please visit Fledermaus Mesh Clipping Dialog.
Slice mesh
The Mesh Slicer dialog, as seen in Figure 6 below, allows the user to slice the selected terrain mesh on X,Y and/or Z axis.
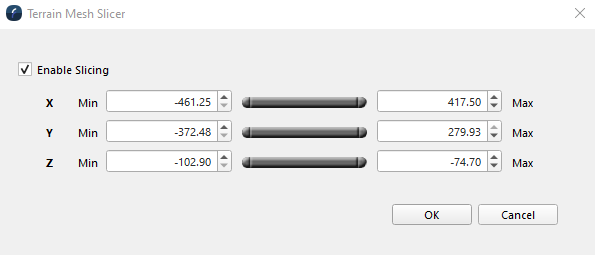
Figure 4. Terrain Mesh Slicer Dialog
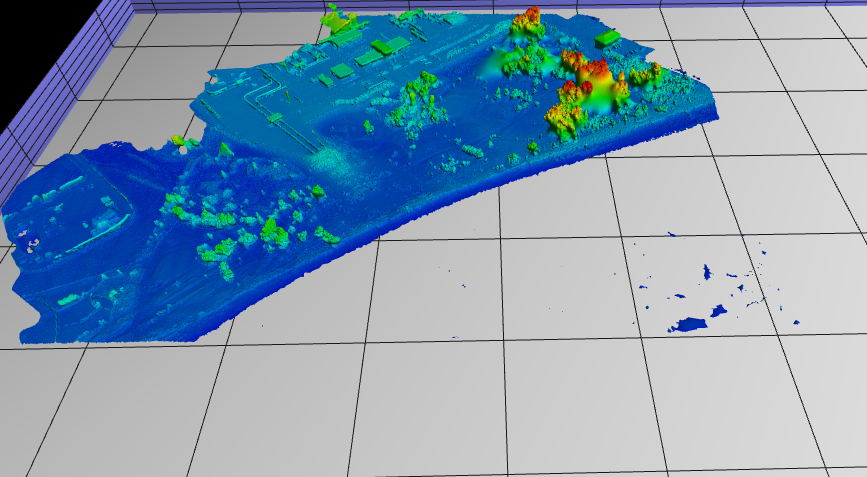
For example, in Figure 5a is the mesh before slicing, and in Figure 5b is the mesh after slicing:
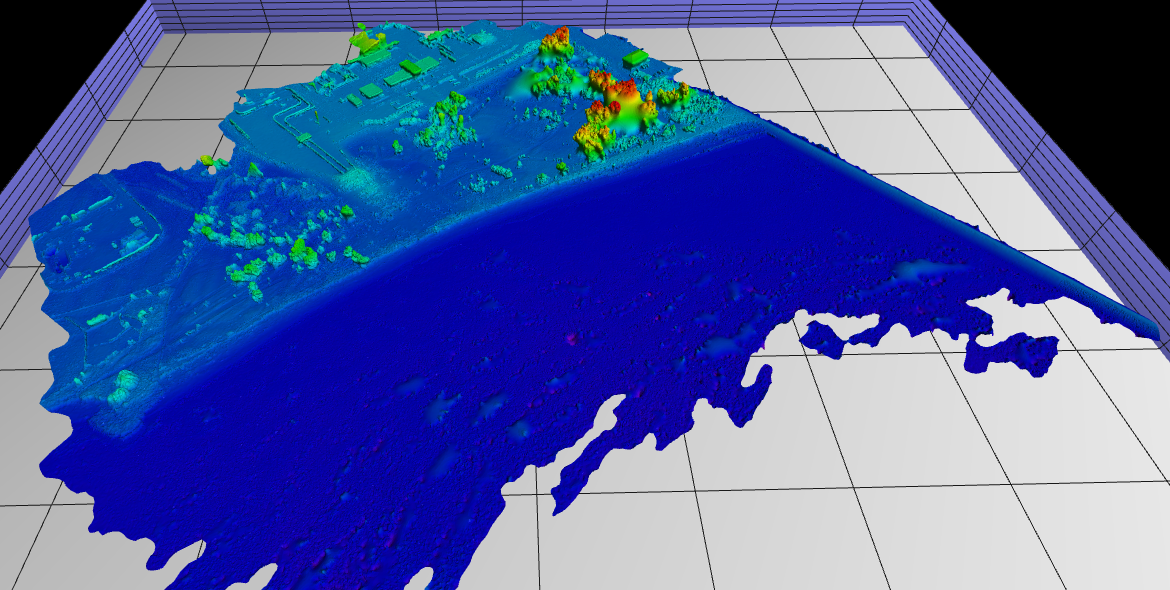
Figure 5a. Mesh before slicing
For more information on the Slice mesh window please visit Fledermaus Mesh Slicer Dialog
Return to: